Thank, I think it is a great idea.
1 Like
The clock circuit is the place to avoid if possible. The crystal and the two capacitors next to it.
Most of the time it’s fine, but sometimes, putting things in contact with the clock circuit will make the chip half as fast, which makes for weird-sounding audio and other stuff.
I just place the rubber plunger thing on the middle at the CPU (v2.2). It doesn’t exert that much pressure.
I hope you don’t mind, I made a v2:
Edit: v2 deleted, v3 posted further down.
don’t mind at all!
1 Like
Did you look at the other side ? Did I put B(oot) & R(eset) in the correct spot ?
Looks good to me.
1 Like
Can you fit a lego 2x8 flat through that window? (my preferred button pressing tool.)
2 Likes
From what I am seeing online, a flat brick is 5x15.8mm. My window is 3.5x10.5mm, so at the moment - no. But I could modify it. ![]()
I personally prefer the back of two flat wooden wooden skewers, the Lego keeps on slipping in uncontrollable ways. In fact I was already thinking of adding some plunger buttons for my v3.
I 3d printed a tuning fork like tool that I use, and I can “rocker” it to do the reset combo, or use the other end to push a single button. I initially tried toothpicks but I was straining my eyes, even with magnification. This works great–I just block out the gold colored area with my tool and press.
Happy to share the STL if anyone wants it–but anyone could recreate it in 10 minutes in tinkercad.
If you share it, I 'll try it.
Let’s see if this works: ProffieResetTool.stl
1 Like
Thank you, I like the design. I will change it a bit and make it way more complicated than it needs to be (I like round edges/arches on my 3D prints).
And cherry on the cake, it fits in “Orntar’s window” from his ProffiePusher.stl
1 Like
After a few hours of playing around in Thinkercad, here’s what I came up with:
ProffieResetTool_rouded.stl (1.3 MB)
The markings are for the sequence:
1 press Boot
2 press Reset
3 release Reset
4 release Boot
If you print it on a Bamboolab A1/A1mini, I recommend a 0.2 mm nozzle.
Here is the Proffie pusher v3, it can only fit one way and fits perfectly around the USB port:
ProffiePusher_corners_MT.USB.BWY_v3.1.stl (198.1 KB)
If you use transparent PETG, the Proffie on board light appears to shine much brighter.
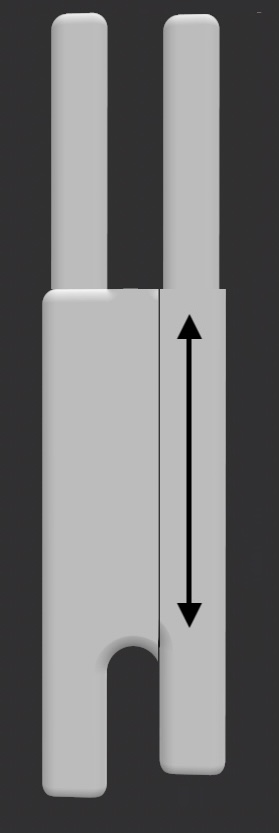
Just throwing this out there, but wouldn’t you want the reset leg to be slidable?
So inserting the tool makes the rigid boot button leg press the button, then sliding the reset pusher down clicks reset and releases it, then removing the tool releases boot.
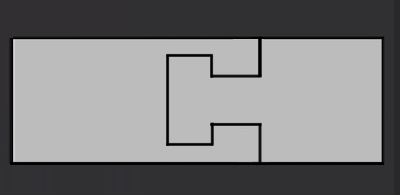
Maybe it works like this (top view of slider)
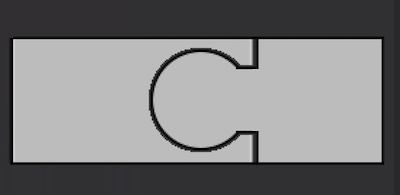
or this
1 Like
That seems like total overkill when you can just angle the tool to press one button at a time.
My question is why you need space between the “legs” ? why not just make one solid, wider tool?
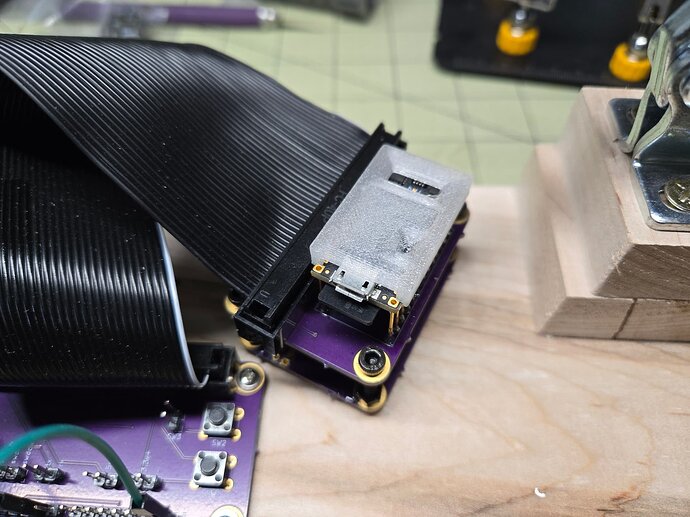
Agreed, however I think this tool is inserted down through a hole above that’s in a 3D printed cover/guide thing? Hence the mechanical adjustment I suggested.
Also I was just gettin jiggy wit it.
1 Like
I love the idea, total engineering overkill. I know, I am weird.
I hope my printer can print that.
It is better than rocking because I can be sure the tool doesn’t slip witch happens too often with the Lego 2x8 and with two “independent” legs you can get tactile feedback for each button press without having to worry/guess if it came from the other button.