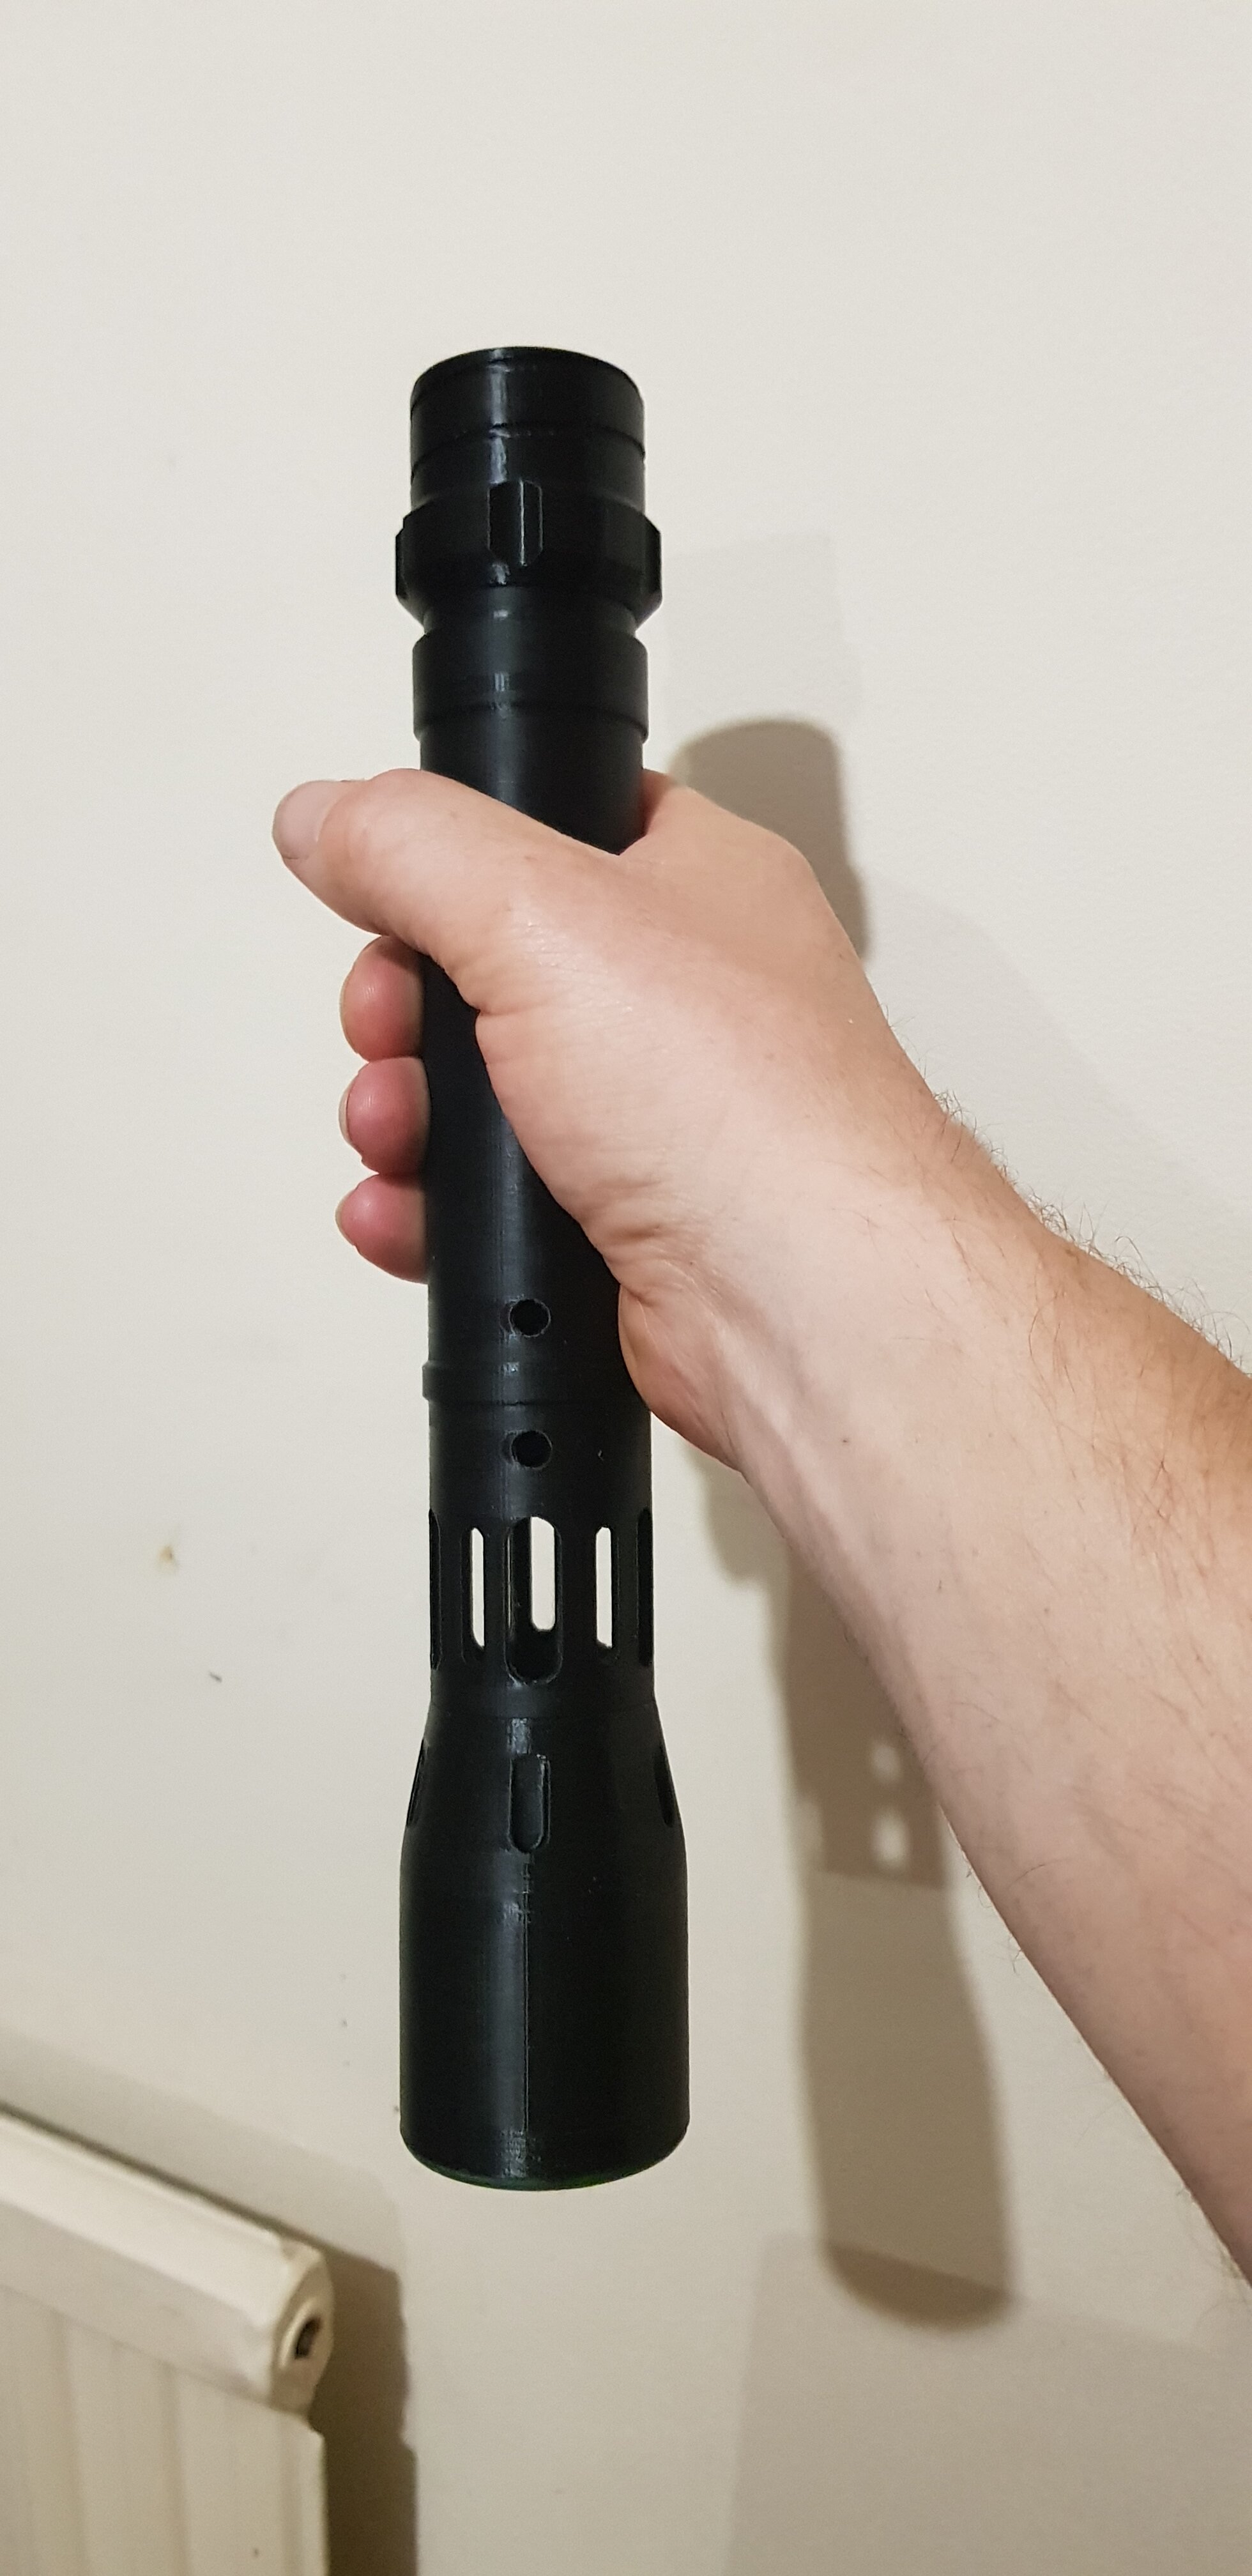
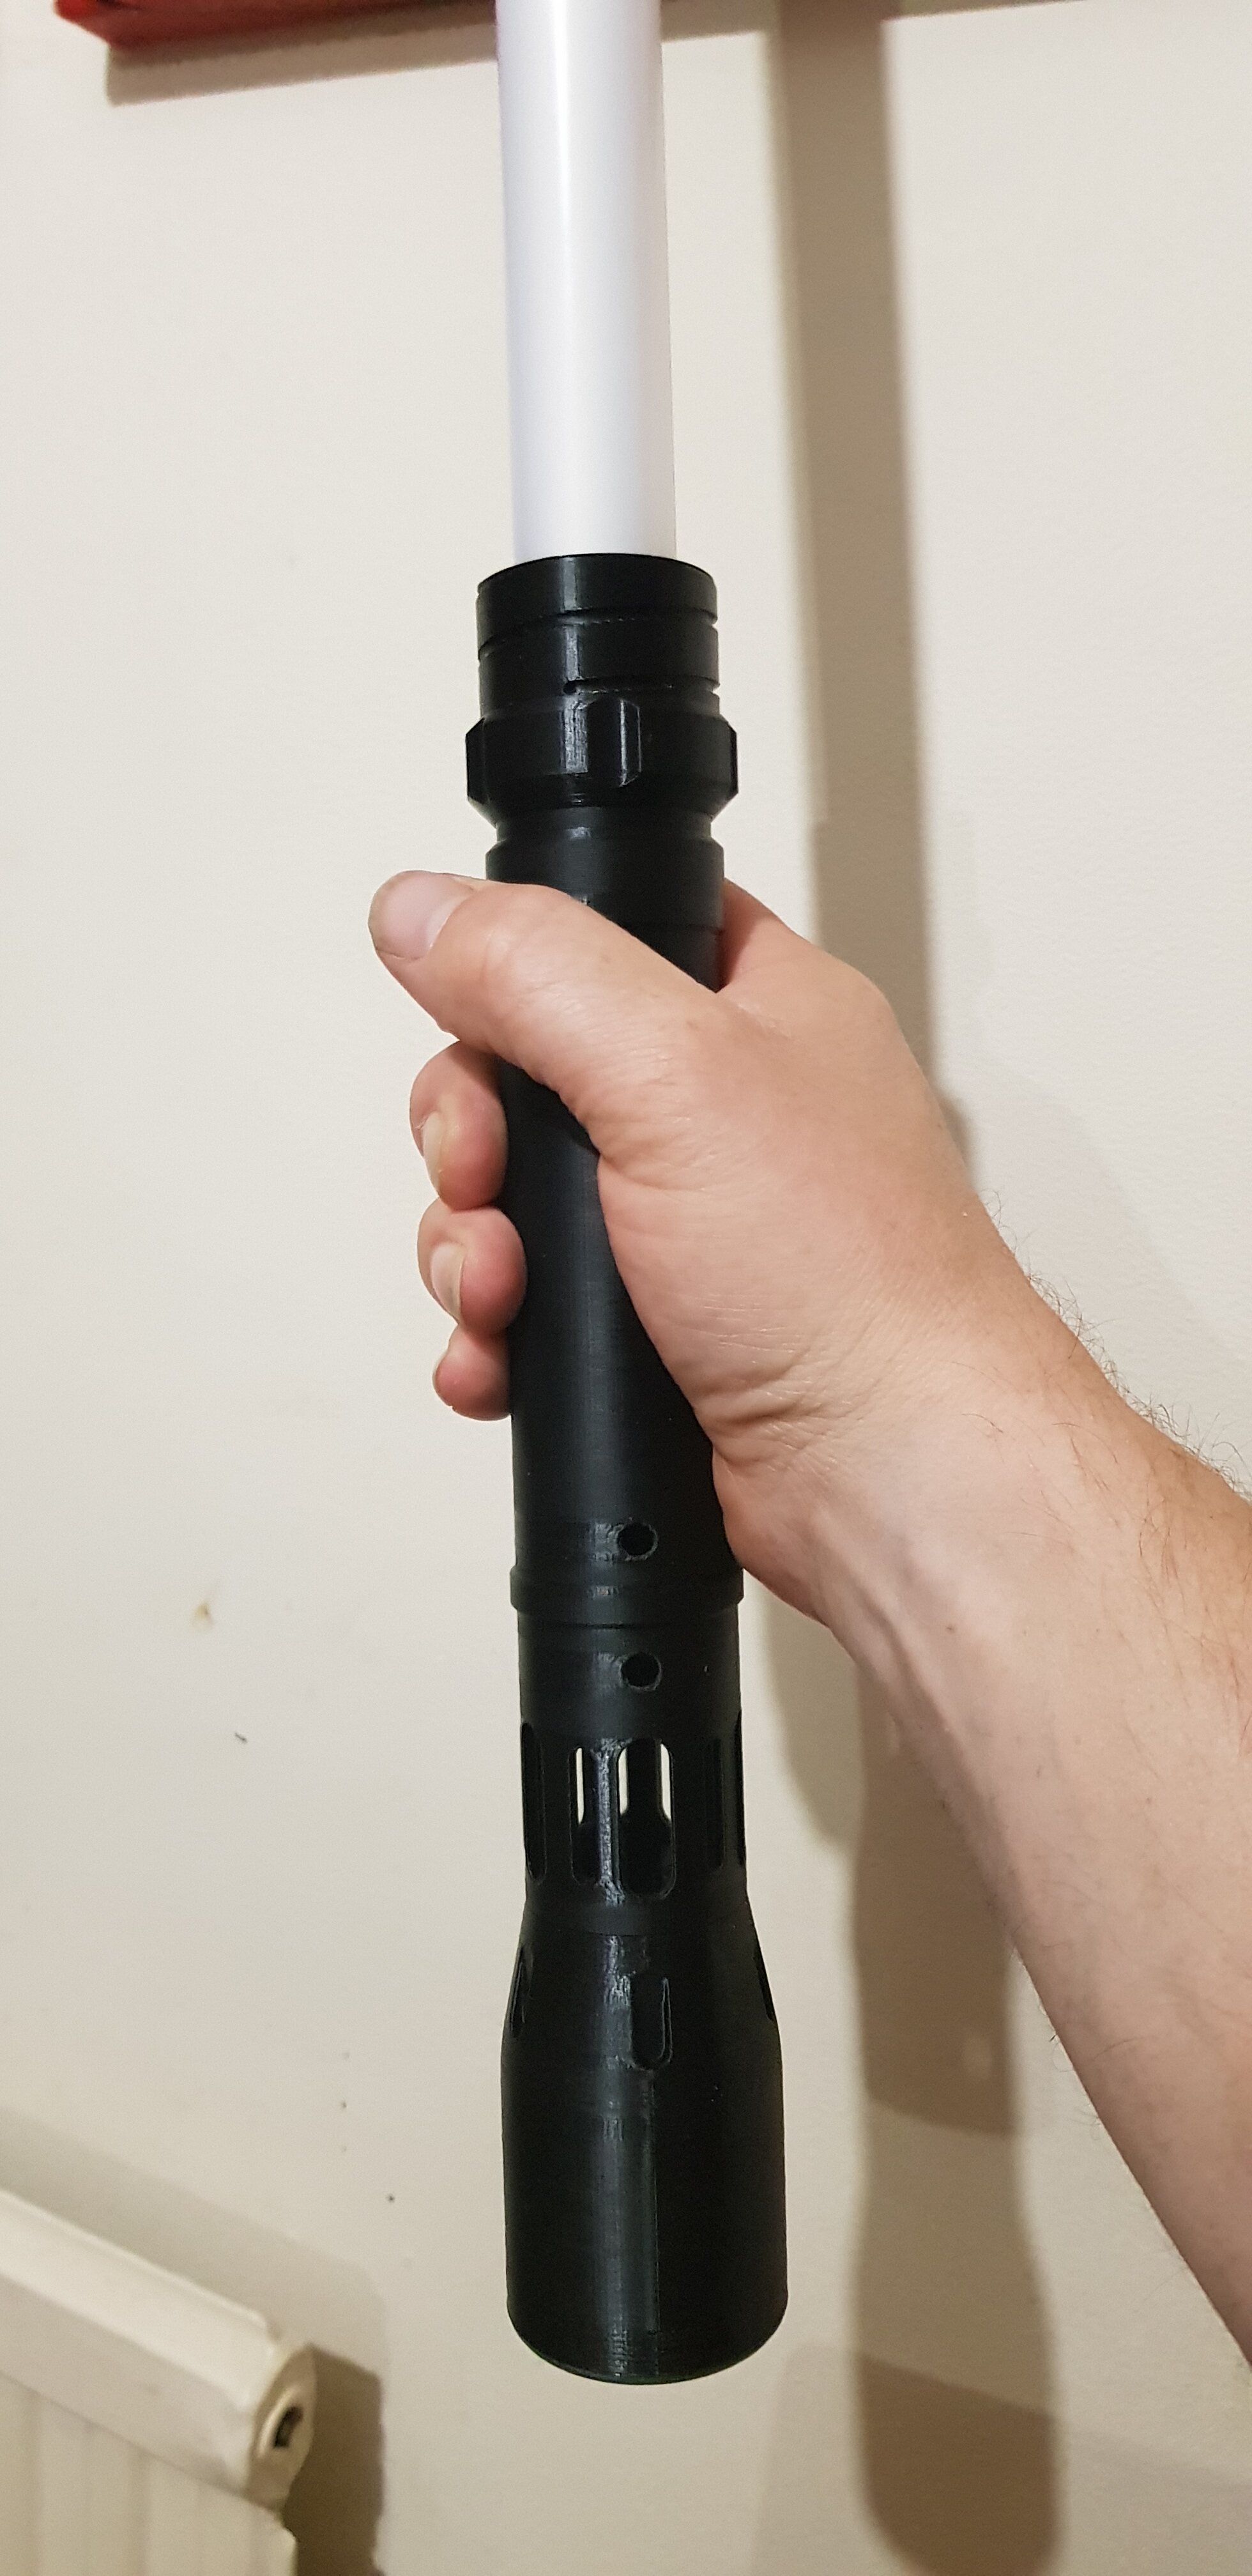
last night I set the FDM 3d printer to work on my hilt design (15 hours) and pieced it together after work today.
fitted a dummy blade and then promptly broke the emitter end off while swinging it around. (my own fault as I didn’t push the blade in far enough) 
but it did highlight a weak area for me so back to the drawing board 
1 Like
It’s not, I need better solder and I swapped out the tip. Also I’m going to use a practice board… just so that I’m not practicing on a very hard to come by board.
3 Likes
Yes that could bring any grown man to tears😭
Keep us posted👍
1 Like
how did you get on with your build max? or has it been put to one side?
1 Like
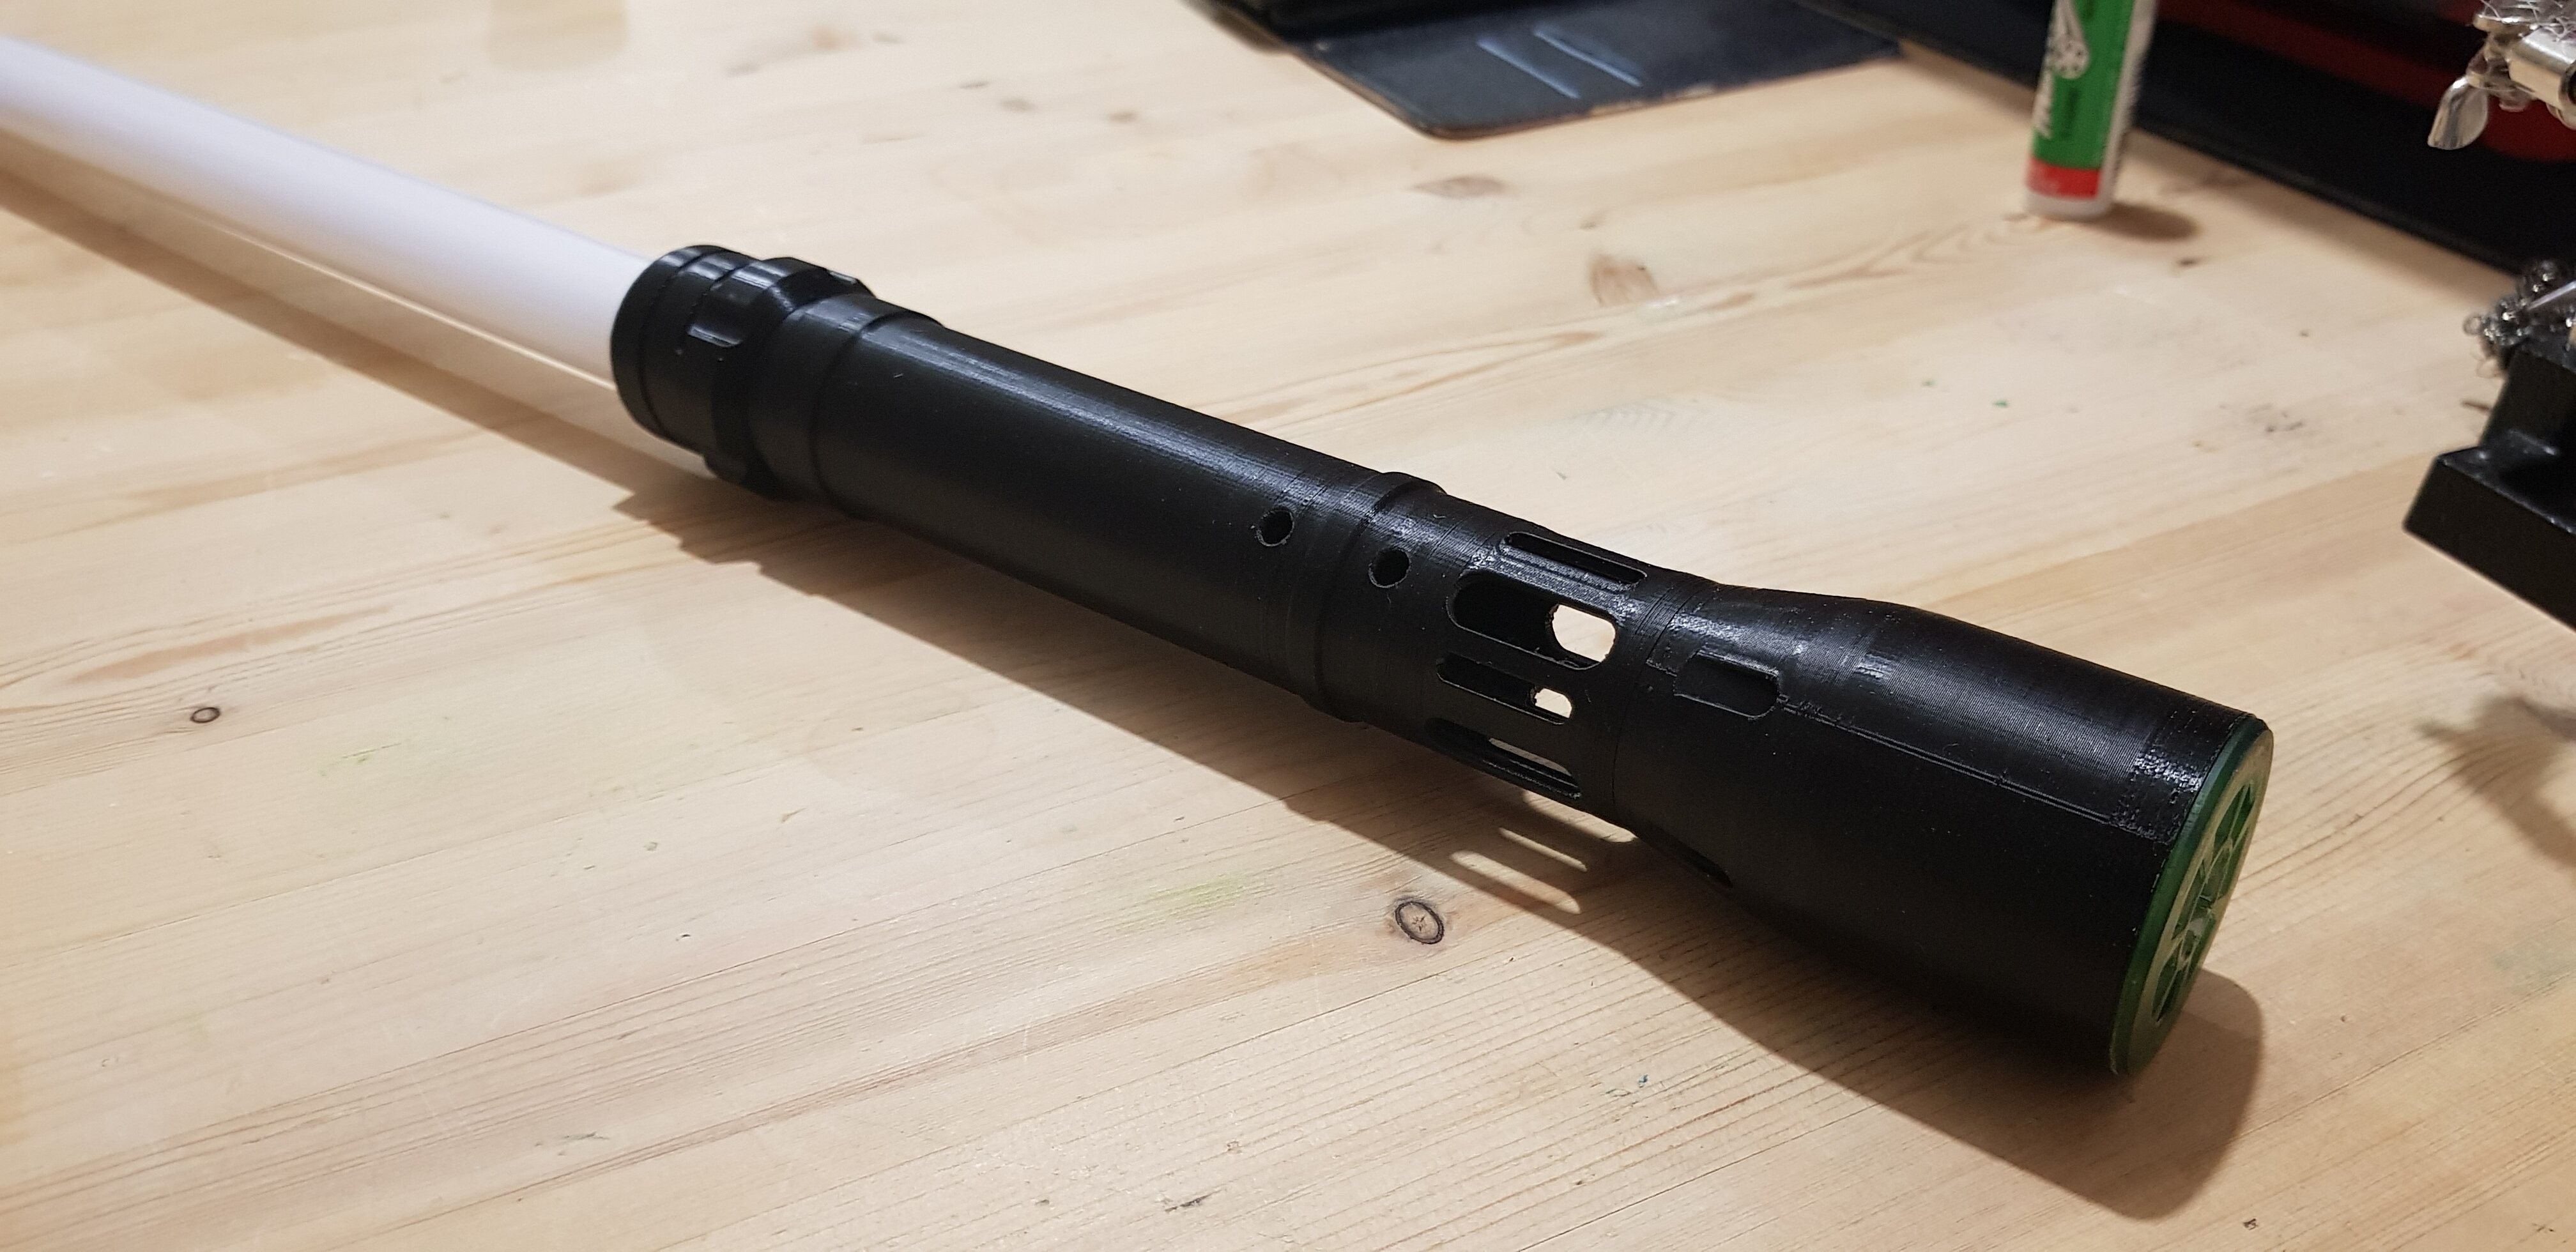
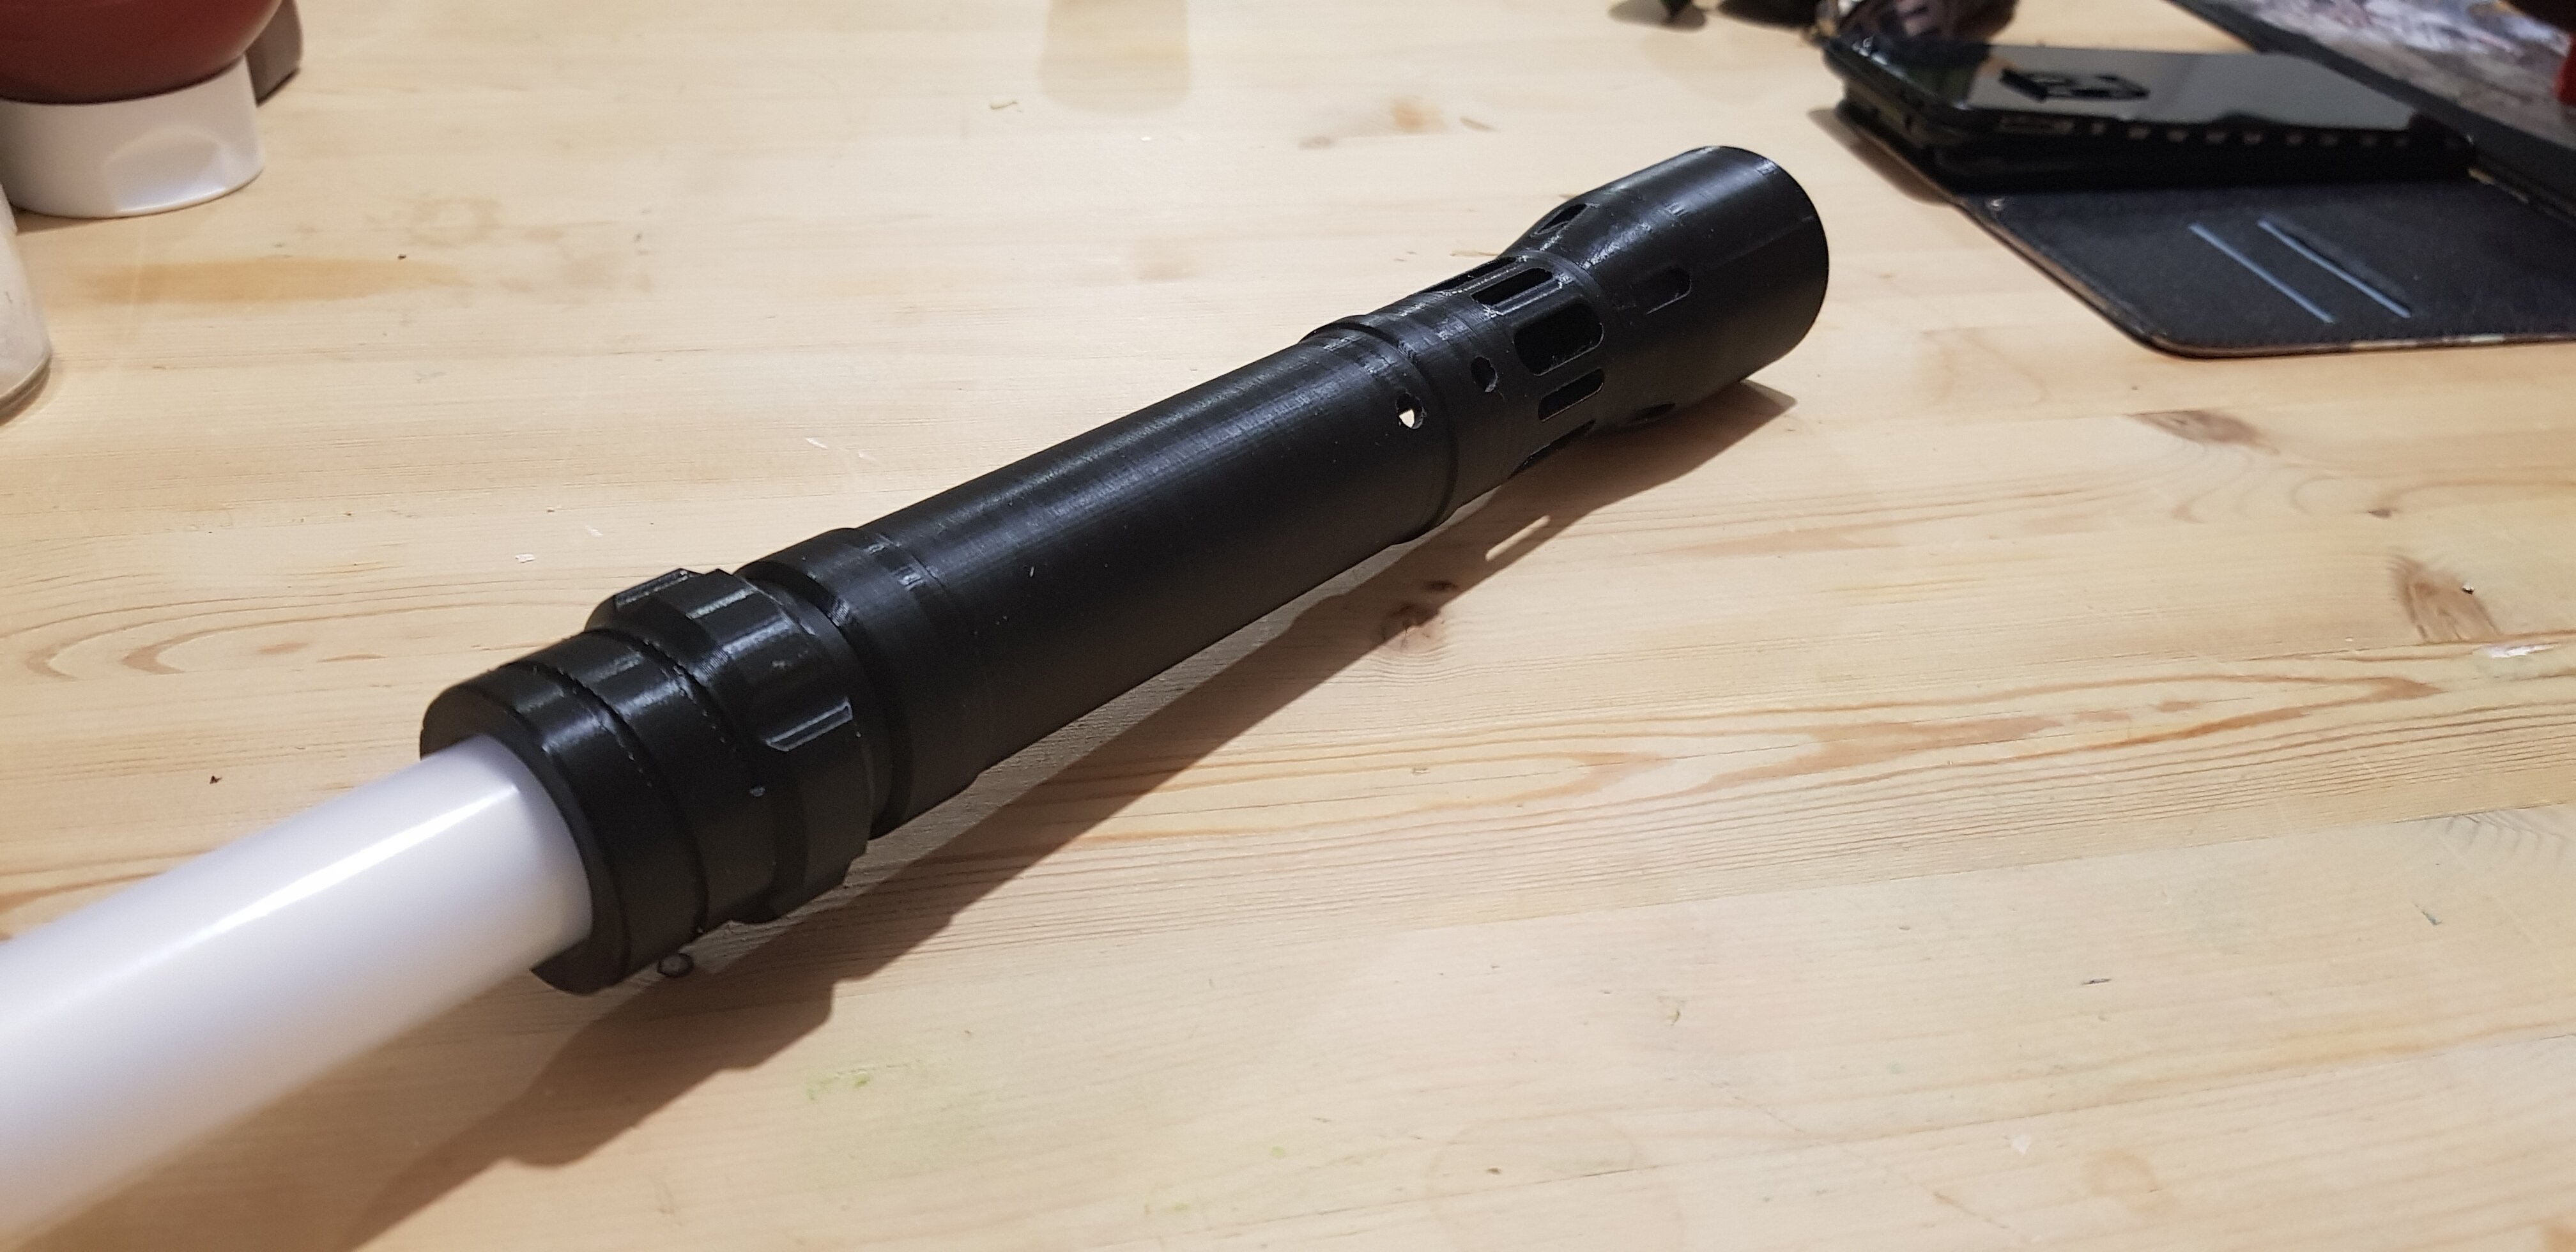
I’m hoping to have something to show soon as I’ve now been through a few design / redesign / failed prototypes, but my latest looks good to go.
I’ve been perfecting certain parts of the saber in stages to cut down on print time / material used.
keep an eye out as I’m hoping it will be a fully functional printed prototype 
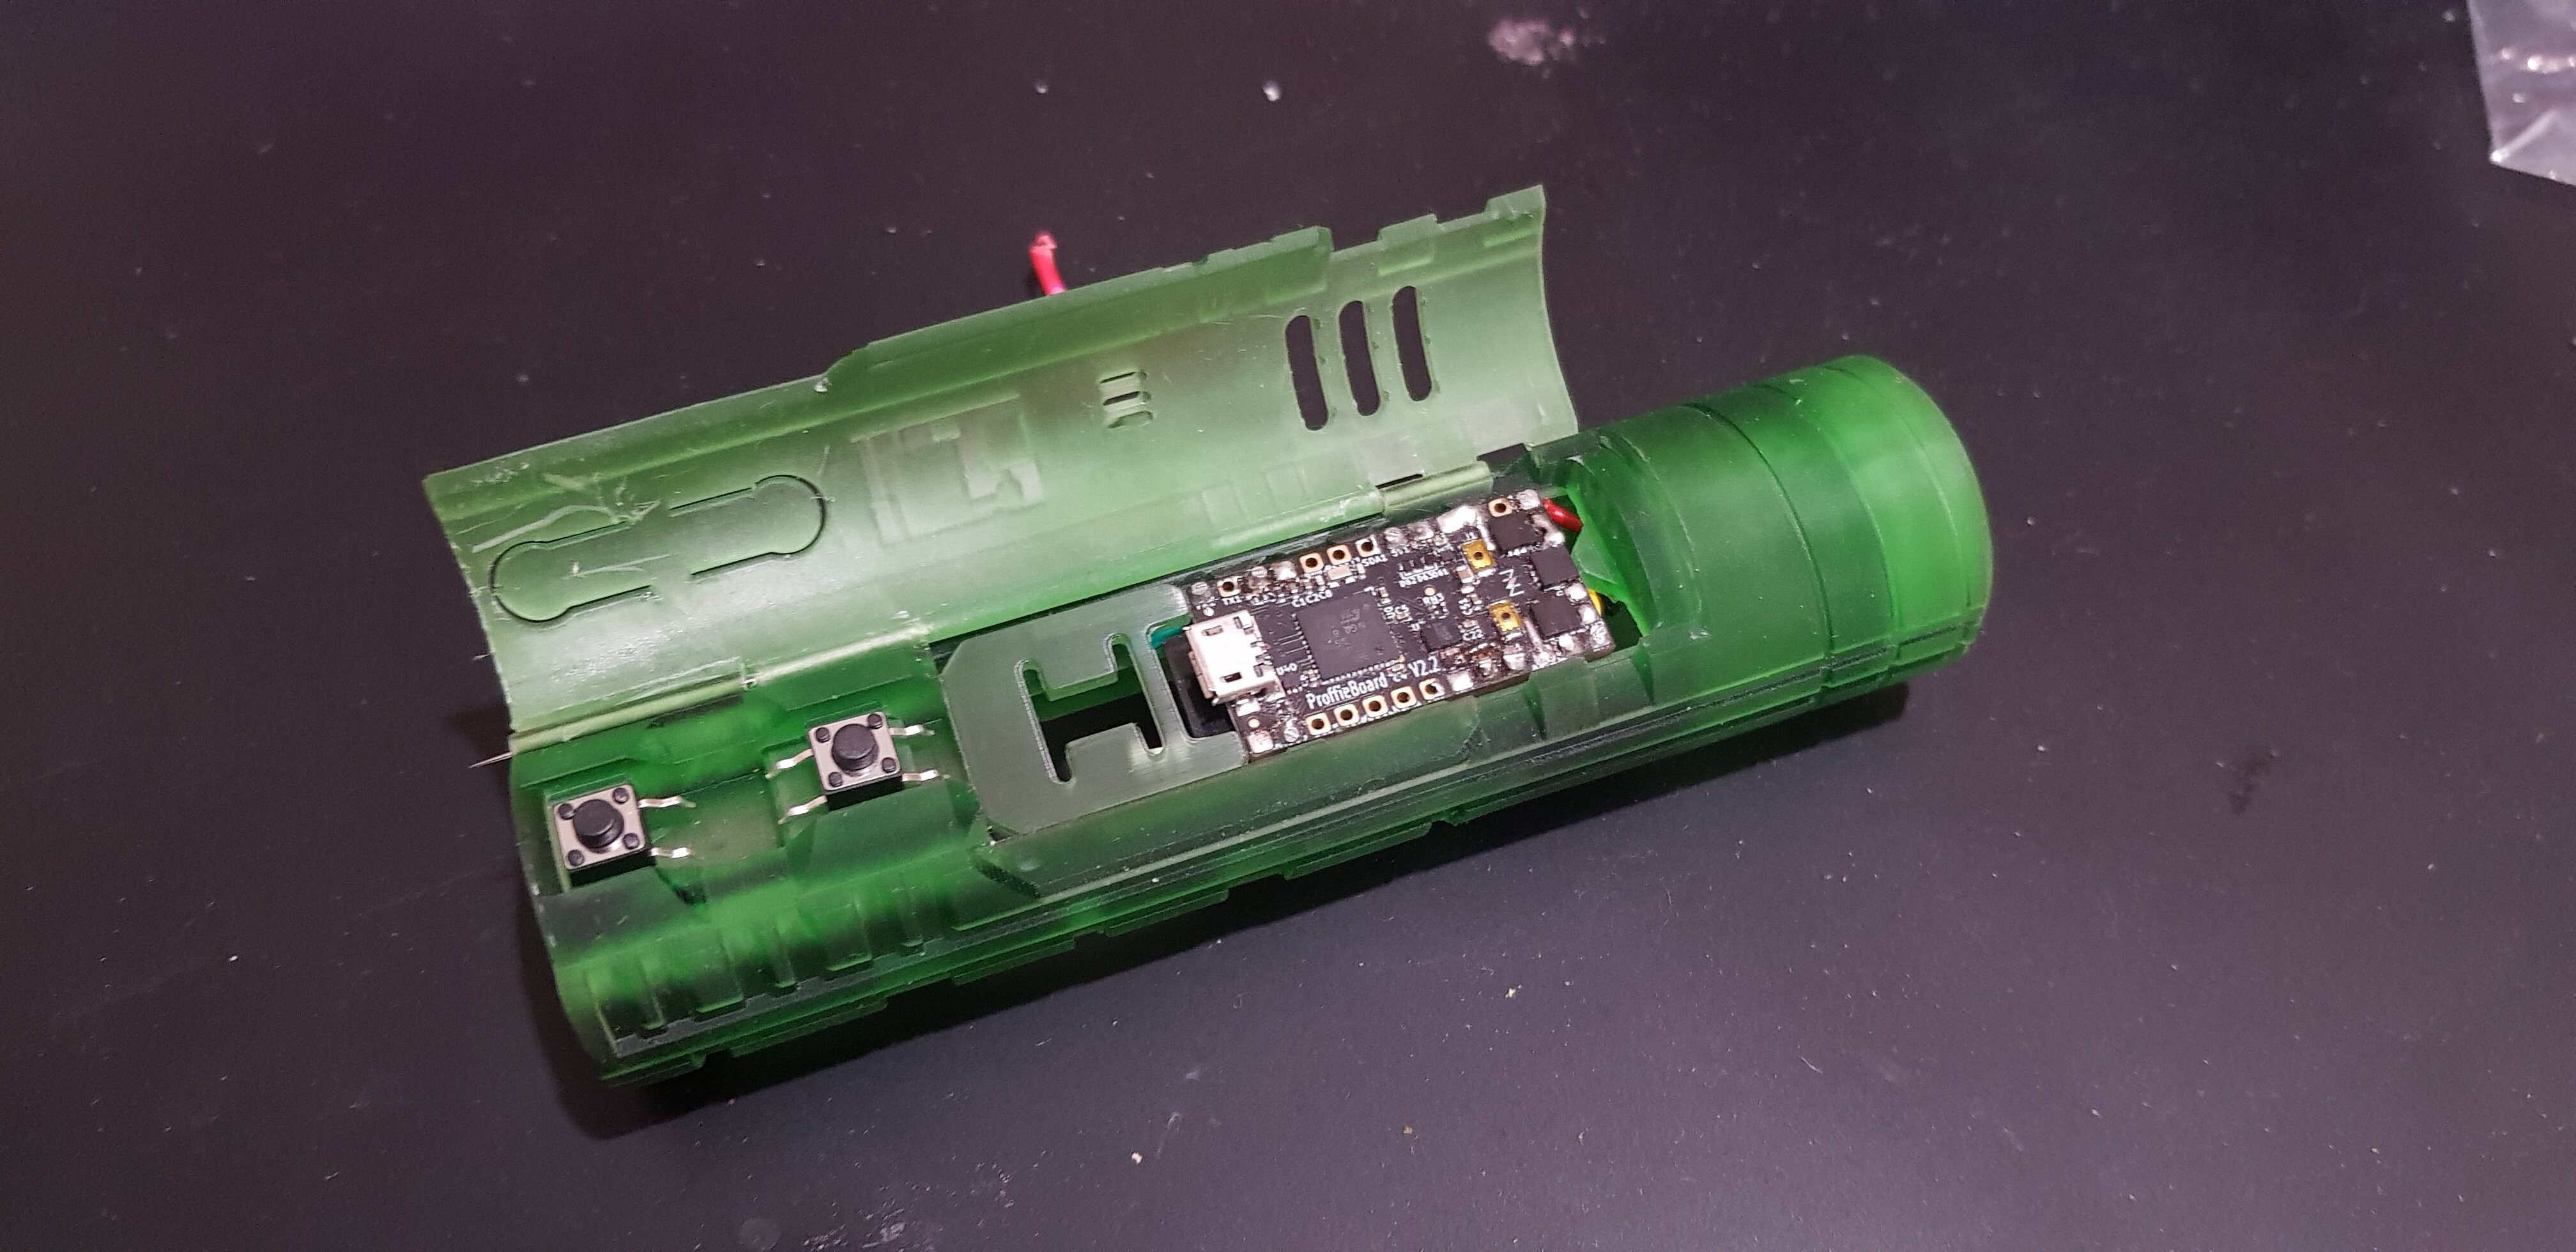
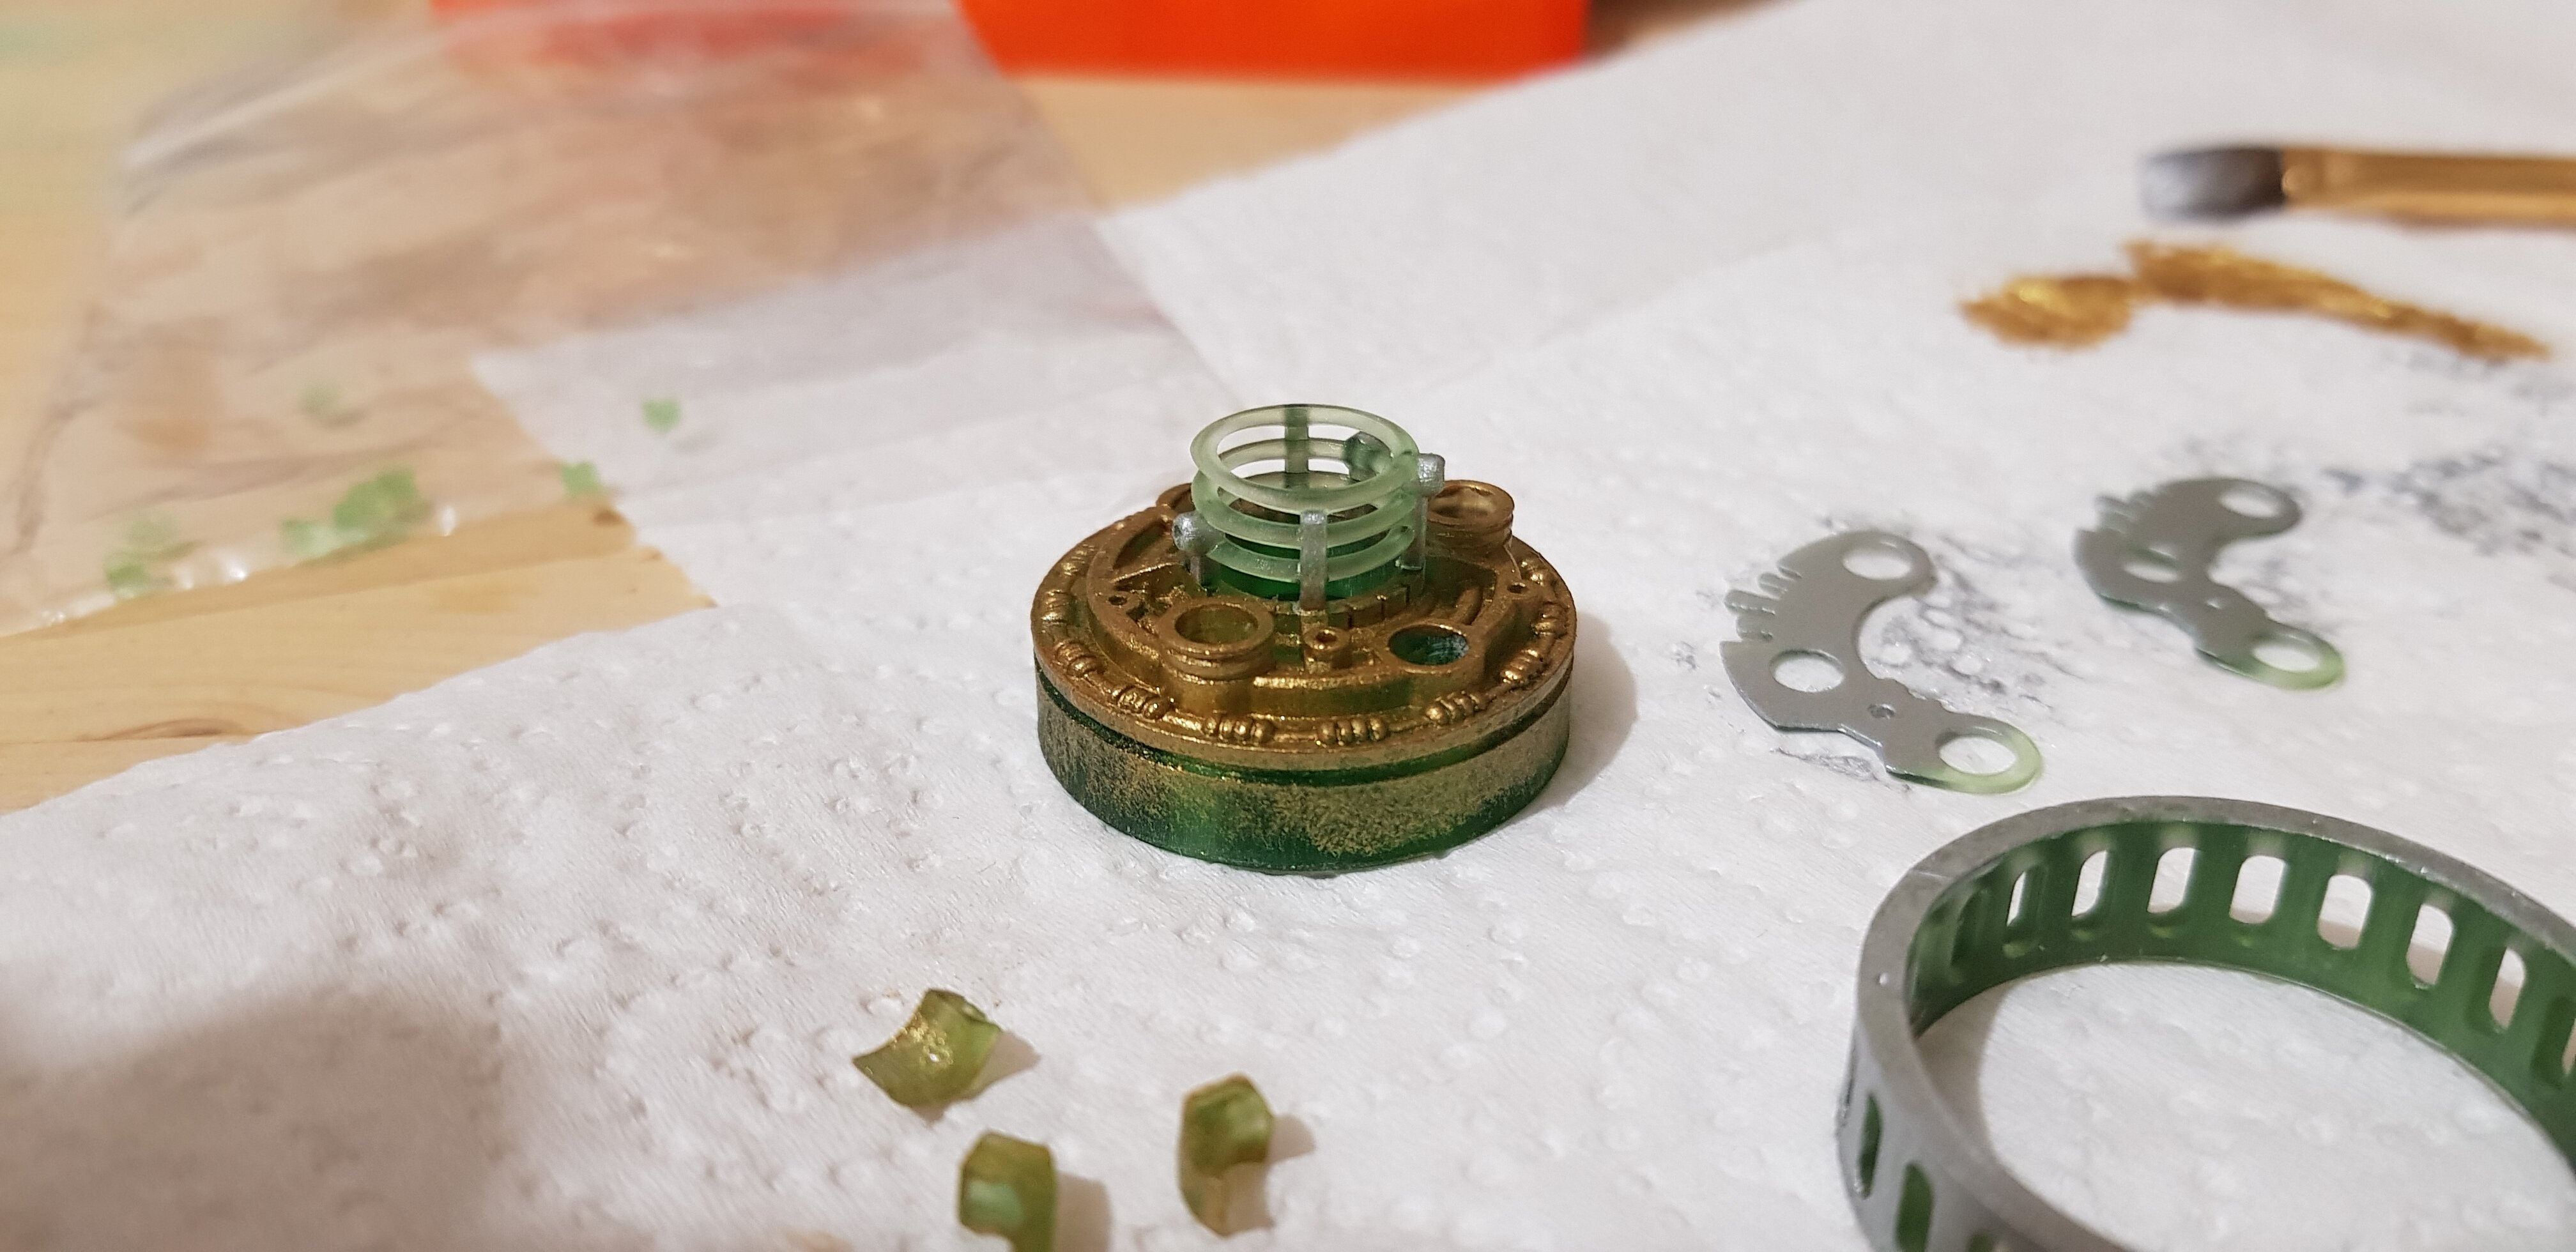
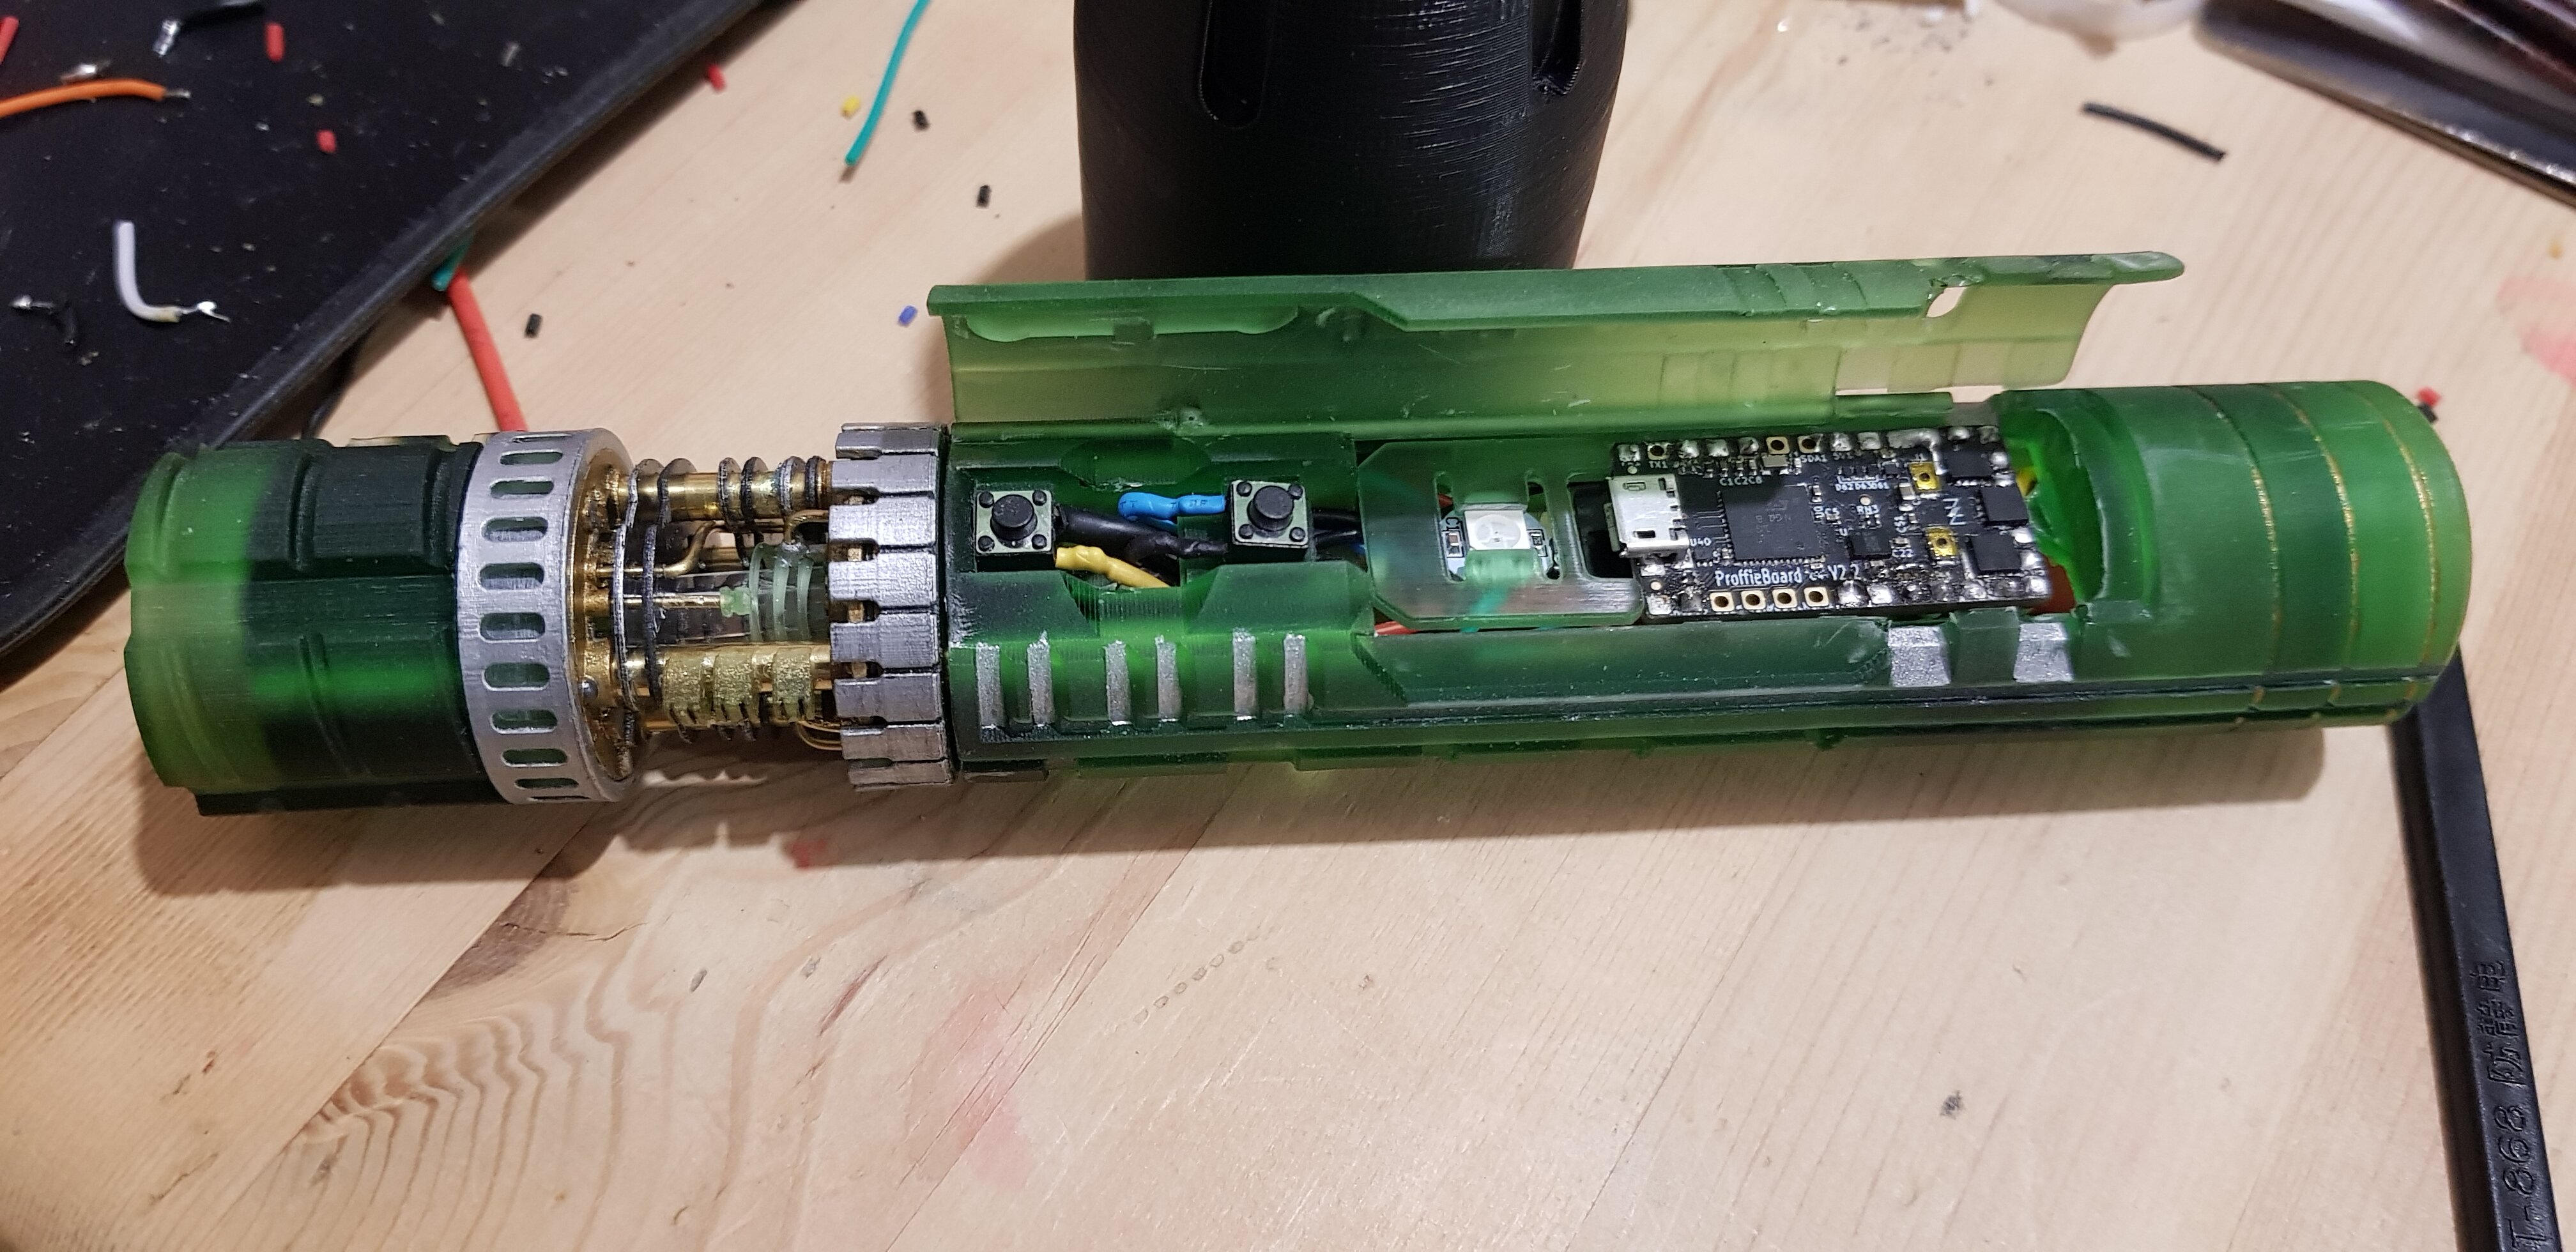
Update on the 3d printed custom chassis. Had a few failed attempts at this but this time everything is fitting really well now.

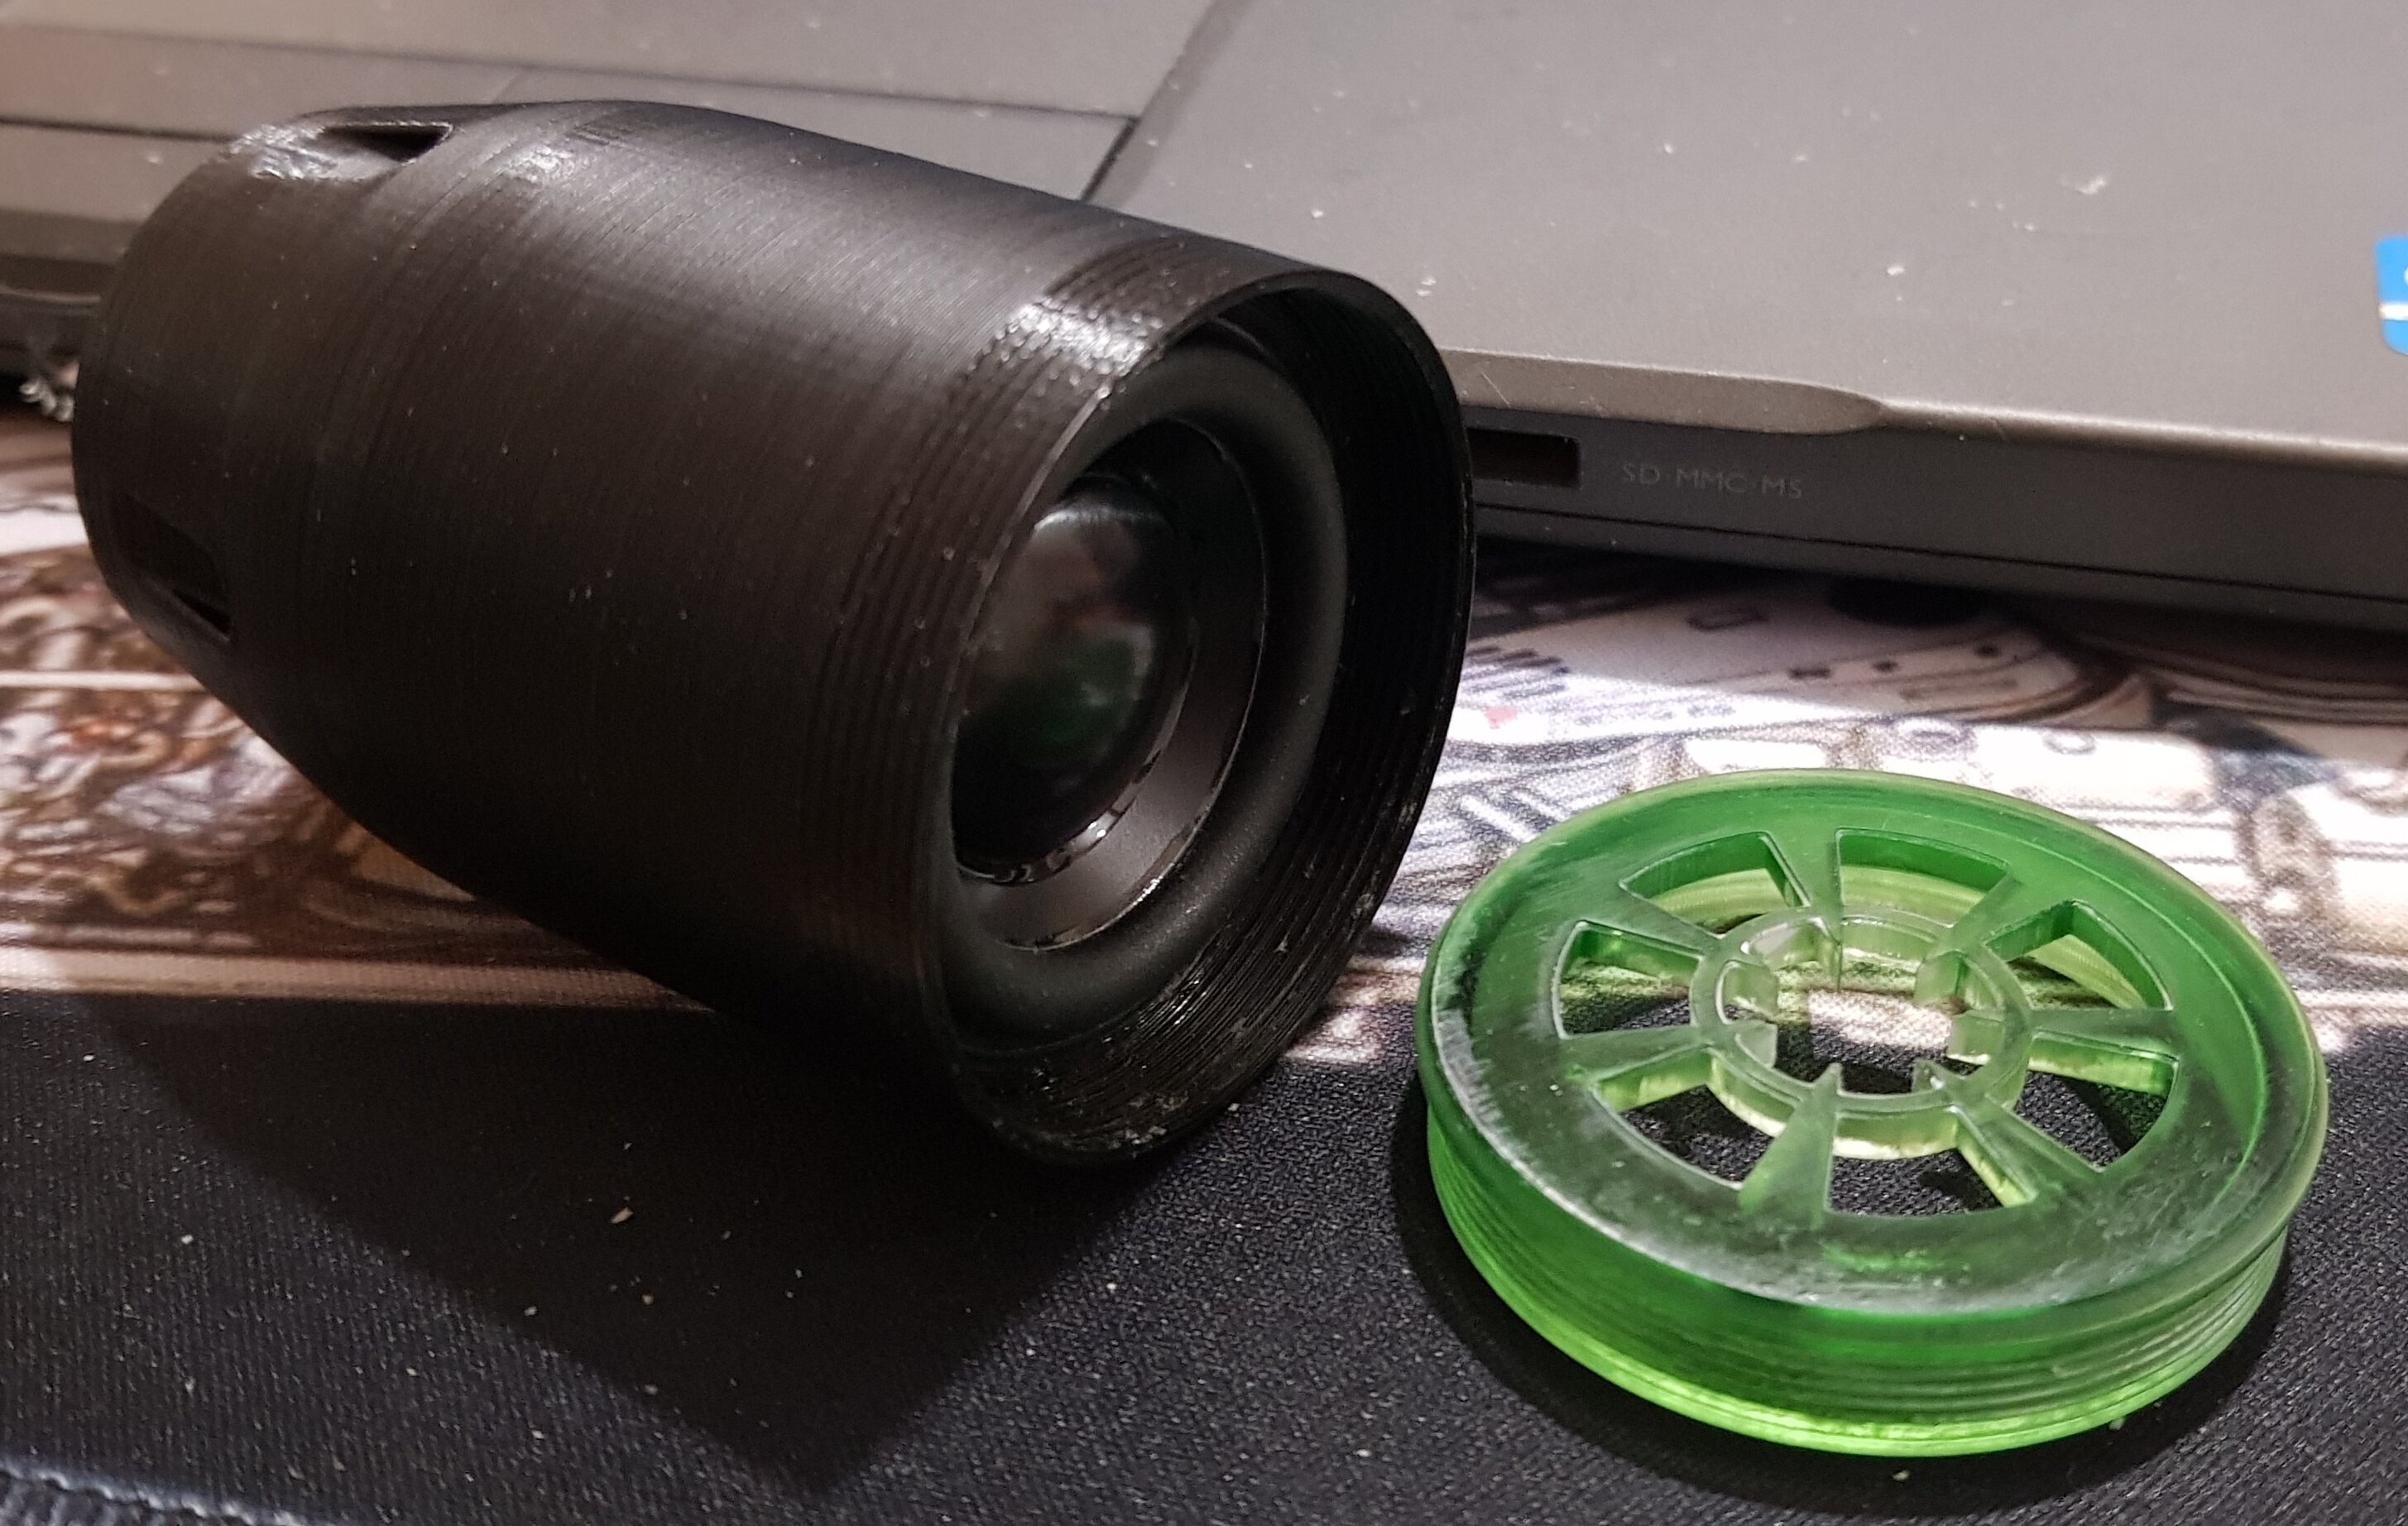
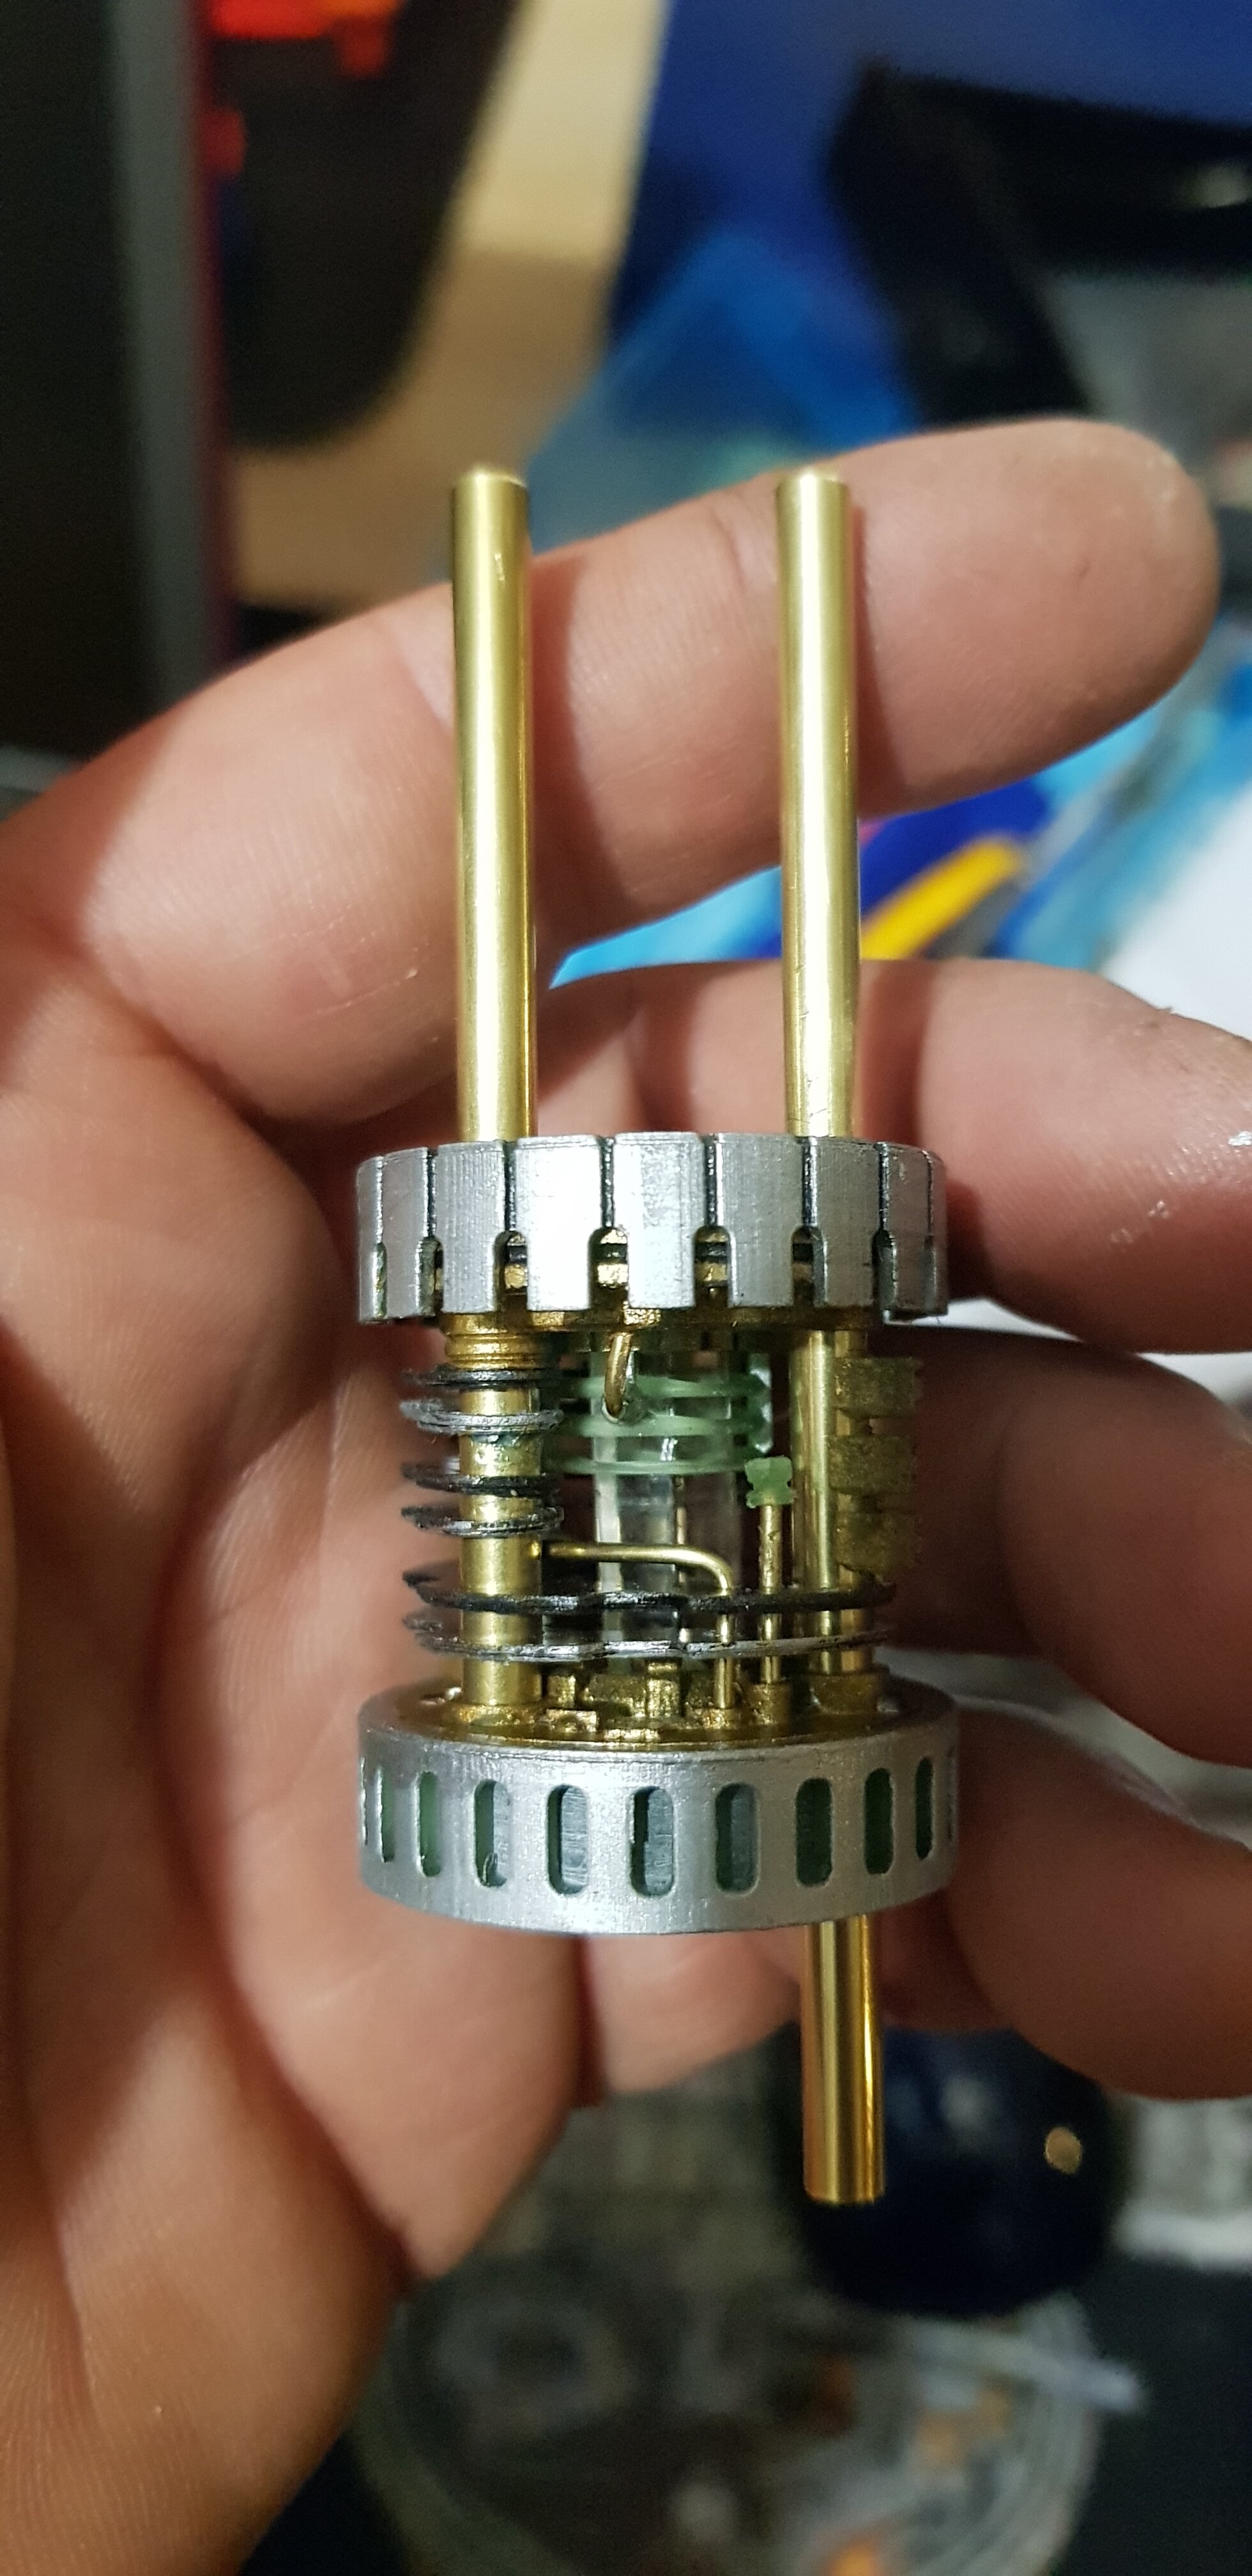
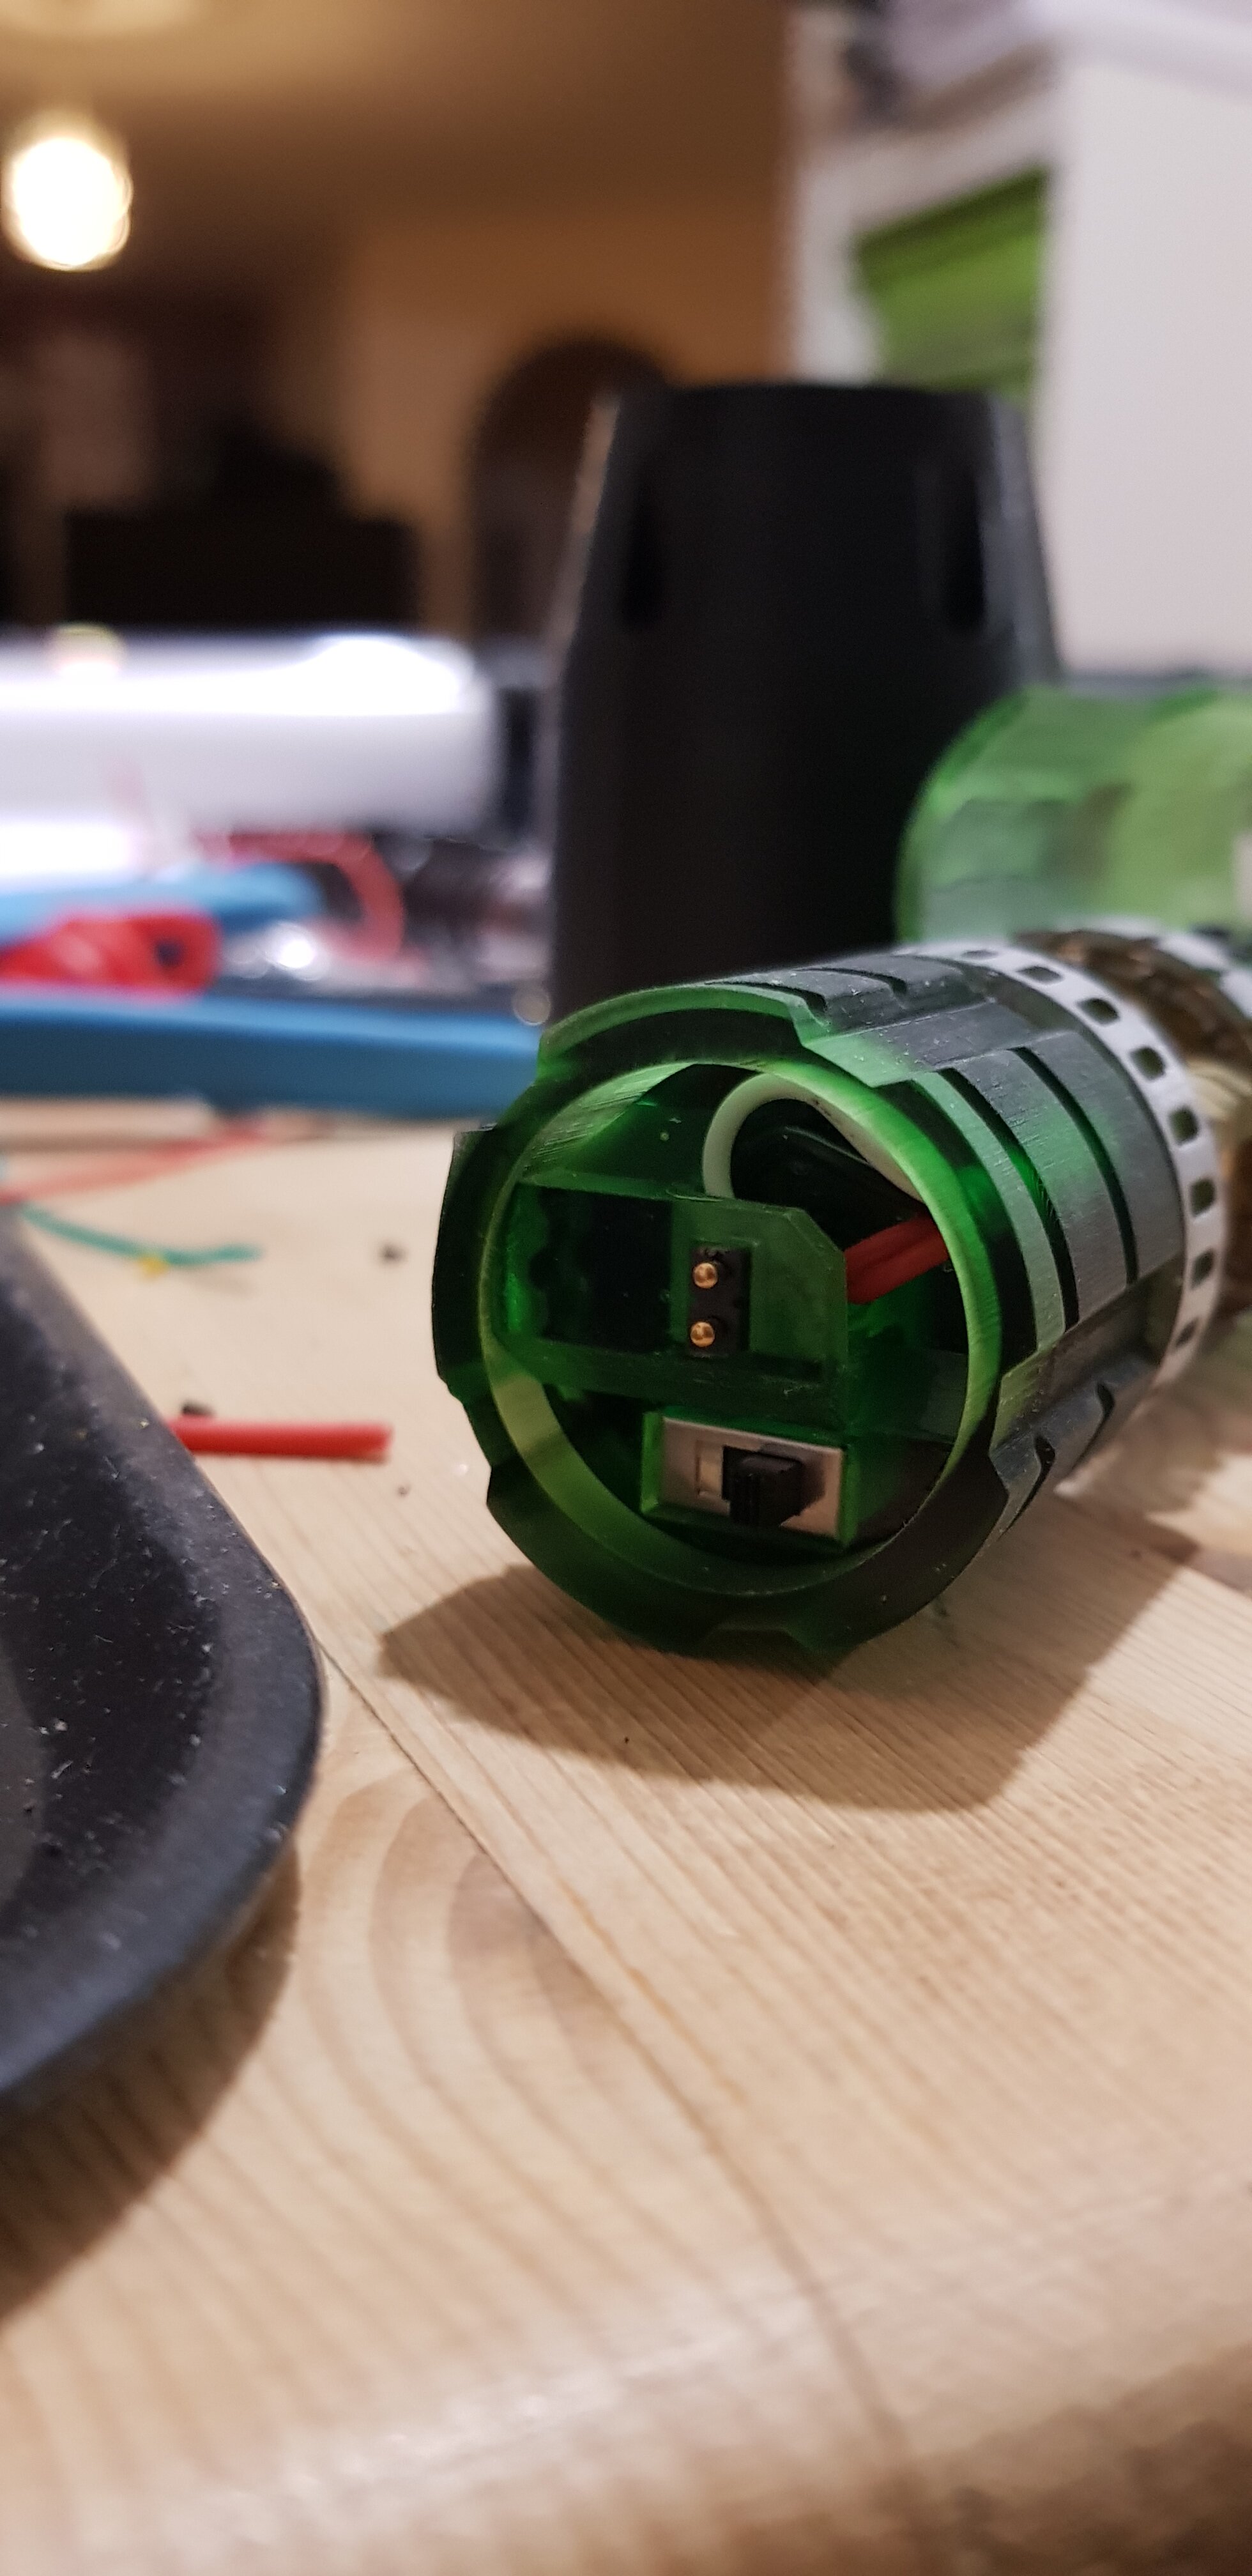
Finally got the pommel section finished with 40mm speaker installed and a nice resin printed speaker cover.


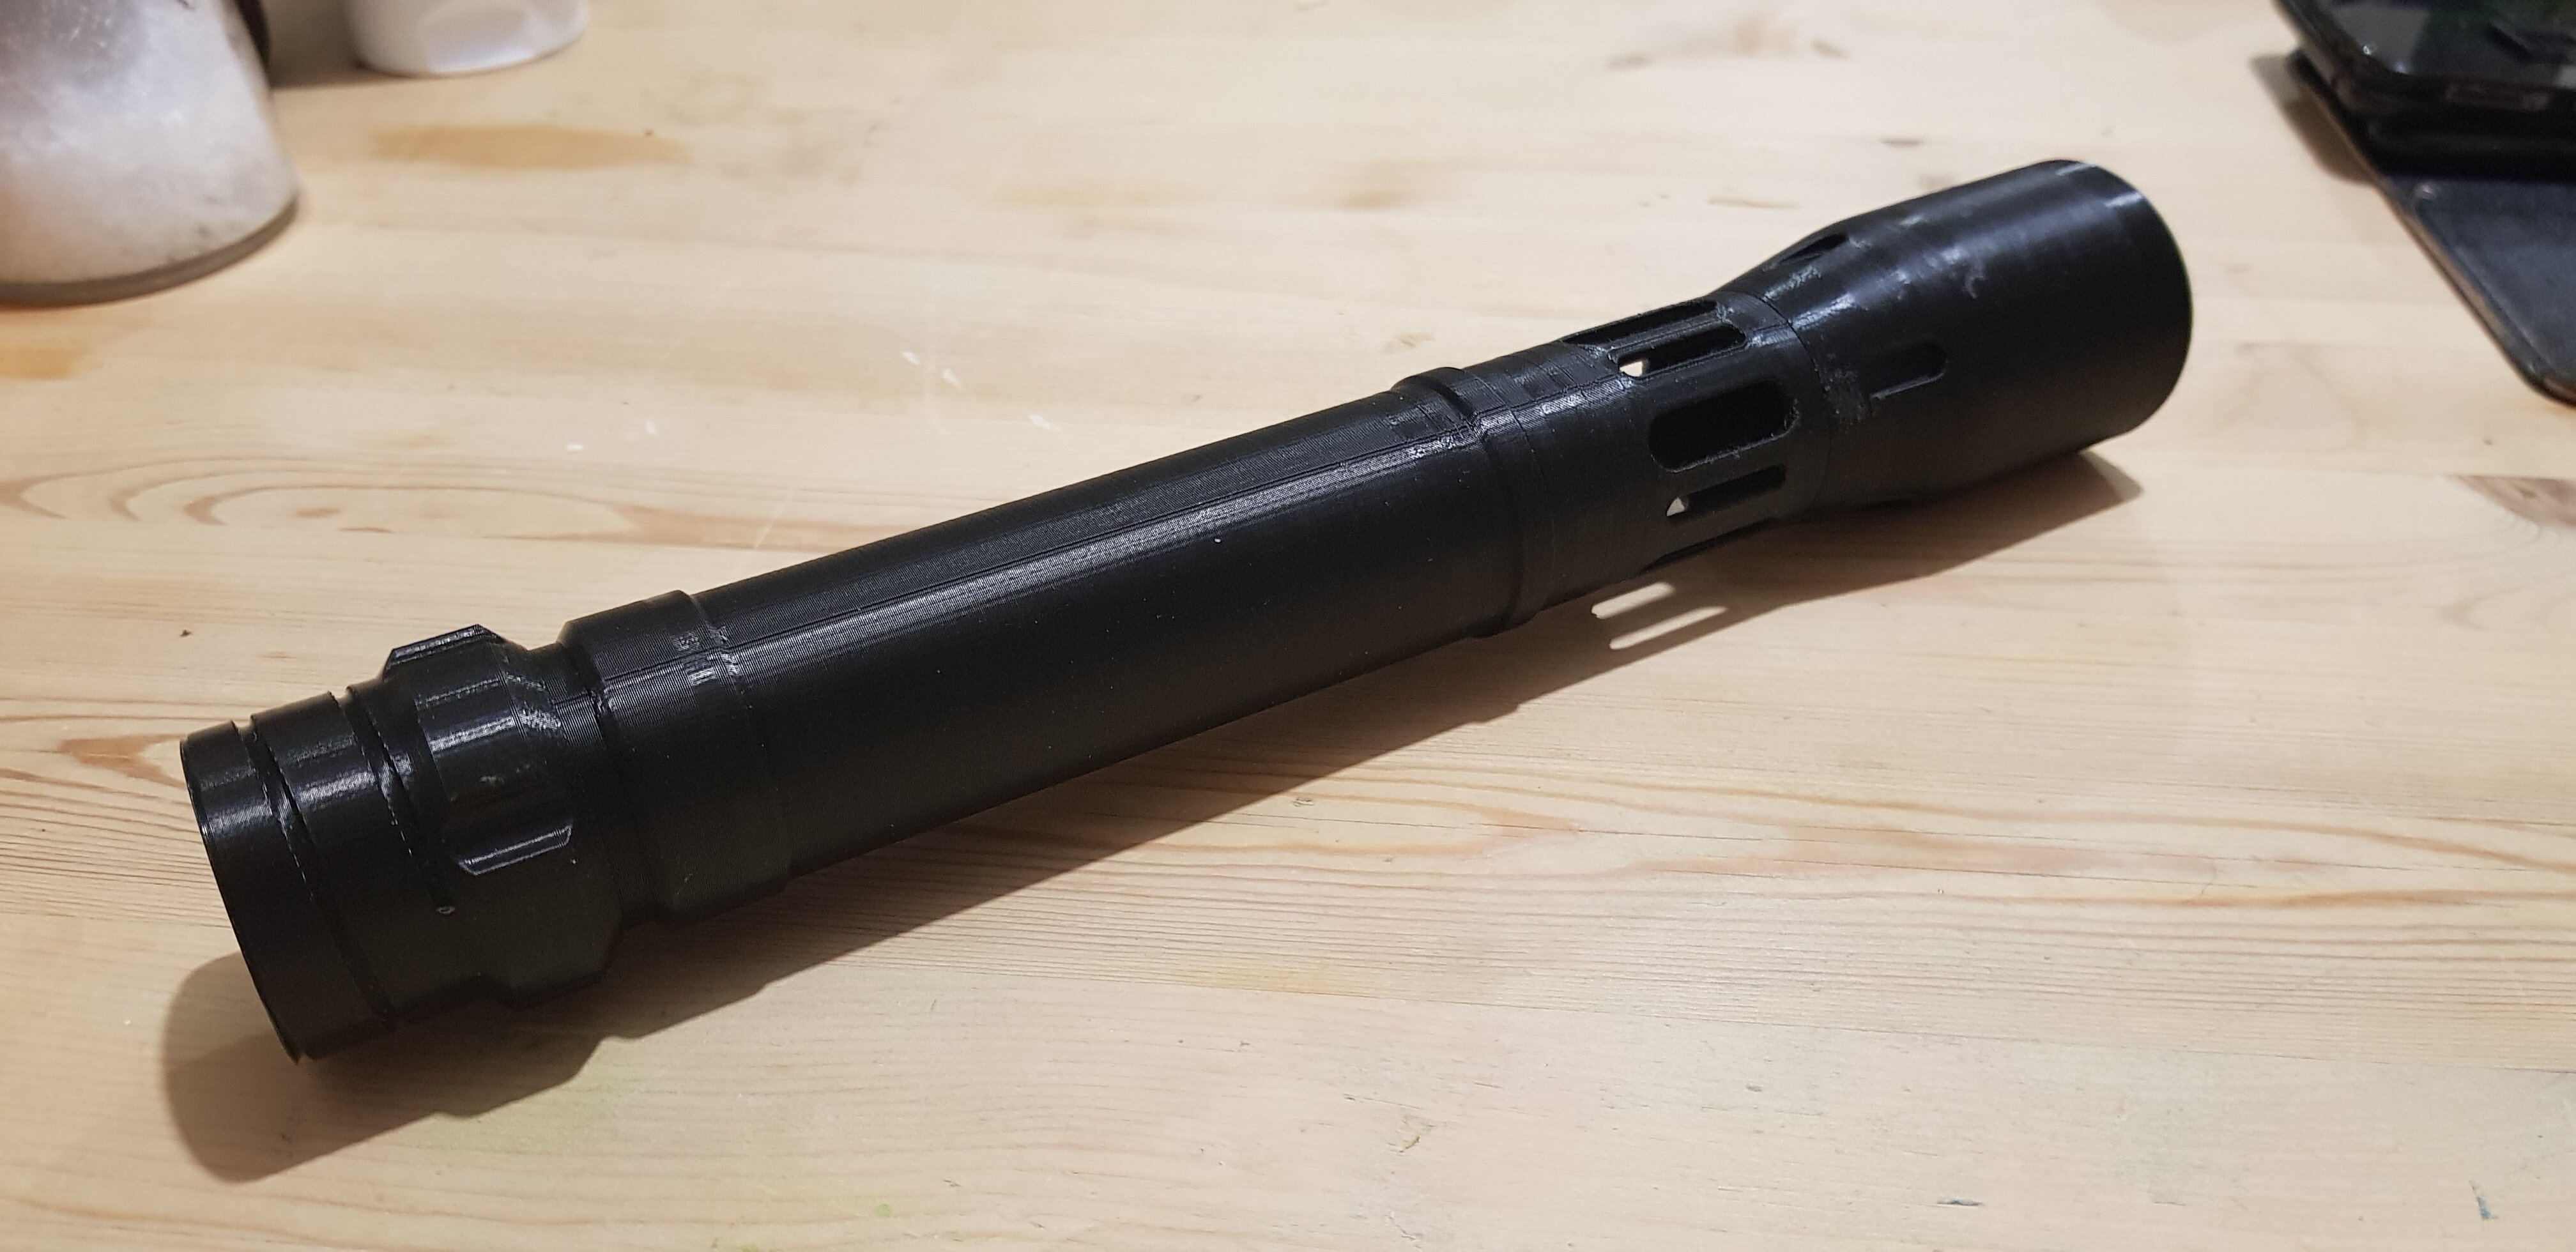
And the journey continues but this time I printing the rest of the hilt.
And started wiring the chassis.


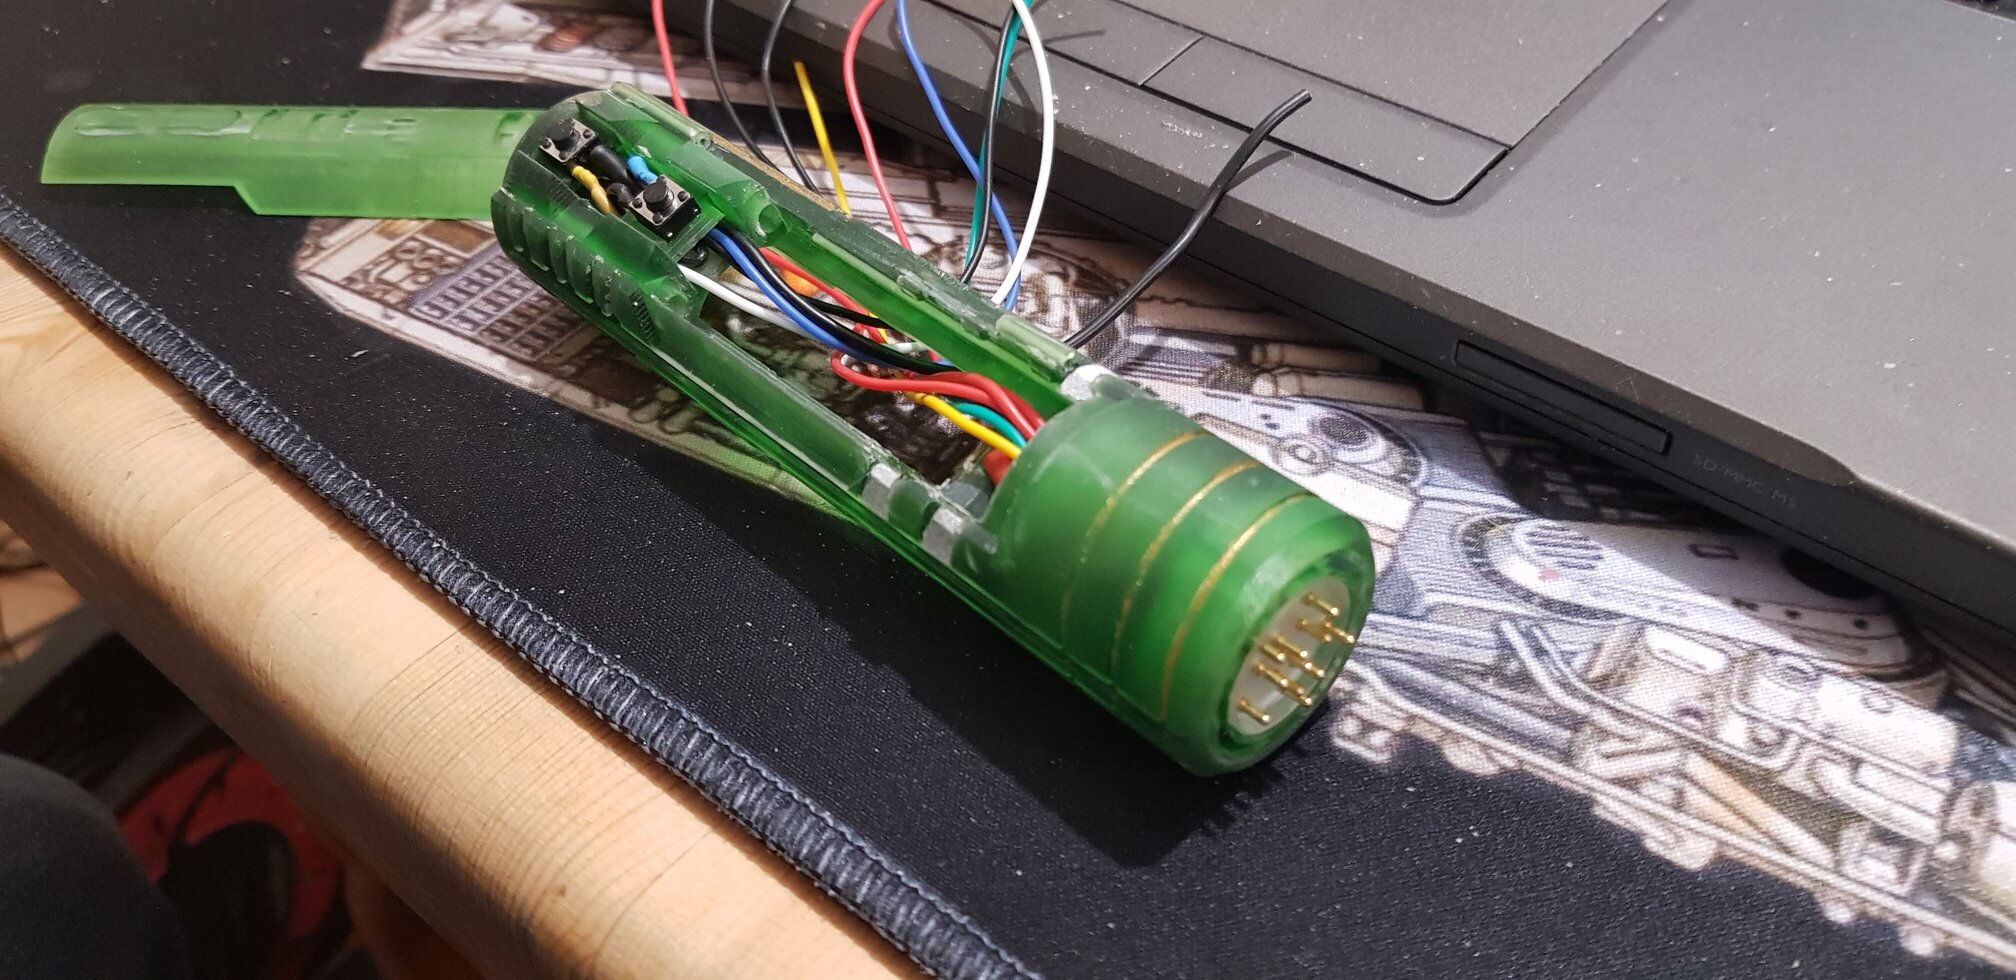
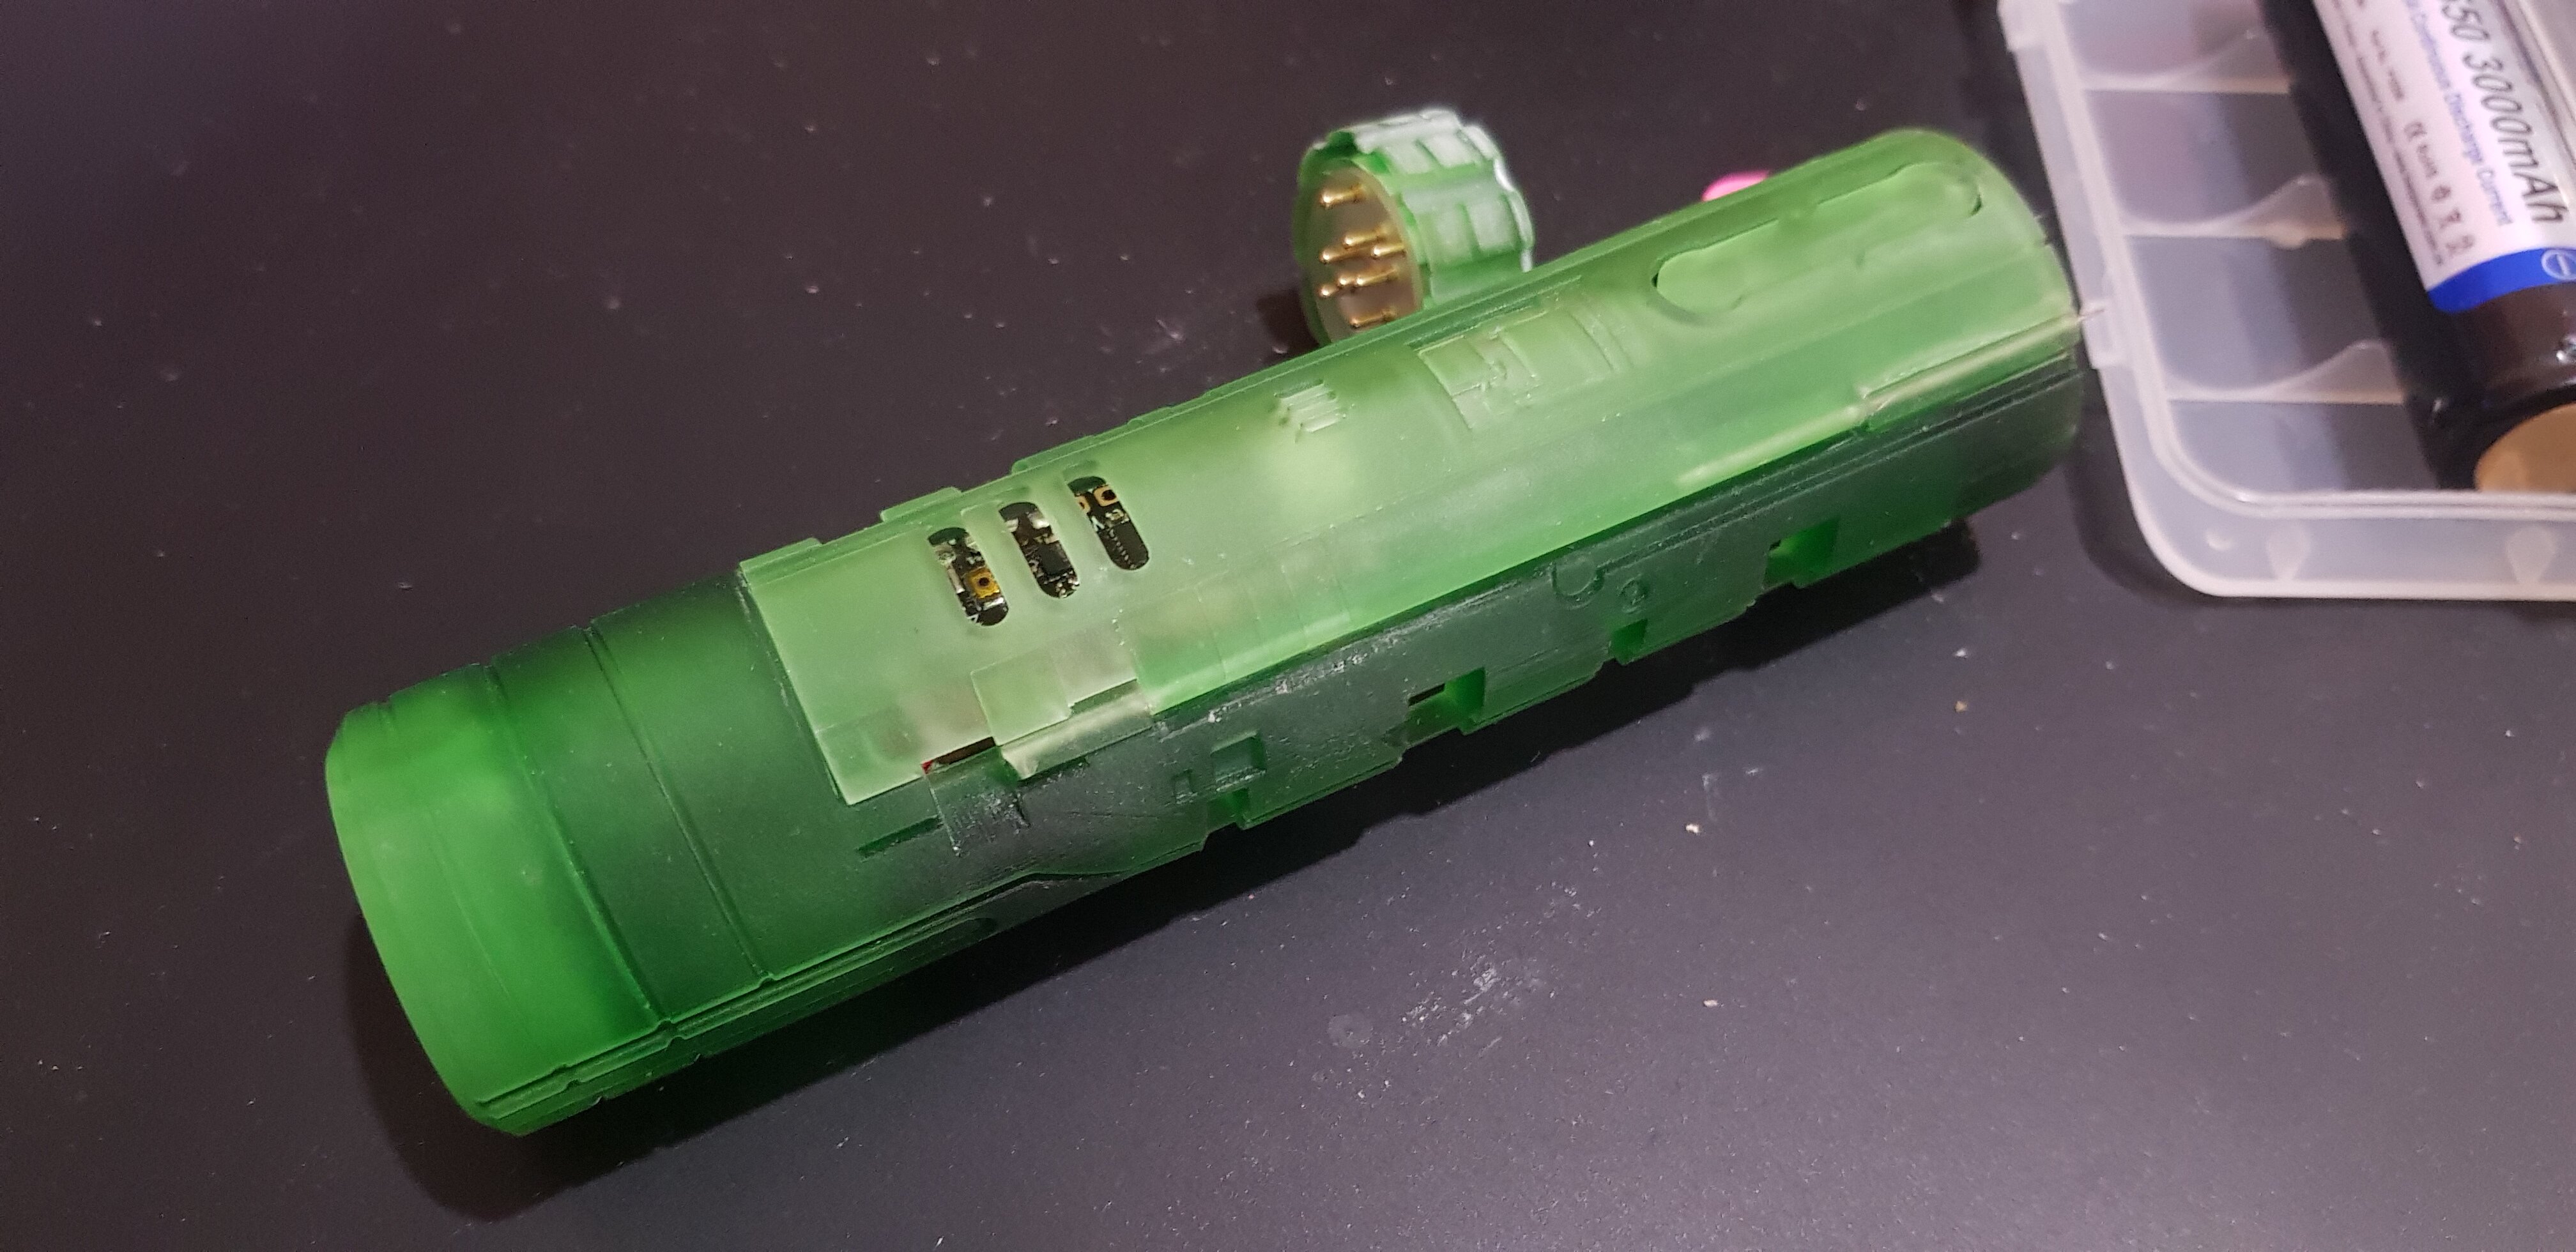
Finished wiring up the chassis and tested. All ok and I’m very happy with how my prototype has turned out.
I’d like to thank everyone here as most of you have had some input with help and advice.

1 Like
Would you be willing to share your files for this hilt and chassis
1 Like
bizarre I didn’t get notified, oh you didn’t reply to my comment, yeah still on hold.
1 Like
sounds like your having too much fun with the Bata testing 
let us know when your back on it (waiting with baited breath for the reveal!)
1 Like
WELL there is that but the honest truth is that I kind of gave up, I was so frustrated that I kind of made excuses. I need to get back to it.
1 Like
Consider this my incentive to you then… do it mate!
You’ll be happy you did when its done even if it was a struggle!
Plus I want to see it in all its glory!
1 Like
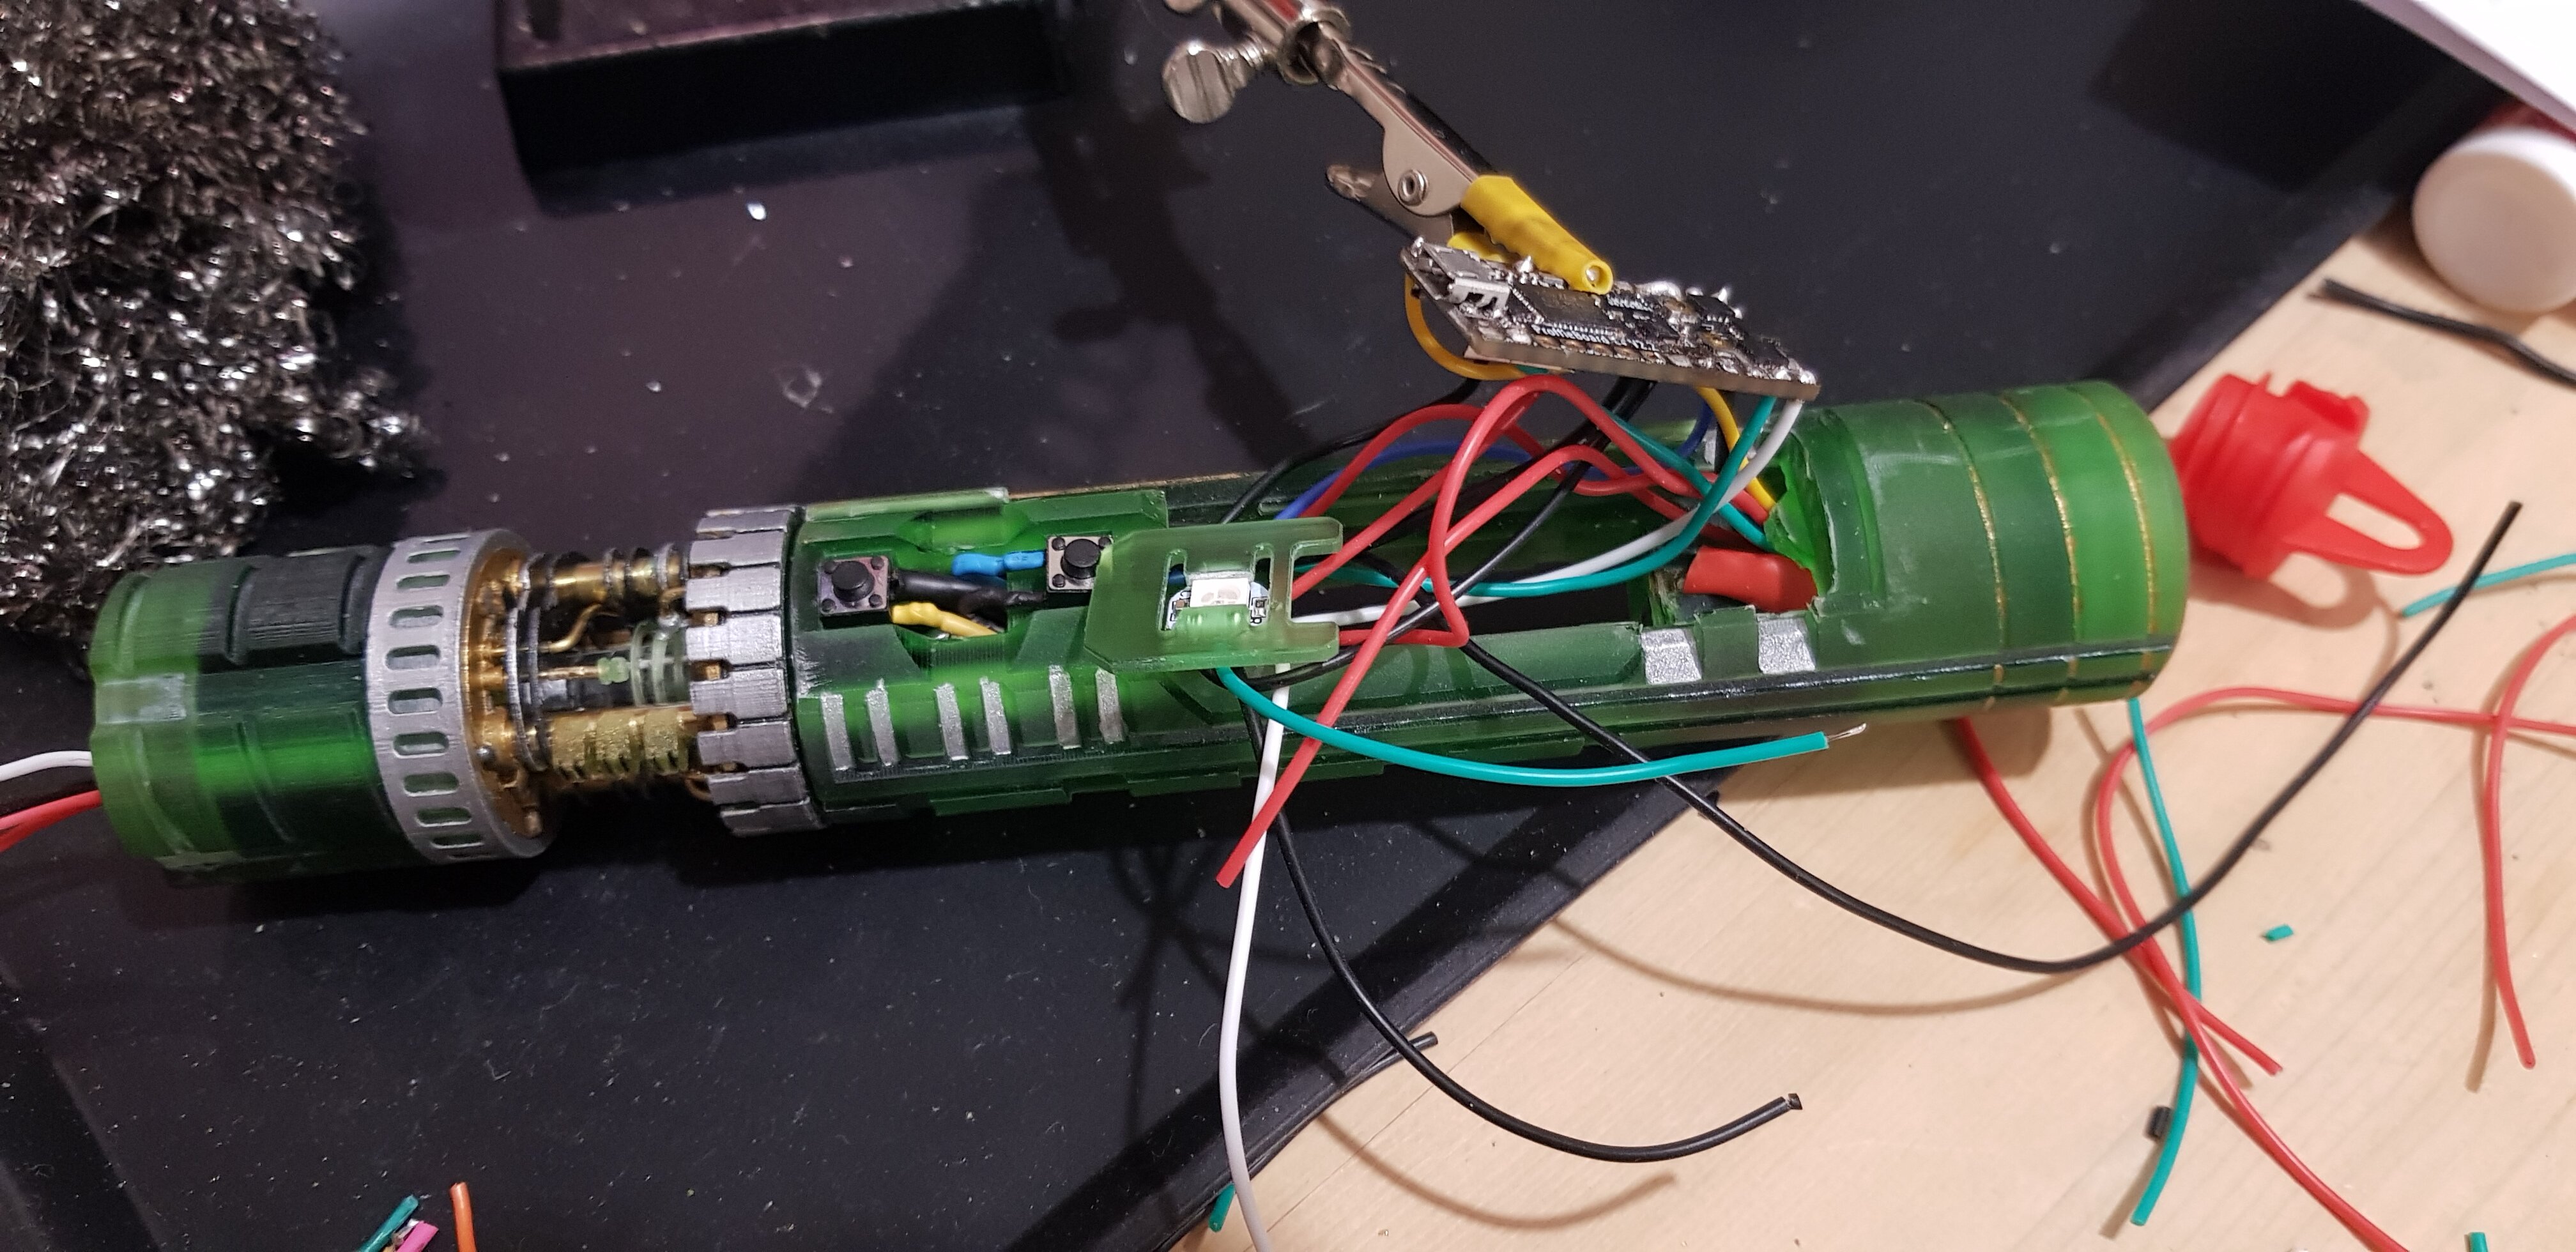
I’m finding that I have wired it all up but when I try to put it in I get some wires ripped and I have the chassis not fit.
1 Like
sorry to hear that, it can be disheartening when you put all that hard work in only to find you have problems squeezing it all in.
hope you find the answers to the problems in the near future.
until then I wish you luck!
The worst phase of any build for me is the end. You’re just so ready for it to be done that any of the small problems that pop up feel really big. Just remember all the work you’ve put in up to this point and it might help you push through!
1 Like
I wired the data to the wrong pad on my NPXL connector in v4 config on my last build and just couldn’t be bothered taking everything apart again to get it right. Ended up making a lit blade plug to avoid it!
2 Likes
Dial back to basics Max. Just wire what you NEED to make the saber work. Use the smallest PTFE wire possible, and cut wires to the exact length of installed soundboard, with less than 1/2 inch to spare. Then you can cram fu. Install the board Max!!! You can program which is the hardest part, installing is easy. 90% of the difficult part of Proffie installs, is the config file for the saber. The install is easy. INSTALL IT MAX!!!
2 Likes
I’m too heavy handed. and am butter fingers. I find it hard.
1 Like
dude, I’m a mechanic and my favourite tool is a hammer! 
Patience is key with wiring, you’ll get there in the end, you just have to go slow.
I have to tell myself to slow down all the time I just want to finish things so bad i end up taking longer sorting out the bits I did wrong or just plain forgot to do.
speed will come in time.
just set a realistic goal each time you sit down with it, even if it’s 1 wire at a time. 
1 Like
There is one thing that is even more important than patience: testing.
Use a multimeter to test every solder joint, both to make sure the connection is good, and it’s not shorted to anything nearby. It may seem silly, since 95% of the time everything will test just fine, but those last few percent are very very important…
5 Likes
I get really shaky when soldering and have managed to do it. The key is to make sure heping hands are well placed and things are secure. Measure twice, cut/solder once.
2 Likes
…then multimeter test again before power!
4 Likes