Ok So I need a HUGE favour from @NoSloppy @MegtoothSith @Driftrotor @A_Rogue_Child. I’m the kind of person that responds REALLY well to being told off for not doing stuff… in short I learn best when people hold me accountable.
With that being said in 24 hours from this post could any of you ping me to see what I have done? (Tonight’s plan is to wire speakers and install it in the chassis, hopefully wire it up to the board.)
It’s 9:42 am so I’m day jobbing.
Have you started on it yet max?
Ok…wiring a speaker should be about a 3 minute job…so do you want to wait 27hrs 57mins to start it? Lol. Slightly confused
1 Like
Not for me it’s not. My speakers keep having the wires come off
Max, the wire must stay completely still on speaker post until solder cools. You might be heating it up too much, and then not permitting a moment for solder to cool.
1 Like
Yep I wired most of it. I stopped cause the board was getting hot and some of the wires had fallen off.
All that is left is to wire positive negative battery and ground switch plus the adaptor positive and negative and 1 speaker wire.
1 Like
It goes quick, so take your time. Programming the board actually is harder than soldering. You just have to find what works. Are you using lead solder or silver solder? Keeping iron tip cleaned and tinned? Using a small of a tip as possible? I run at 360C with a needle tip, but if youre using a larger tip, run it lower. Maybe 300, but depends on your solder. Silver solder requires more heat, and longer hold to cool time. Leaded solder melts and solidifies quickly.
Tom
1 Like
Did you manage to get the last few wires on the board max or are you going to push it back to tomorrow?
I totally agree with @MegtoothSith a clean soldering iron and lightly tinned. I do this regularly to stop the solder from gunking up.
Another tip is to not tin the ends of your wires too heavily as solder can creep down the wire and cause it to become stiff and break while positioning the component.
I run about 300 for most joints but 300 to 400 is about right.
1 Like
I’m home on a sick day, lol, I hold nobody accountable. 
Back to sleep, but here’s some motivation.
2 Likes
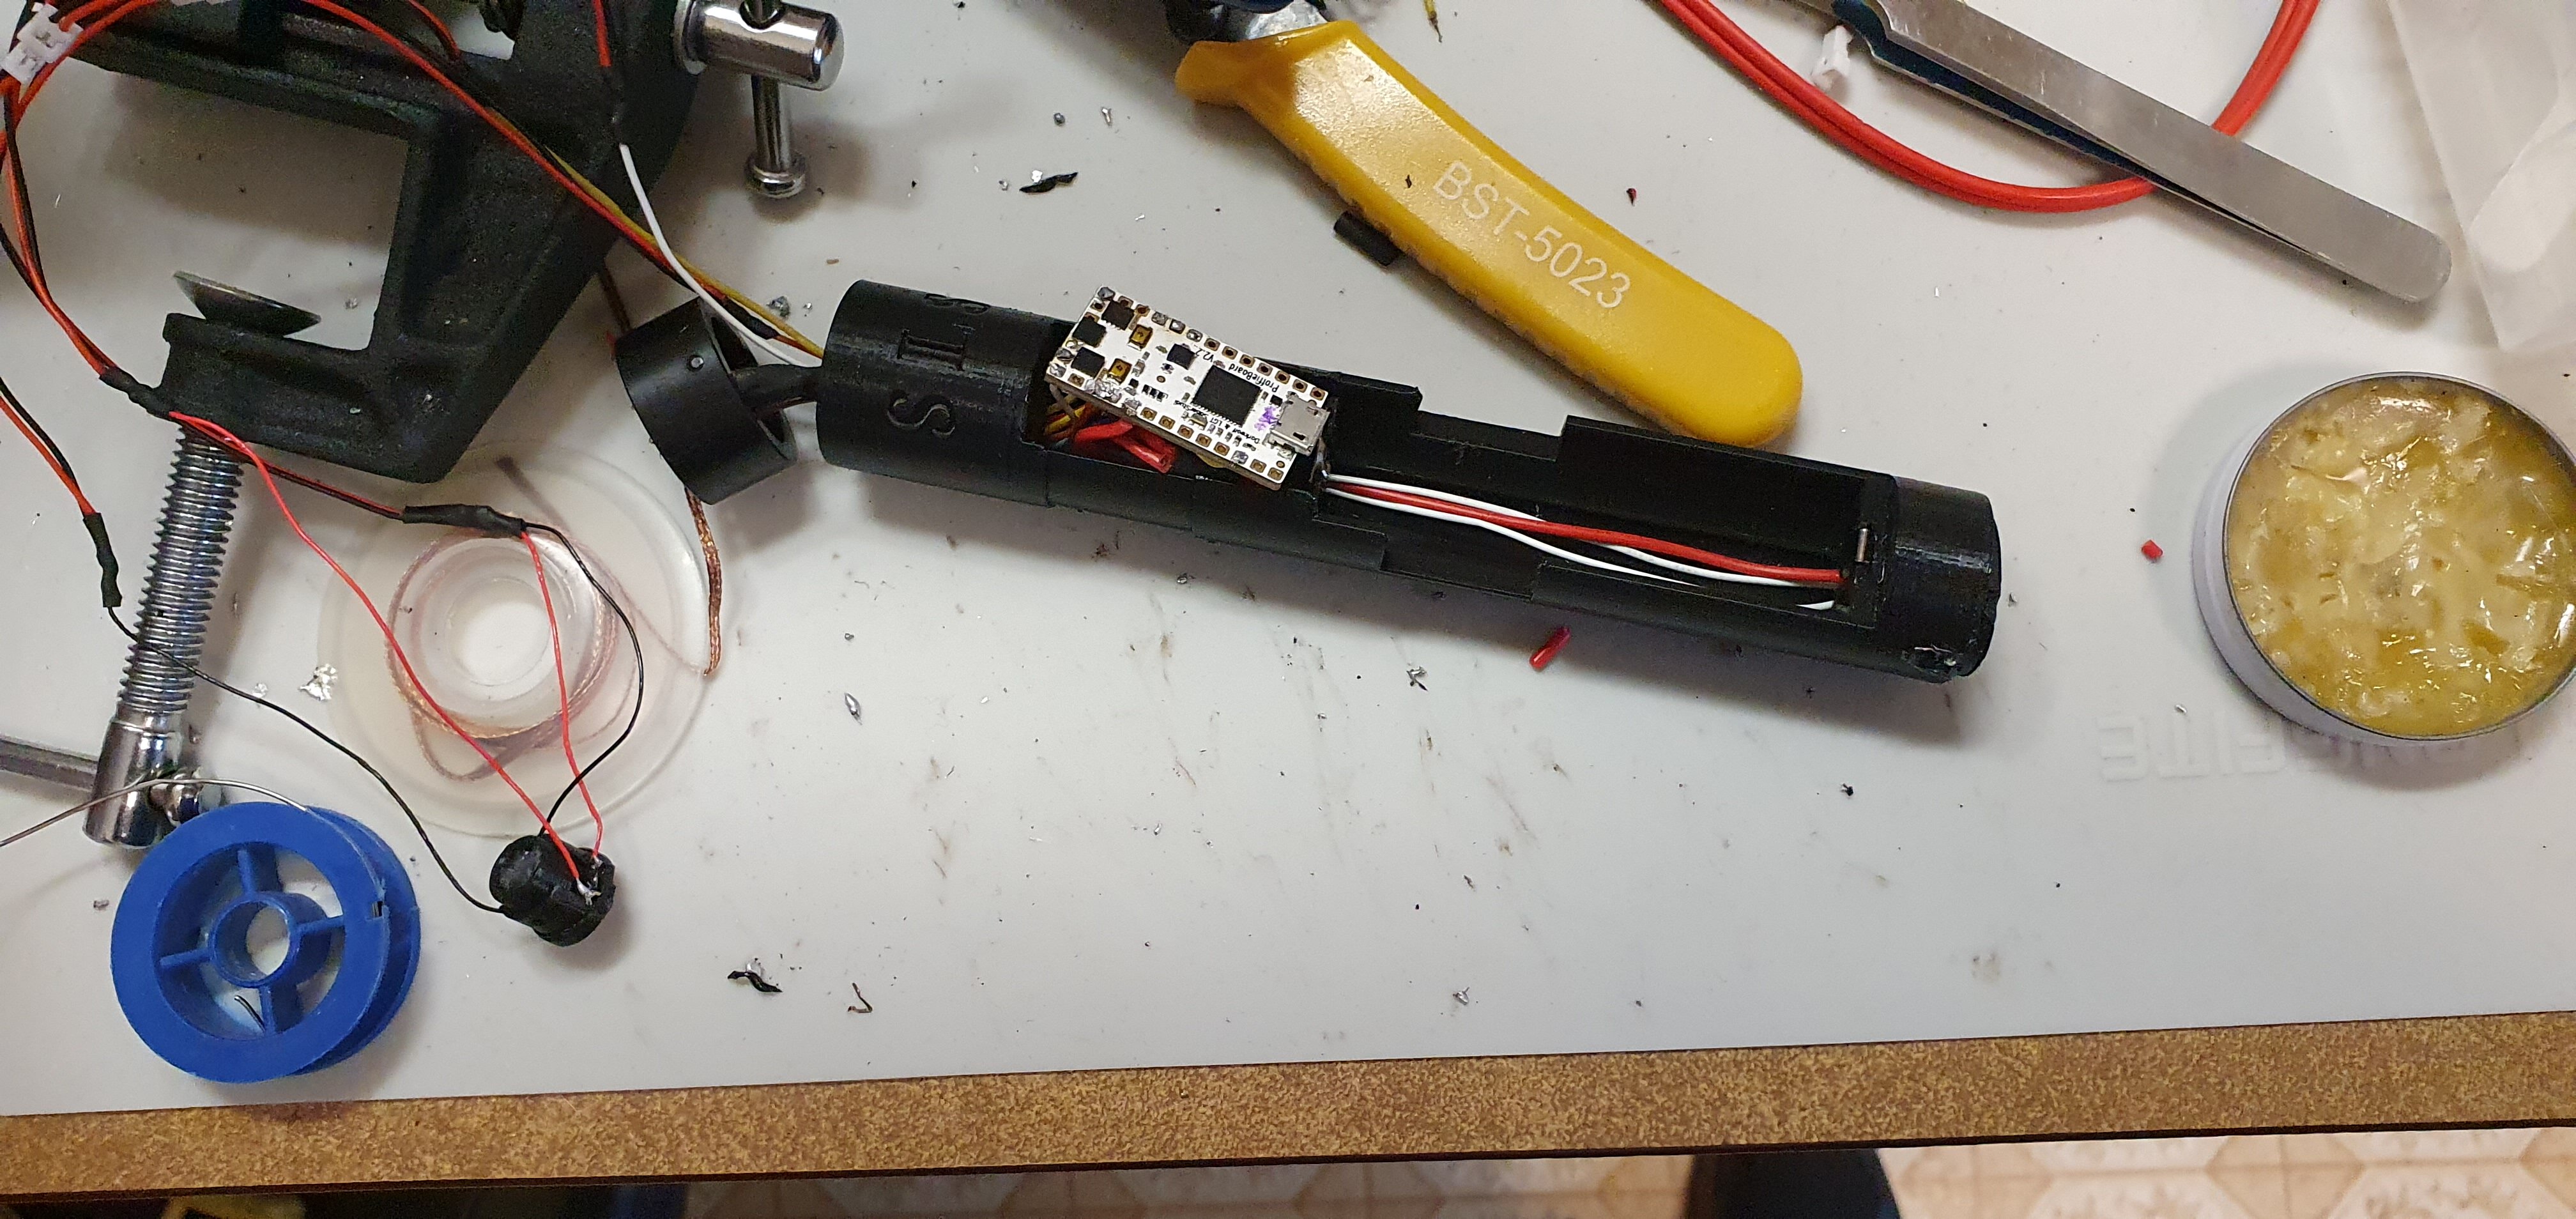
So I did more then expected.
Question: do you braid battery + And adaptor + and put it through the hole? Or join one lower and have 1 wire meet to the board?
1 Like
looking good so far mate 
i tend to join the main positives together with a smaller one to go to the board (this is where i put in the kill switch too)
1 Like
Try to run a direct positive from the battery to the pogo-pins PCB. Then from there, take an available other positive pin and run smaller gauge to the board BATT+. No doubling up or joints along the way.
2 Likes
that’s a good idea, i think i will use that when i next wire up thanx
Max,
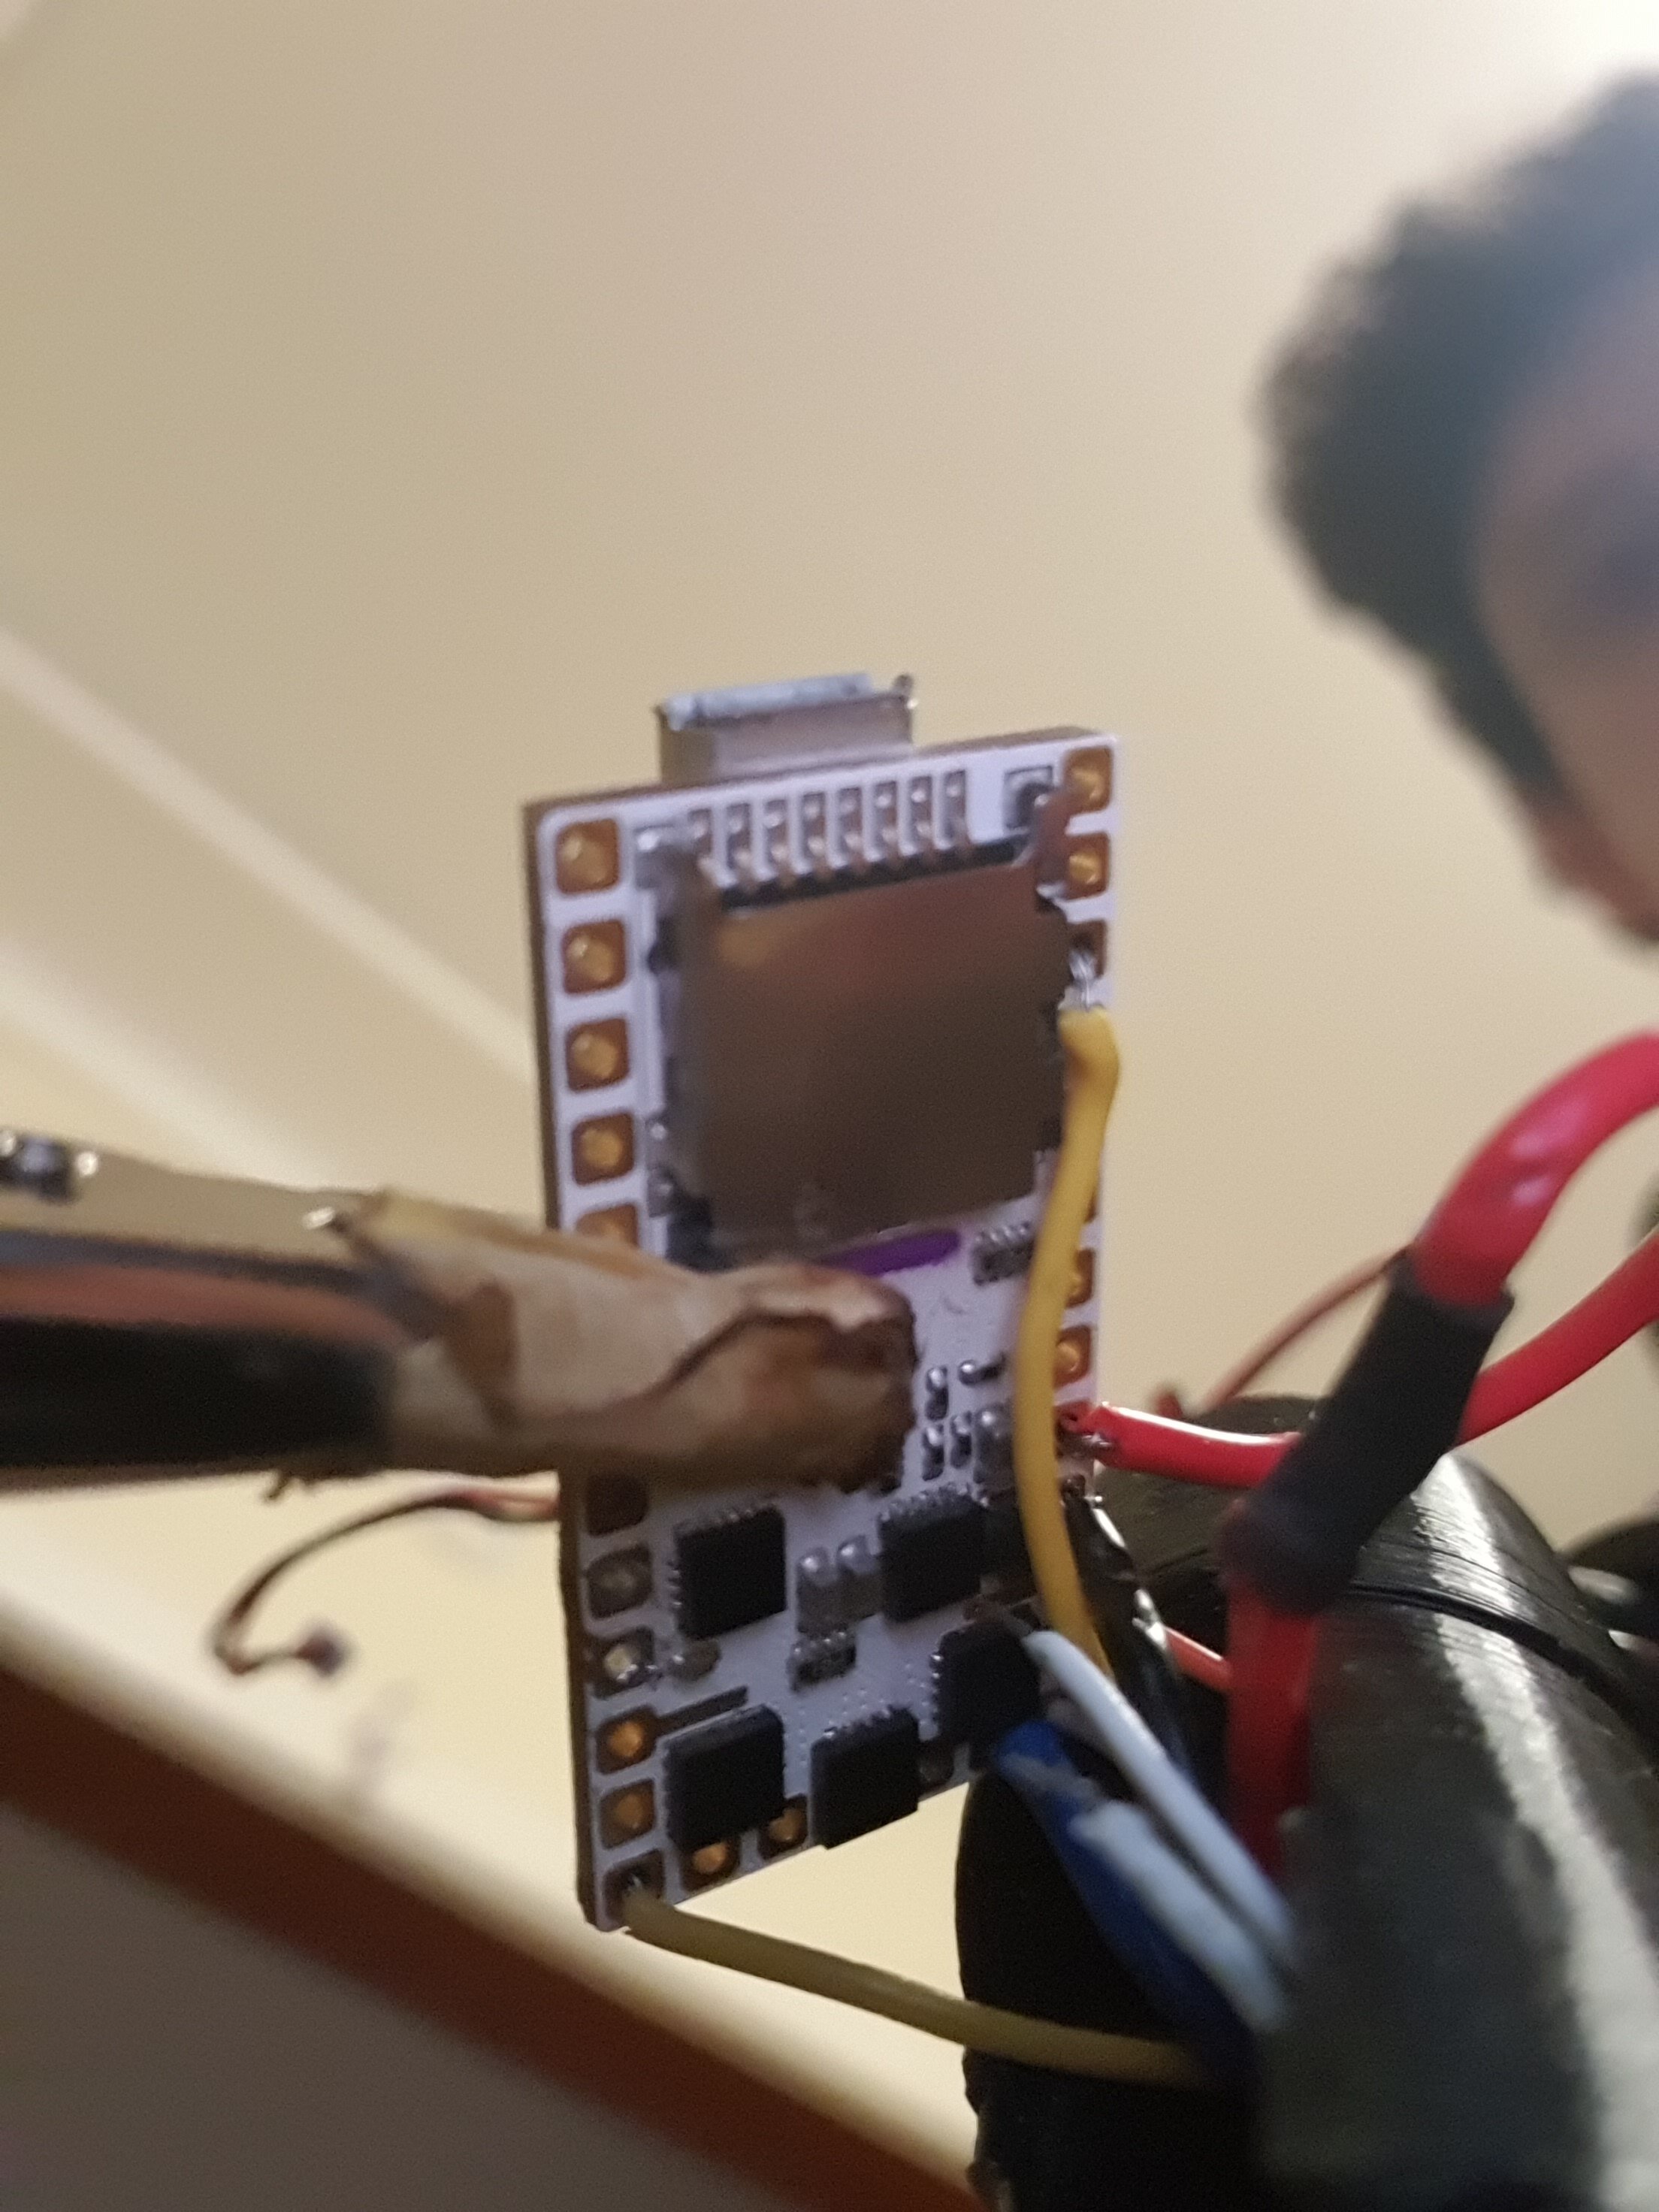
I see your attempted merge. If you’re going to merge the positives like I do in my installs there under the board: strip more wire from both the wires in the chassis, at least 1/2 inch, if not more. Use a smaller wire as a pigtail, join it with one of those wires, then join the 3 wires. Don’t forget your shrink. Its hard to merge wires with too little stripped off of them. Its also impossible to twist your pigtail onto those feeds if you don’t have enough stripped. I see both your positives there. You are also discovering why I use PTFE. Those 22 nylon jacketed wires are HUGE. I can’t zoom in too much, but your board solders look good. How’d the speaker go?
1 Like
I had spare silicone and wanted to use that but it’s beating me. I’m thinking that I may re do all of it. I wired it all up minus the speaker. And it didn’t turn on. I’ll try to fix and get better wires.
2 Likes
I had to stop for a bit cause on that day I had a day off but today I was working but I have a long weekend of 3 days (queens birthday on monday) so i may try again over the next few days. the last update.
However I need to replace the battery on my multimeter left it on for about a month by accident. I’m going to check voltage and continuity before starting again…
NOW. does anyone have suggestions on what I can buy for the crystal chamber spacers from Amazon.
1 Like
Hows the build coming on?
1 Like