I was wondering the best way to solder these pins on, am a novice but learning all the way and only have a soldering iron currently but does have some pretty small tips
Thanks, but I have the basic and have done 5 sabers so far
I prob should have expanded on the type of help, should I get a hot air station and some solder paste or is there tips for using an iron on pins so close to each other and not lots of contact space?
Normally I would dive in and learn from mistakes, but to get a replacement is from the US and at $20 dollars for basic postage it’s quite a pricey mistake(I got it as part of a chassis kit and didn’t fully think how small it was)
I don’t think hot-air & solder paste is actually the right tool for this.
I do have some advice though:
Get some magnification, it will help a LOT with soldering small parts. Actual suggestions can be found here: The Magnification Observation
If you need it, get some “helping hands” or something to hold the pieces while you solder. Some recommendations: The Holding Help
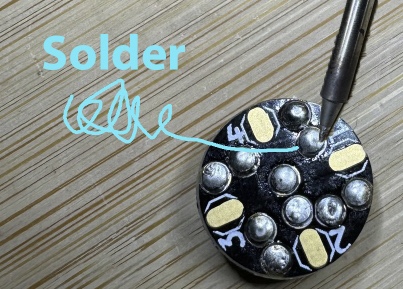
Try to use the right amount of solder so that it doesn’t overflow onto other pads/components. Thin solder wire helps with this. (The one I use is 0.5mm.)
As long as your iron isn’t too hot, so that it damages the board, you can always re-do any soldering that you mess up. After you solder it, check it with a multimeter to make sure that you have connections where you want to, and no shorts, and if it doesn’t work correctly, just fix it. You may need a solder sucker and/or some solder braid for the fix though.
Generally speaking, the only thing you can really mess up on a pogo pin board is the pogo pins themselves. If you get solder into the mechanism, or you bend the pins, then you’ll need to get new pins, but hopefully you can get those from digi-key, mouser or somewhere local.
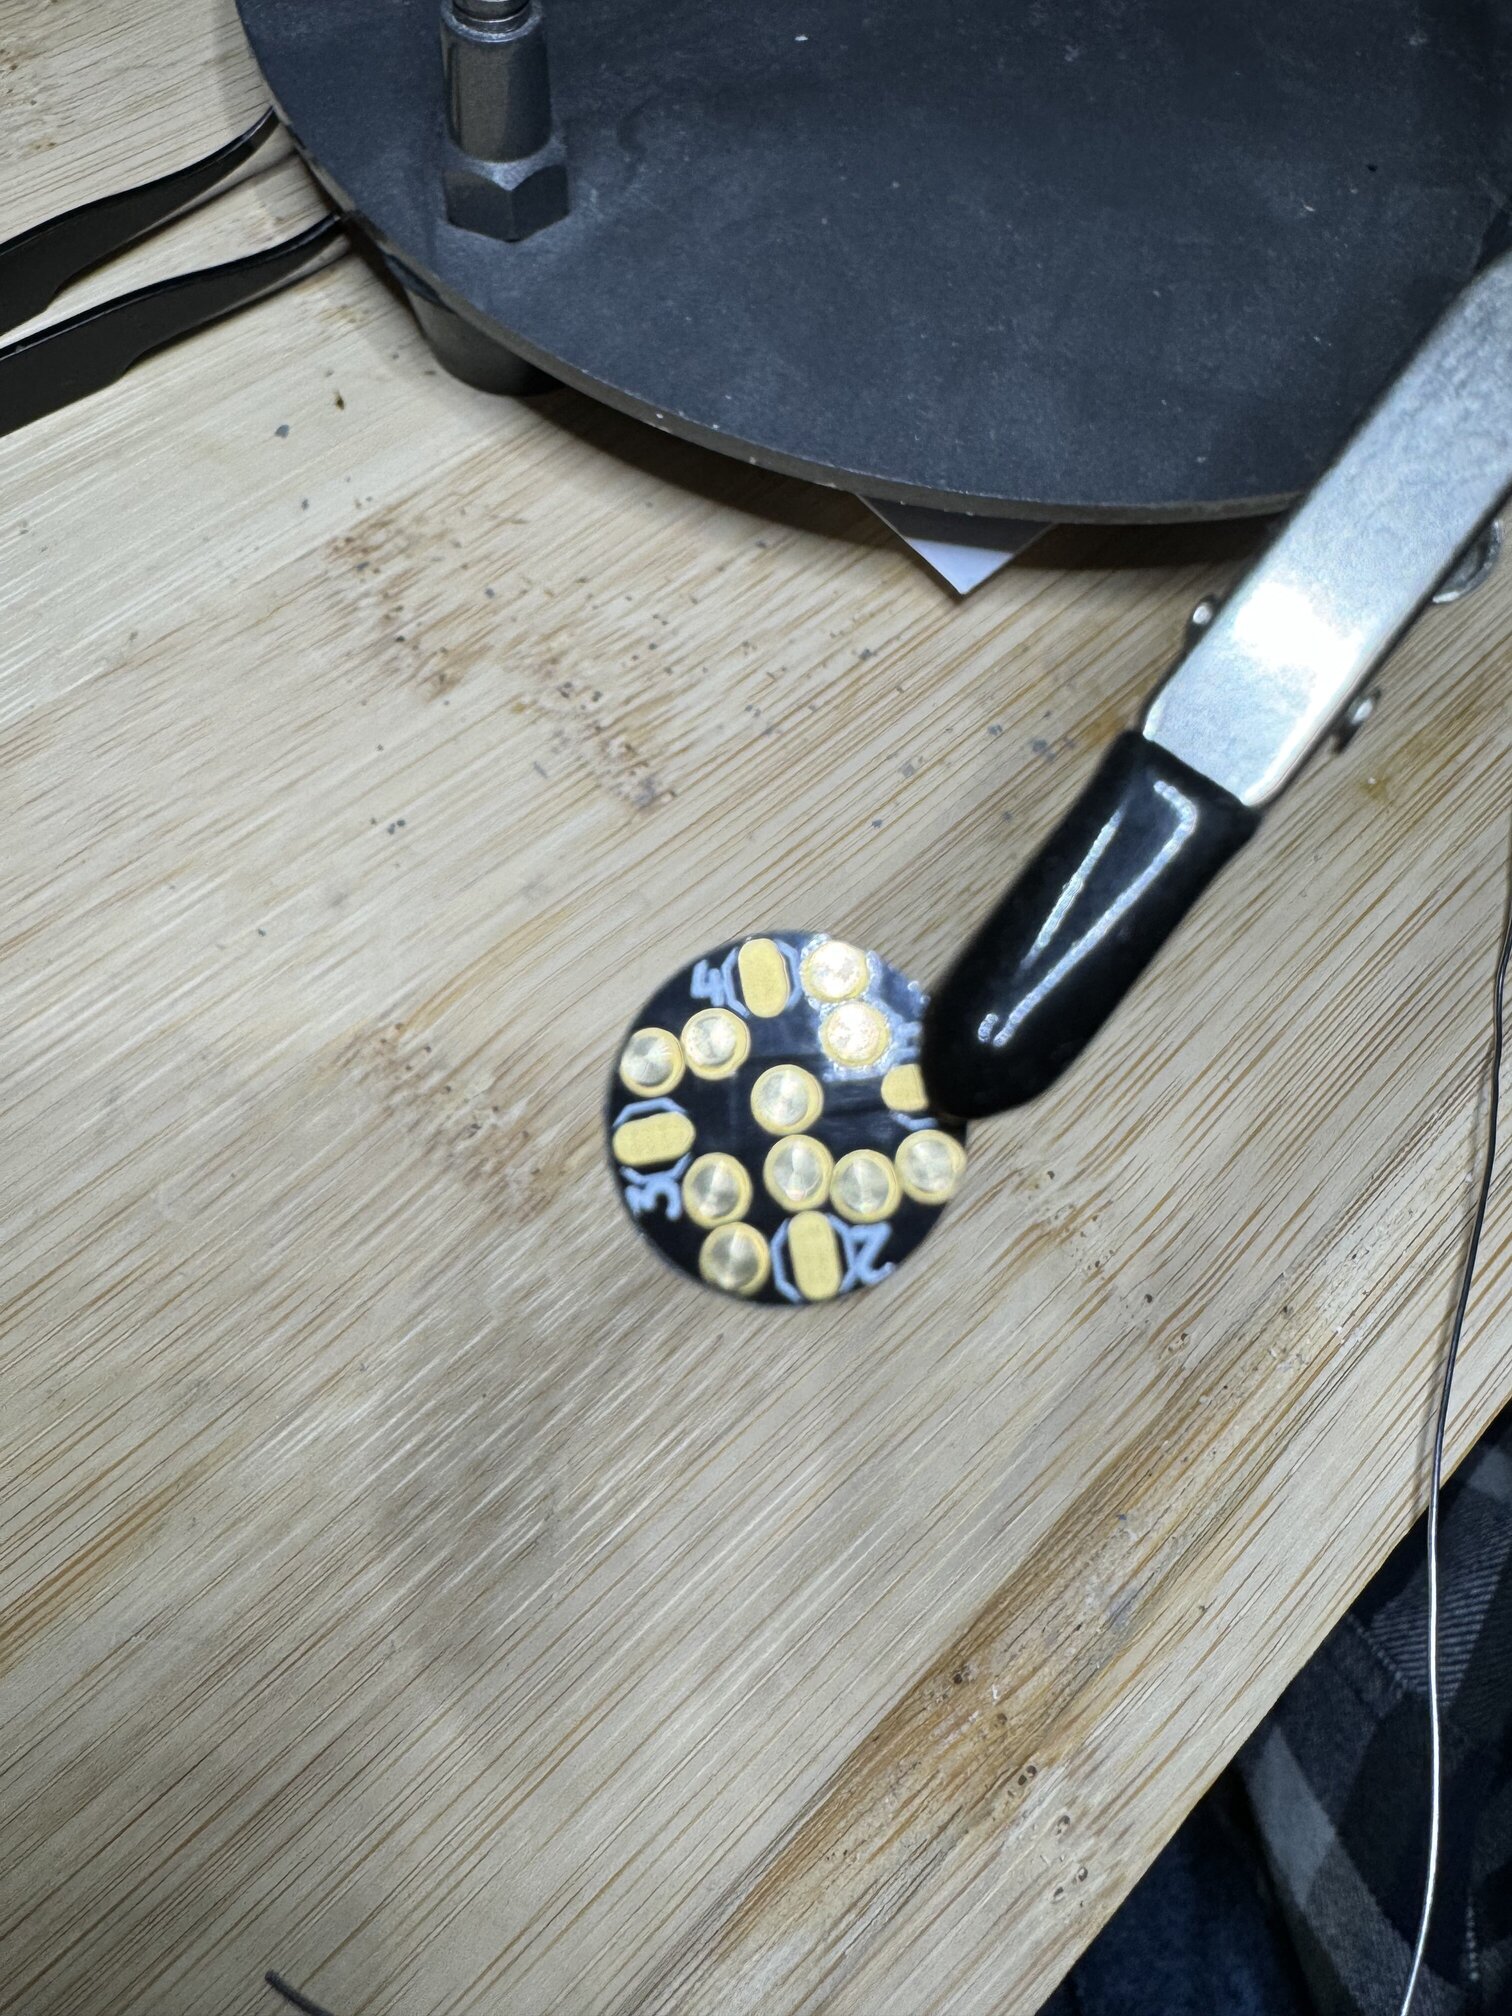
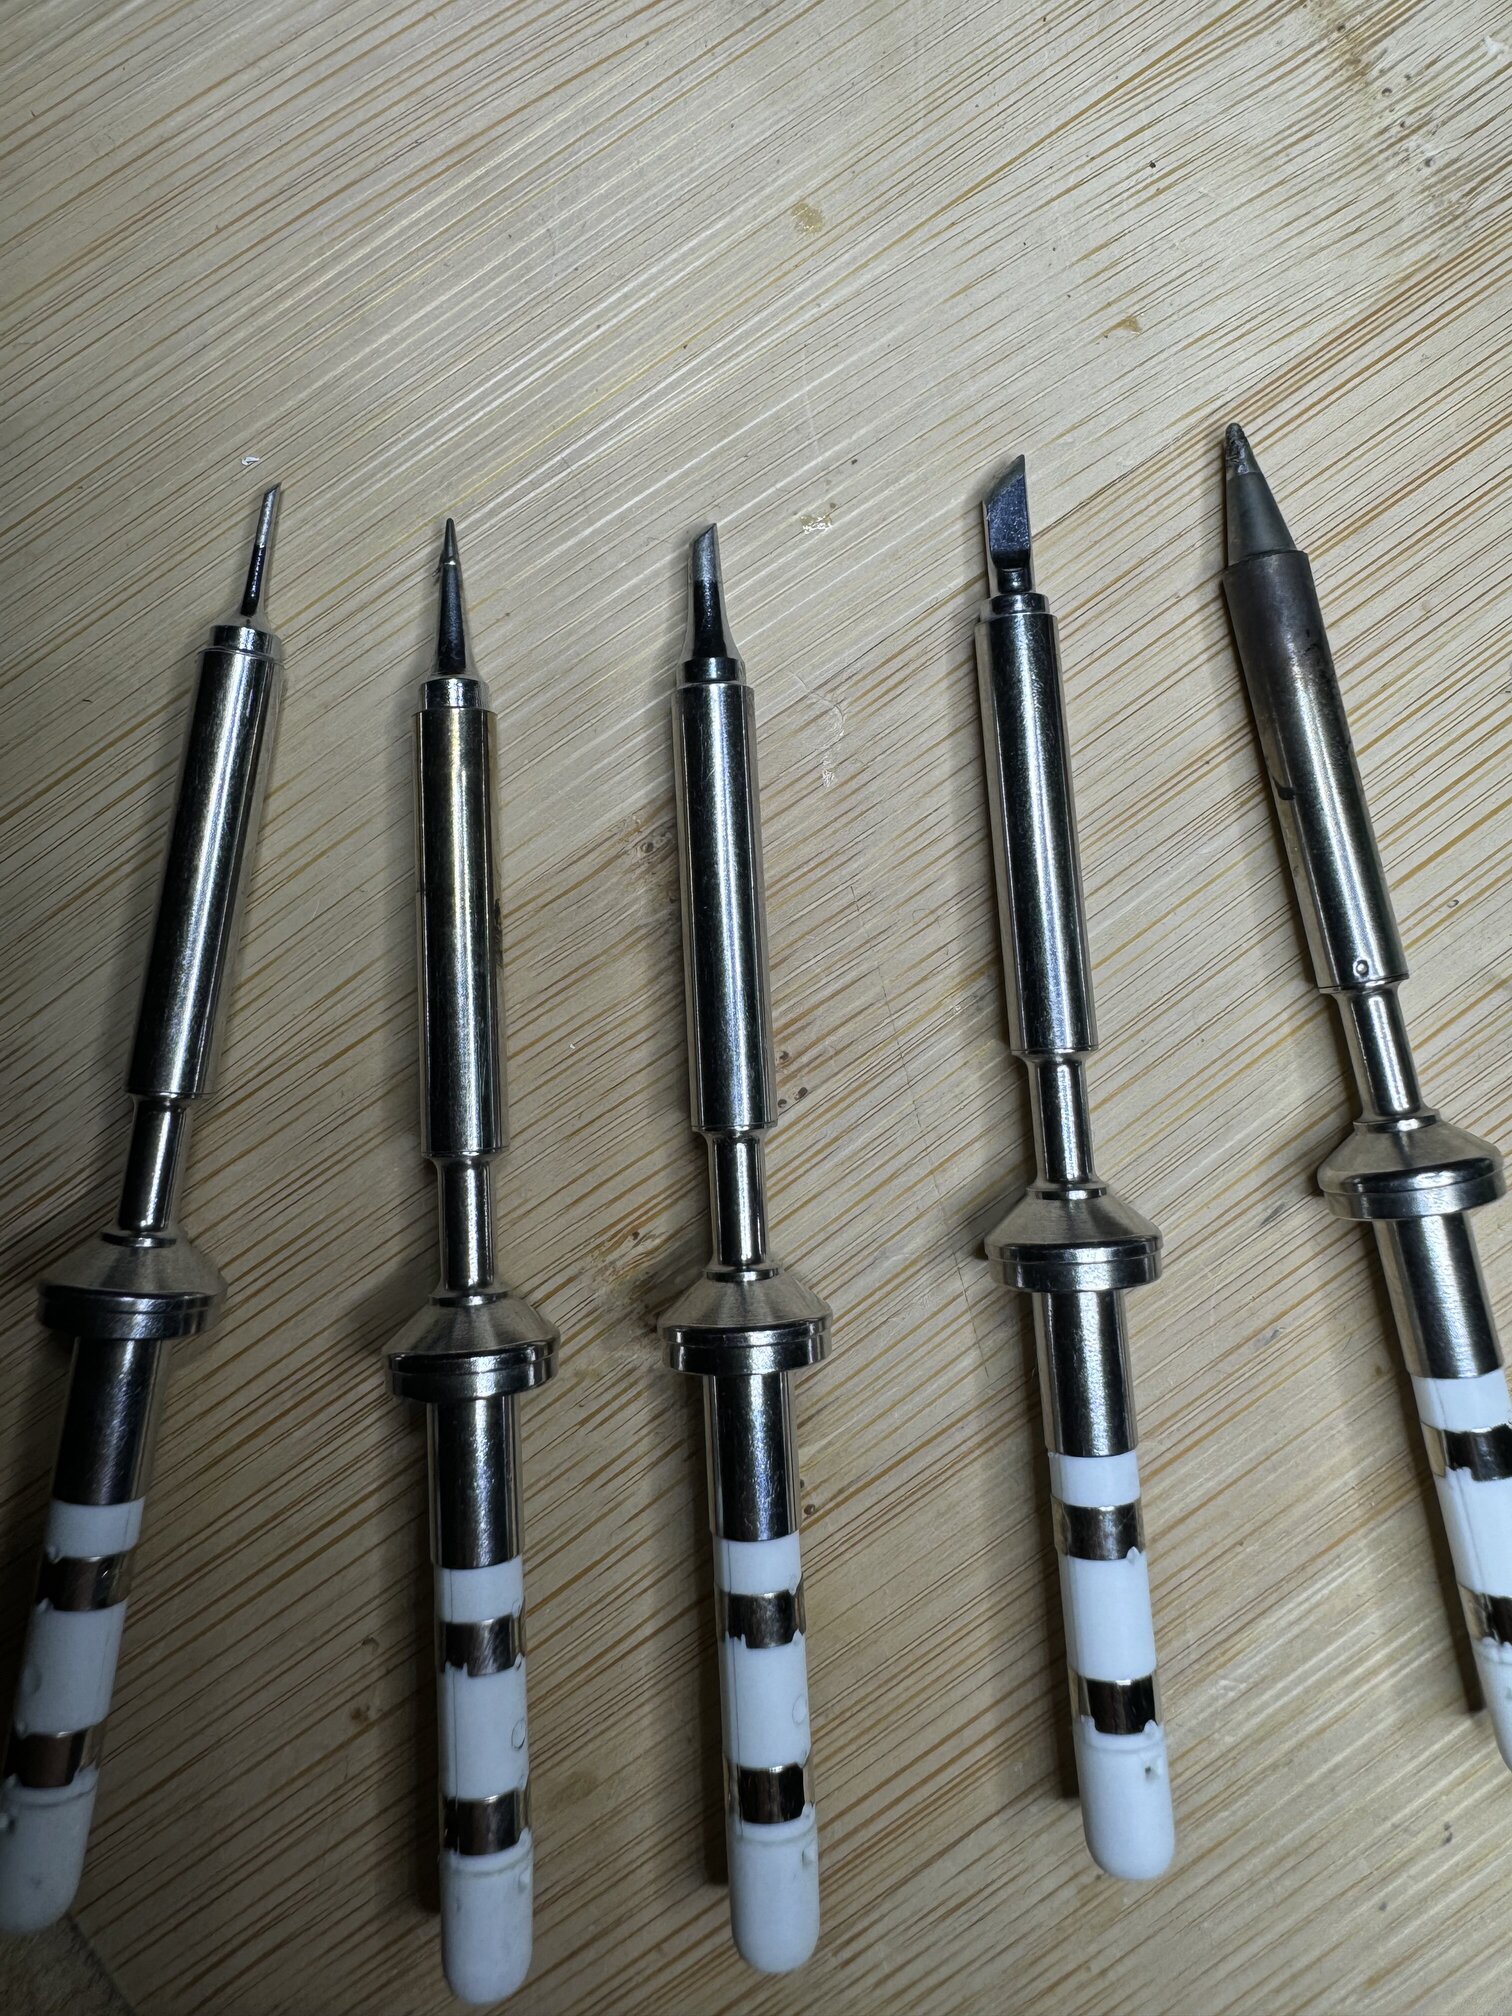
So far successful no shorts and all pins seem secure, am sure they could be improved but not wanting to ruin it now in search of perfection. I had more success using the far right tip it melted the solder much easier and your solder recommendation is night and day better than what I was using
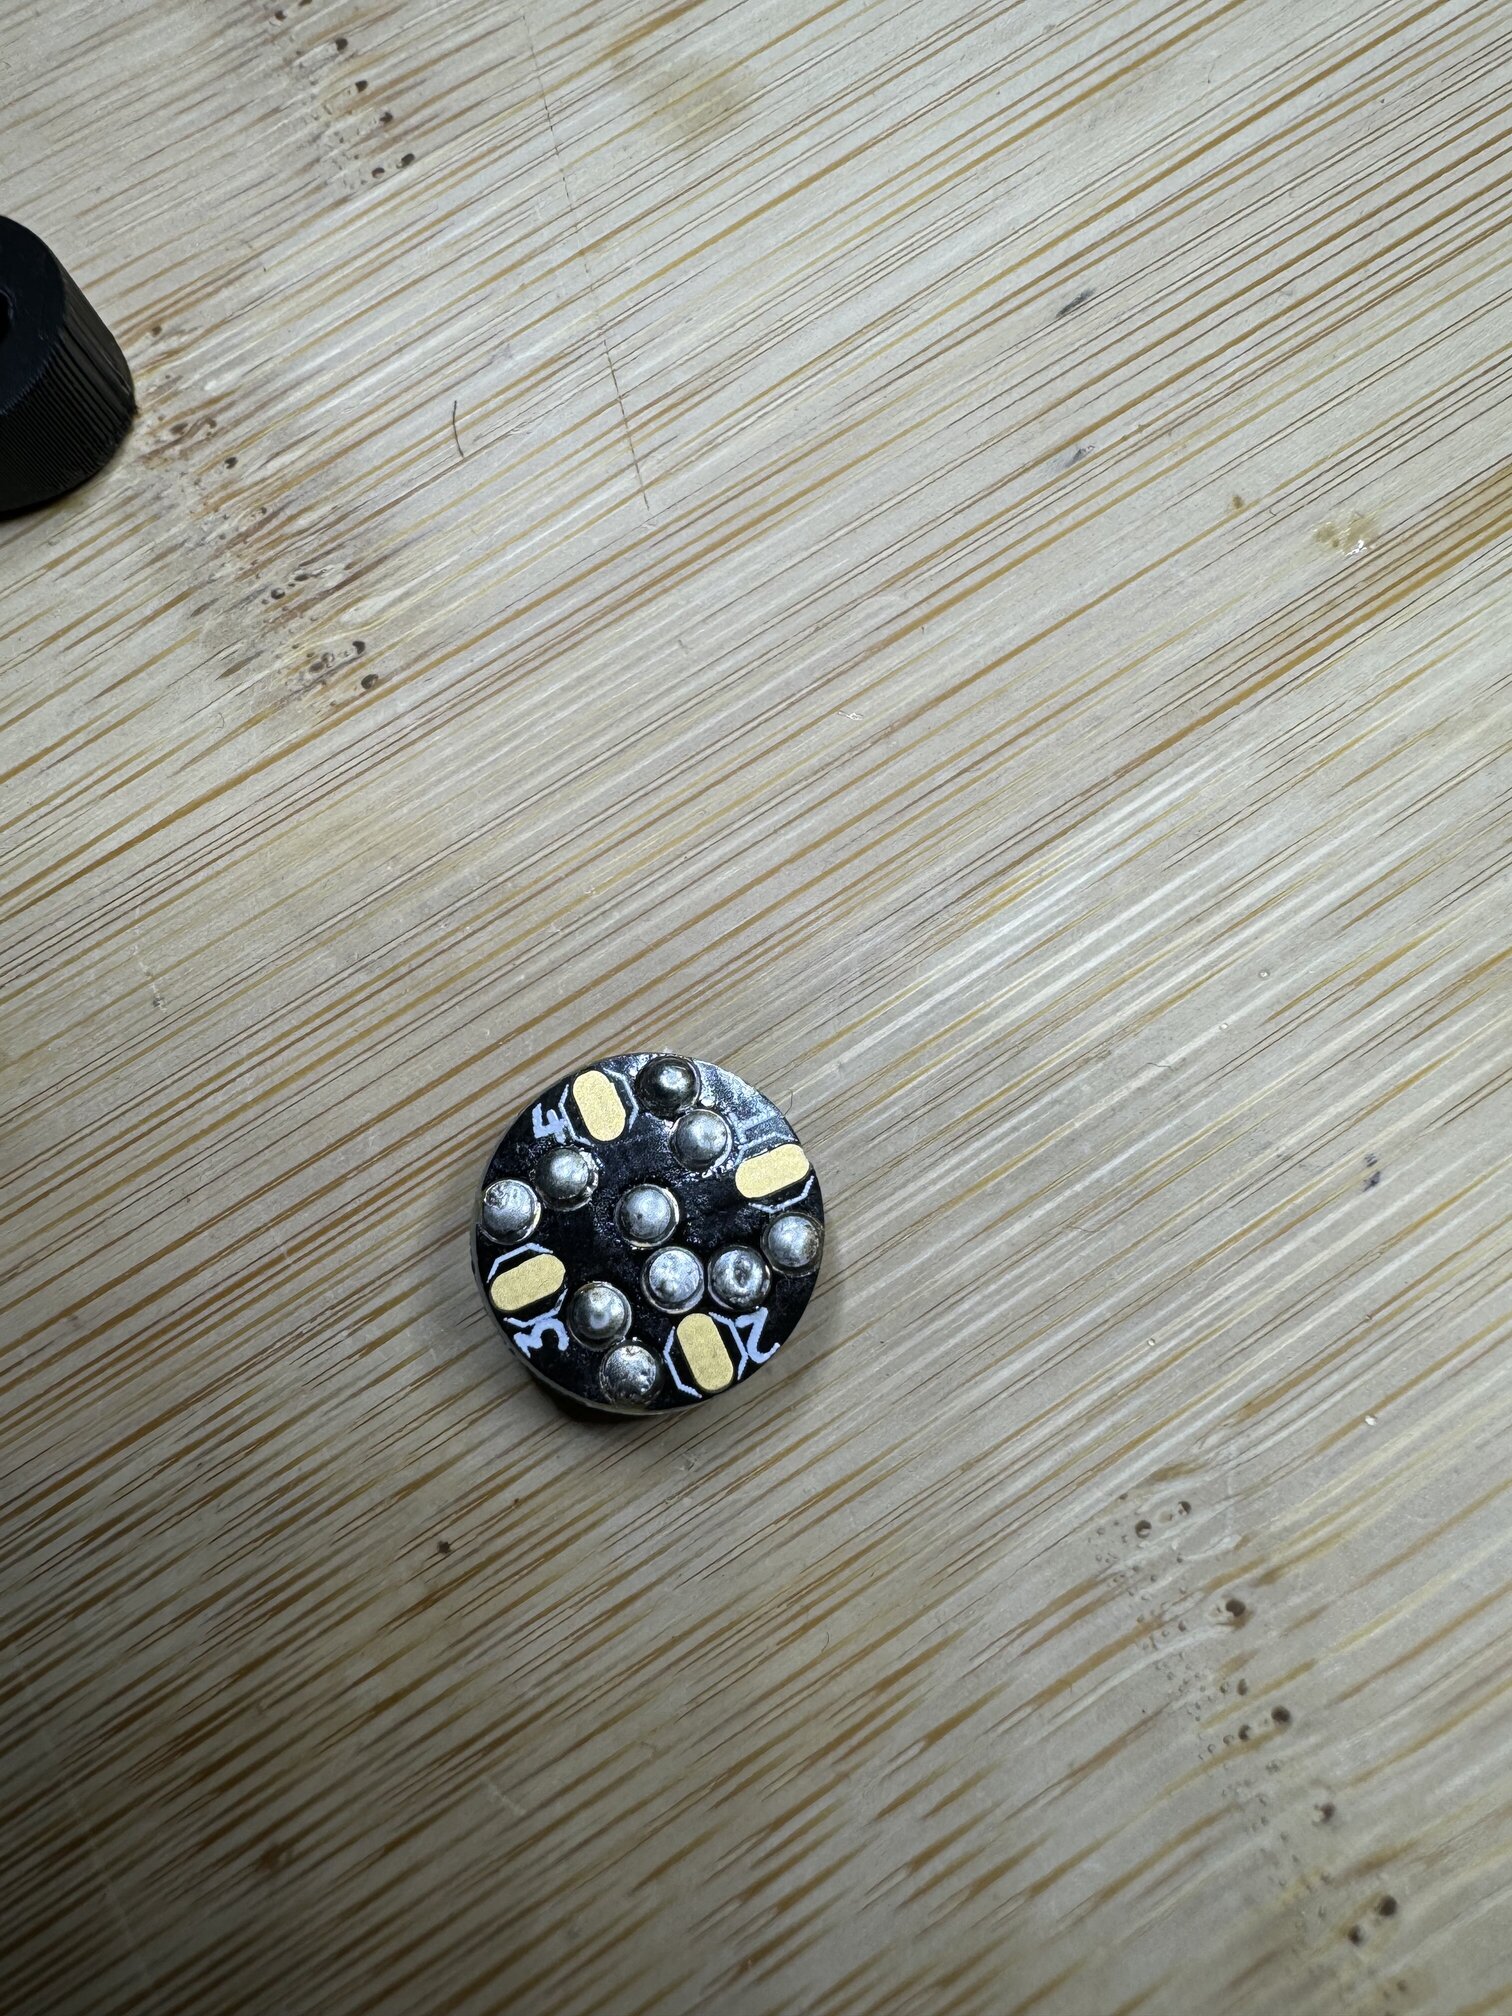
Looks pretty good. Can’t see from your pics… there are pogo pins on the reverse side?
You were adding pins through the board?
The key is to get them to solder to the holes and not just have blobs on the back side.
To make sure, you should heat one edge of the pad and pin, Make sure to contact both. Hold the solder to the opposite side across the circle. The solder should get sucked toward the heat, traversing the distance and getting where it needs to be along the way. Keep pushing the solder into the joint of the pin and the pad as it melts.
If they’re on there right, you should see a bit of solder at the base of the pins on the reverse side.
Don’t overdo it though. Too much solder can drip down the pin too far and interfere with the spring action.
To prevent that, you can do this soldering with the whole thing rotated 90 deg so the pins are horizontal and use an alligator clip on the pin to keep it pulled tight into the hole. But once you get the hang of it, doing it pins pointing down is fine.