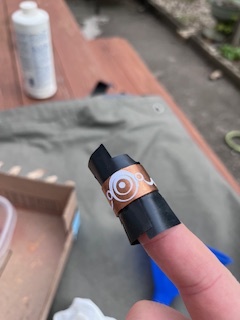
Steampunk Cane Build Log

It’s been some time since I made a prop for my wife, and she’s not interested in anything that’s not fully themed to one of her lewks. Steampunk is on the list (also Star Trek, vamp, sith vibes) and there are only a few steampunk items that don’t lead to the full-on HG Wells Time Machine Back Pack trap :slight_smile:

So what to build?

First, hat and goggles. Check. Adafruit basically made sure everyone that wanted the basics could do a really good job with a little time. The NY RenFair also has good costumes. Check.

What form factors remain? Eureka! It’s gonna be a cane! “And what are your requirements, my love?” I asked. Many times just to be sure. Here’s some of them

1 - Light weight
2 - Somewhat dim…it’s not cute to bring a giant laser stick to an office event or private party but
3 - Replacable battery for the NYC Halloween parade (anxiety already building…it’s been years)
3 - Fireflies effect to match the hat
4 - A cool, spooky voice for settings
5 - Cheap - ruled out a lot of obvious steampunky bits
6 - Made from as much “real” junk as possible
7 - Stuff happens when you twist or tap it, but not too much stuff
8 - Controls have to be “super simple”
9 - Sound (hum) should be subtle
10 - It should do one thing really well (not a lot of presets needed)
11- Gotta be skinny
12 - No bright, migraine inducing flashes

And my own rule: it has to be cool enough that I get to enjoy hearing her say “oh, thanks. my husband made it.”

It starts with some parts. Then pics. Wrap it up with a demo vid. And of course I’m excited to share the final results of the help I’ve received already on this fantastic forum.

I’ll begin to list parts here, and carry on the next time I take a laptop siesta.

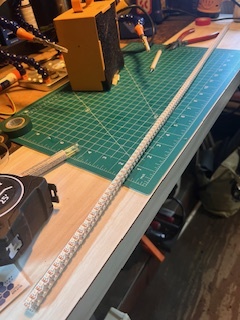
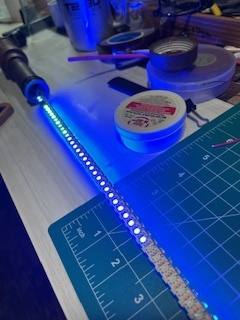
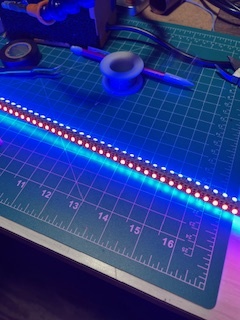
The blade is a quad blade zig zag. I dont need the tip to illumiate, so i used some of these as the core:

Plastruct Tubes

They’re super light weight and connected with a thin wrap of:

Kapton Tape

The casing is from TCSS - 3/4":

TCSS 3/4 Trans White Blade Tube

And the LEDs and Proffie come from Elecronics123. It’s all about the skinnyz:

Skinny Strips

Pics soon…it’s almost ready to test and I’m still working on proper diffusion in such a narrow blade.

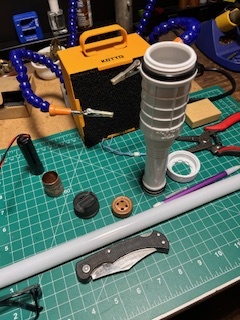
But the handle, the hilt I suppose, took some thinking. I stared at walls of plumbling parts. Real metal was too heavy. I live on a semi industrial block and asked local guys if I could check out their parts bins. Finally I found this:

Slide Repair Coupling

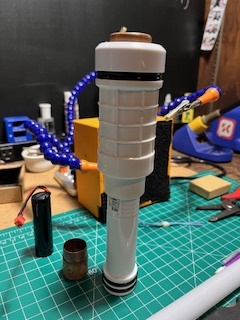
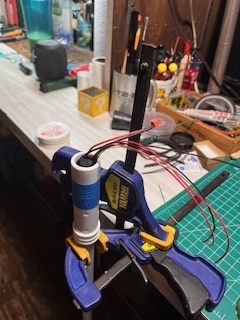
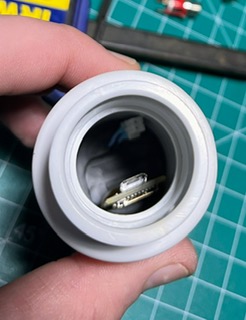
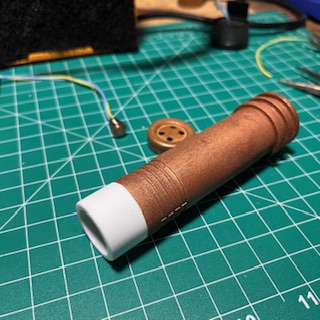
The battery can sit in the expander, which can be pulled out and inverted. The PVC is light and strong, and it looks like a lantern. It’ll need paint but steampunk painting is time consuming (dry brushing, etc) but not too hard. The top is threaded and removable.

More parts started making sense, but I’ll take a break there. Thanks for looking!
1 Like

If you want next-level impressive and you have the skillset I have this project in the works. While it’s not necessarily “100% lightweight” I did a fiberglassed cane that will be going to its owner soon. I laid foil over an existing piece of tree branch and layered fiberglass mat until it was thick enough that I could slice down the centerline and created halves so I could then remove the stick. From there I selectively sanded through specific sections of the foil to create areas and pocket sections for light transmission, etc. Then I figured out a way to couple the halves together in a hidden fashion using magnets and torn fabric strips to hide the junctions. *The “bark” sections of it worked perfect to hide the seams. (Yeah I’m particularly proud of that alone.) I’m now at the part where I’m fitting in a specific ProffieSaber assembly and all the lighting is just the wiring and LED’s strategically placed using one of my adapter blade plugs. Yes, aside from the plug connector itself there’s nothing more in it as fas as actual blade tube. I’m where I just have to finish some blending and mild changes on the form to get it where the client and I are good with the visuals and then it goes over to a friend who’s just amazing when it comes to prop painting.

*Wish I could share more, possibly pics, but yeah, you get the gist. :smiley: Maybe it’ll end up seeing some Cosplay and Con social media shares. I think it’s gonna just blow people’s minds.

That sounds dope. Why not drop your own log? I’m putting this here as a record for curious friends once they see this specific prop. It’s a nice way to put a bow on the work, and people always ask questions :slight_smile:

Oh I totally would except I agreed to not share images when I took the commission. Some people prefer their stuff to not be broadcast and I respect that.

Hopefully sharing the way I went about this all inspired you and I wanna see the whole thing when done. :+1:

1 Like

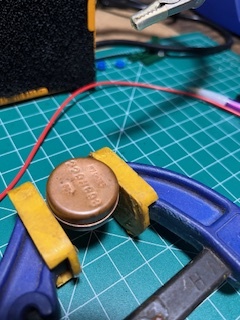
Now that I have my o-rings from a local spot, the full parts list is complete. Here’s everything except the switches. Those are inspired by Starfall since Nick uses them quite a bit and they are gorgeous. 8mm copper, $20 a pop but we’re going for a little fancy.

CaneHIltParts

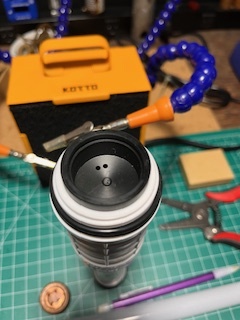
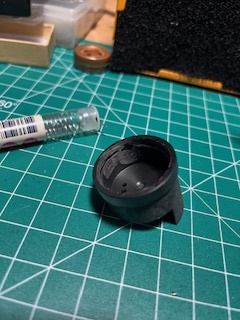
The black TCSS speaker holder drops right into the PVC extender:

CaneHiltTCSSSpeaker

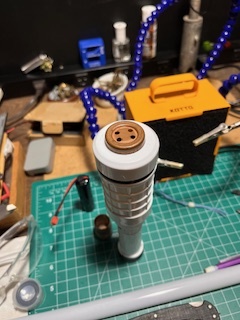
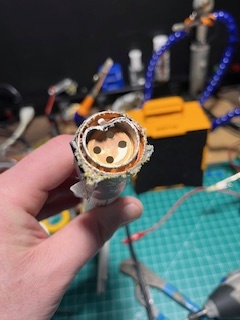
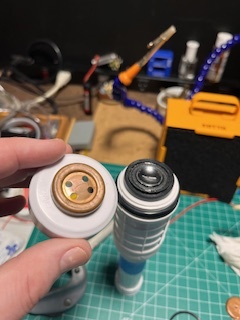
And the o-rings hid the threads. The old water service tag serves as a speaker grill and the full stack, with room in the neck for the base of the “blade” and the battery:

CaneHiltUnfinished
CaneHiltUnfinished1

Next I’ll set the switch/recharge port arrangement and drill. Although I could use usb, I think the user will enjoy a charging mechanism that is external and hides behind a matching kill key.

The joint between the lantern/grenade section in the extender could be fused with PVC cement, like plumbling, but I think I’ll tap for 10-32 set screws and leave things detachable. Might glue in the blade, and use set screws.

Thanks for reading a mid-build post :slight_smile:

Nice start! :smiley: Remember this is here if any other ideas from that help.

1 Like

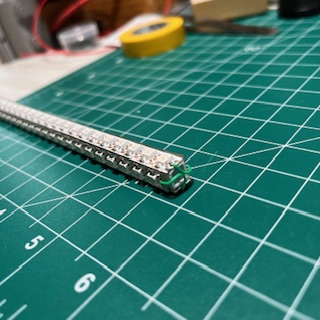
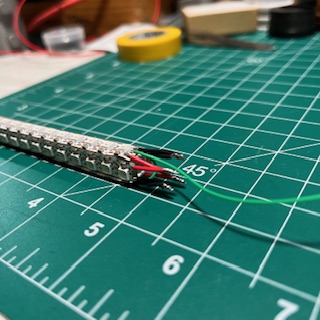
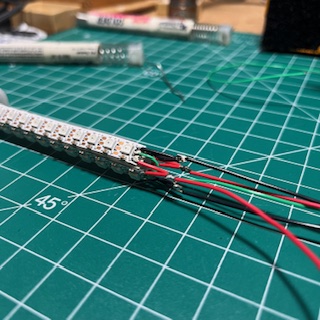
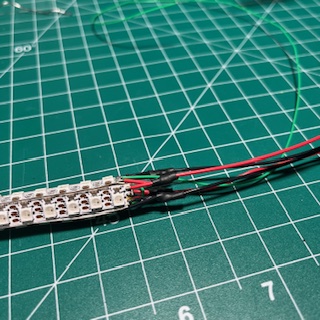
A process over product day, I enjoyed sanding and cleaning parts. Checked some joints and finished the basic wiring on the quad blade. There’s no light at the tip because it will be capped, which allows for a double zigzag up-down-up-down. That places the (-) and (+) lines comfortably near eacother for splicing. I wanted to use silicone, but the neck that the wires pass through houses the battery and its a squeeze. Plenty of room with PTFE, but I consider it a compromise.

CaneFullLEDs

CaneDataTip

CanePowerLines

Trying out this KIOXIA SD card after hearing a couple of mentions here on the Crucible.

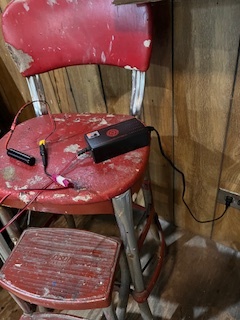
And here’s my incredibly sophisticated charging station for the new battery:

WonkyCharger

That’s an old school TCSS variable voltage charger. It’s been with me for almost 10 years and is still my most reliable charger. Sure, you can very easily flip the switch to 12V and set the house on fire (not really the batteries have protection circuits, right?) but it serves as a low cost ‘bench supply’ for nickel plating and other electron based shenanigans. All of my basic 3.7 v chargers wind up just not working after a while.

2 Likes

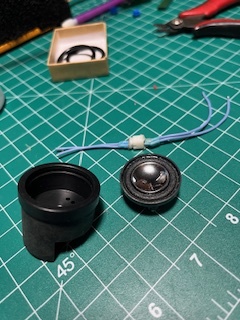
The speaker set up called out to me today after I found and old silicone wire connector to reuse.

CaneSpeakerKit

These bass speakers have never fit the V1 MHS speaker holders, so it got a little ugly with the dremmel and some hand files. I still havent bought a decent clamp. This is like my dirty melted lucky clamp.

CaneSpeakerSanded

CaneSpeakerSolder

But rough filing doesn’t matter because the cap locks everything in place and hides it. I’ll use some hot glue to hold the speaker in the mount, but nothing serious incase a wire breaks and some disassembly is required. Which always happens.

CaneSpeakerVisible

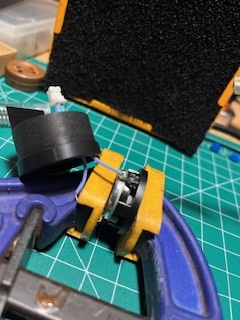
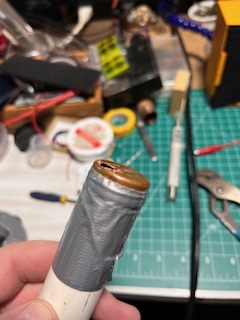
The component I found to make into a speaker grill was sitting about 1mm too deep. I tried drilling and dremmeling the base of the cap, but I couldn’t really hold the hand tools steady enough. So I duct taped the thing to a piece of PVC so I could grip it and hacksawed off the downward facing side (with a miter box).

CaneCapClamped

CaneCapTaped

CaneCapCut

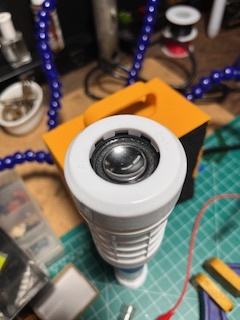
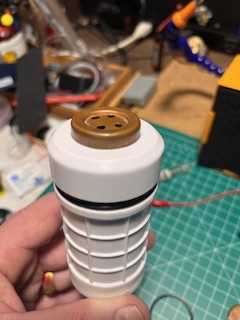
So after some deburring and sanding it sits beatifully and is plenty far from the speaker itself. With a couple of 1.5" o-rings that came out out a box that must have been from 1950s at the local ACE hardware, the speaker section is built and ready for finsihing.

CaneCapOpen

CanCapAllTogether

1 Like

Looks like solid work, nice!

1 Like

I spent a lot of time on these solder joints to try to make them strong with a minimum footprint.

CaneJoints

And ofcourse hit them with some heatshrink. I always worry they’ll be some sharp point made from solder or a wire that got away from me but it looks ok.

CaneJointsShunk

I decided to pass two (+) and two (-) 22 AWG PTFE wires past the battery. They’ll join somewhere before hitting the board connections but I didn’t wan’t to go from 4 down to 1 on the blade side of the battery.

CaneBatteryNeck

The switches are going to sit as deep as the RCP, so it’s time to stare and plan to practice proper cram fu (while listening to the Purple Stuff Podcast). To test out board placement, I used kapton tape to sit it right on the speaker mount where you are supposed to add a battery housing. I also tried some lego piece configurations, but those long switches are going to need more room than I expected.

I have this much room right now:

CaneProffiePlacemnt

With some electrical tape and blue tac, I did a test assembly. This way I could mark where my wife’s hand naturally sits for button positioning. It really brings the switches close to the board, but I think I can do it with the board inverted.

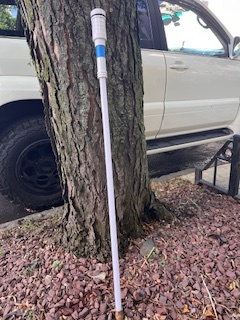
Posing in the tree pit (which is ground level and above my head where I’m doing all of this):

CaneTreePit

1 Like

The painting process is not my favorite part because you have to do the hardest thing so much, which is nothing. Waiting, no touching, no dropping, no freaking out and wondering if its dry so I’ll touch it just this once…

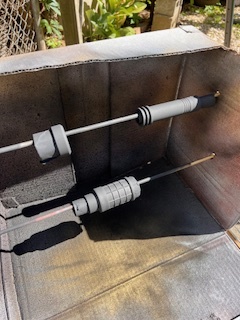
I started with automotive primer after I used a 220 grit sanding sponge to rough the surfaces. I took my time cutting up selzer bottle and taping off everything so I get paint right up to, or maybe 1 or 2 mm over, each joint or seal.

CanUnpainted

CanePrimer

20 min btw coats.

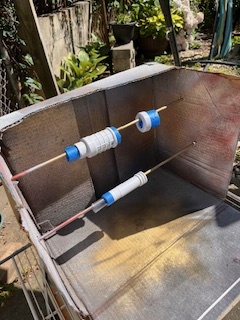
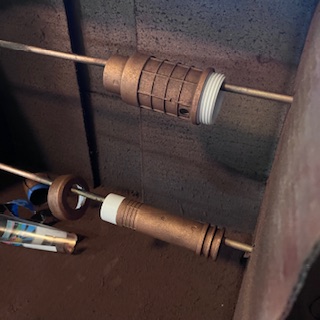
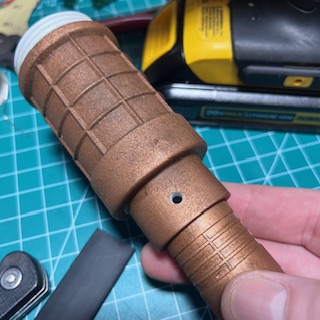
Then I hit it with copper, 1 hr btw coats then 48 hrs to cure. It was too glossy so I weathered it with gel stain that I nearly dry brushed and dabbed away with cloth. After a couple of hours I hit it with Tamiya matte finish and waited another 24 hours.

CaneInTheBoxPainted

Not the worst match to the original copper piece.

CanePainted

I had to tap one 10-32 hole because the battery won’t pass by the recharge port and I want to be able to get at or swap out the battery once assembled. This broke my brain for a moment as I vascilated btw wishing I had just used the V3 board for usb charging as intended, and remembering that my wife would very much prefer to just plug it in like a minivac to charge. Since the paint looked good, it was a slow process of 5 different diameter bits in sequence. No mistakes allowed!

CaneSetScrewHole

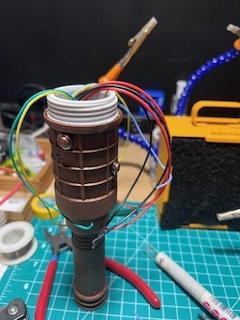
And here we go getting everything placed, play doh mop top hair shop style. Then everything cramfu’d in.

CaneNeedsHaircut

CanePostPaintAssembly

Sweet!! Can’t wait to see finished pics and a video clip.

1 Like

I appreciate the support!

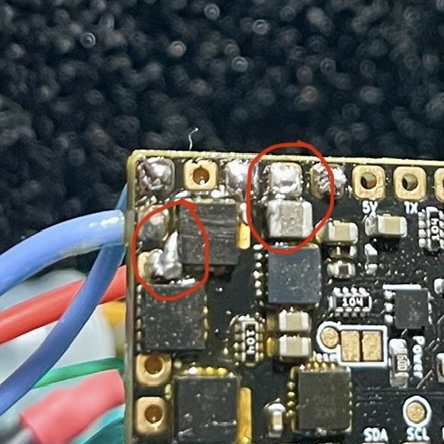
Right now I’m stuck and I think I need to rewire one more time, or order a new board. I made these mistakes (I choose to blame the fact that this is the year I finally needed glasses, and I tried to be a cool guy and used insufficient magnification):

So here’s my mess:

V3Mistakes

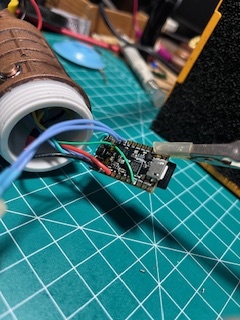
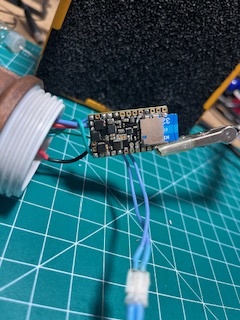
And then I cleaned it up. Put on the proper set of lenses, and decreased the size of my solder tip.

v3 front

v3back

Still, no luck.

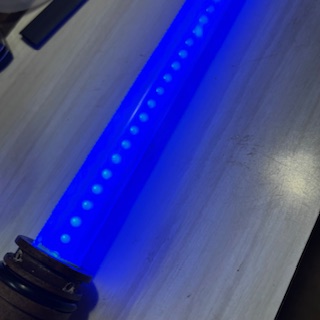
There was also a brief moment where I got to see the quad blade illumiate before it shorted, and the cellophane wrap I did isn’t gonna cut it. Any thoughts on material or particular diffussion product that can fit into a 3/4" blade tube? I’m trying these diffusion sheets next.

Onward!

1 Like

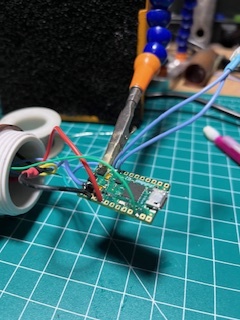
I got a new board from Electronics123 and it got here so fast I nearly traveled back in time. Thank you for such excellent service!

So here is my cleanly soldered on the first try new proffie 2.2, may it wash my soldering transgressions away.

CaneBetaBoard

My first igntion was a great success, but moments later some bugs popped up and I got a little help :slight_smile:

CaneBetaBug1
CaneBetaBug2

I really like the second one :crazy_face: Whut, seems fine I spent hours on this so one side could look like a broken bodega sign :rofl:

But, after some reworking at the base of the strips, and replacing the interconnecting data lines, I’ve moved to beta testing!

This is a simple Fett263 rotoscope with a Ventress font. I’m keeping most of the other styles a secret until the prop is complete. Plus I feel like all blades should spend some time as a saber to create a baseline for effects.

But as you can see, we’re at full cobb.

CaneBetaCob

I have some blade film coming, and new foam. I tried the diffuser from Amazon, but a simple flashlight test showed how uneven it turned out. What I hadn’t been considering the mathematical value of distance, and how a 3/4" blade is related. We’ll see how it looks and then maaaybe go back to a dual strip set up. That would double the distance btw the interior blade surface and the LEDS.

But then again, it’s not a lightsaber so it will depend on the user’s taste. She was able to try out the button placement and motion controls, and try edit mode.

I received some satisfying feedback: “I’m totally winning the costume contest this year.”

So with everything loosely set, it’s time to rest and wait for parts.

“To wait is beautiful.” - T.T. Liang

It turns out I’m terrible at rolling up diffuser. Many attempts were made before I used an arrow as a core to roll up the film. Nothing else I had was narrow enough.

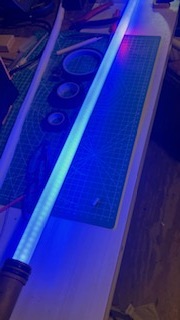
This is 8 layers of blade film from TCSS, followed by 10 layers of normal cellophane. Although more Corbin film (who is Corbin, or what’s a Corbin?) would have been great, I am as usual over budget so I used whatever else I had around the shop for the most central layers. It’s not like any of the other plastic diffuser film I’ve seen and is usually for baselit sabers. It appears very smooth, even though I added a few kinks, dots, and scratches as I rolled and re-rerolled it.

Standing right next to it you can still see the cobbing, but from a few feet away it looks fairly diffused. The film layering is now thick enough to hold the pixel core steady, and smooth enough that I can slide it out for repairs as needed For now I think that’s as good as it gets for a 3/4" quad blade.

CaneLessCobby

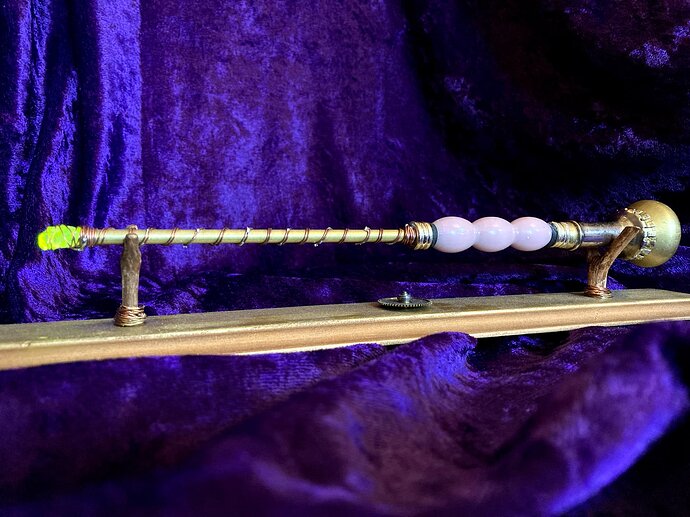
Now, I could be done, but there have been some additional design requests made so that it matches this wand. That’s cool though…it’ll look even better I’m sure :slight_smile:

The “hilt” came from an antique umbrella. Battery is in the drilled out pommel, with magnets holding it to the metal handle. This is before I knew about E6000 and it’s held together with Krazy Glue. Oops.

I would love to make it have a touch of sound, but for now it’s just a 3mm led under a crystal my wife got as a kids on one of those cave tours that were popular here in the “tri state area”, east coast USA.

So now on to wire art all around the “blade” and more acid etching.

FWIW I’ve used and seen companies use cellophane with foam diffuser around it. How that will work with a quad blade is debatable. Well done.

1 Like

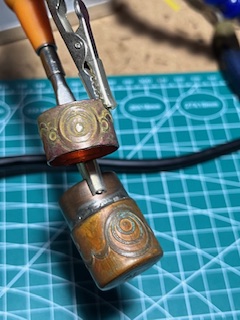
My plan for spiraling copper wires around the blade starts with anchors at the top and bottom. The original cane tip at will serve as on anchor, and so another matching piece was the next step for top (which is where the emitter would be). Final technique tbd, but this morning I had time to do the acid bath.

The resist is a series of nail salon stickers. They work well, but not nearly as well as laser cut vinyl if you have access. My wife did the design. This is about two hours of waiting (doing yard work) and returning to stir or rotate. Good match!
CaneEtch2

CanEtchDual

1 Like

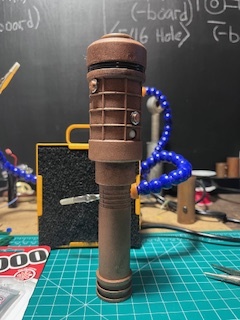
Done! Here’s a little demo:

Heartfelt thanks to:

@profezzorn - the fireflies are incredible and you are a great teacher and inventor!
@NoSloppy - the voicepacks are amazing, and you patiently kept them held tight until I could finish!
@MountainSabers - for creating more Halloween spirit with your font work!
@MeatySmurf - for fonts that turned into “easter eggs” that made my goth wife all misty eyed
@Fett263 - all styles and the prop are due to his patient work and his library

And to anyone who gave this thread a look. It’s been a great way to tell my brain to transition from shop rat to normal human. Hope something here is of use to you!

MTFBWY

2 Likes

Well done! That cane is awesome! Thanks for making me a part of it. :slight_smile:

1 Like

Came out amazing man!
The reverb version of the voicepack is perfect!

1 Like