As long as it’s not playing sounds constantly you should be fine. Leaving “common” in there should be ok, because that’s not usually where the hum and swingl/swingh is.
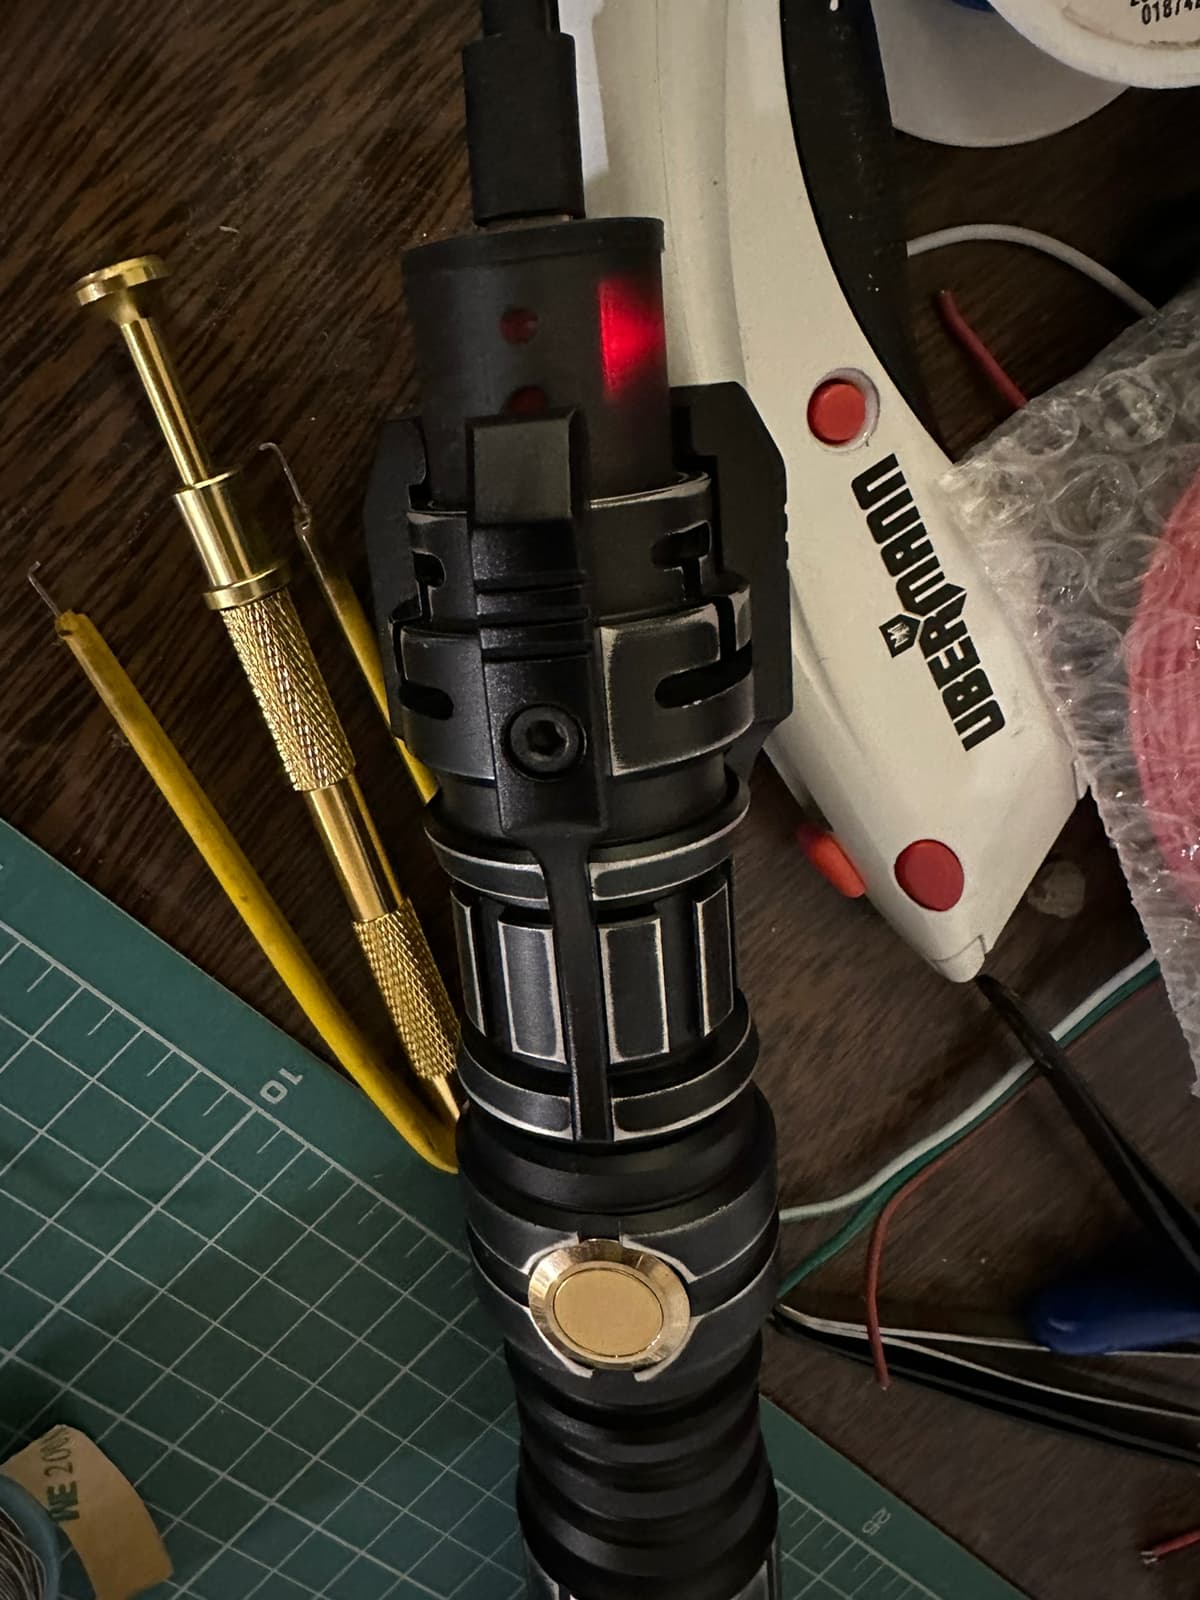
I’m happy to report that it would seem to be charging just fine. I’ve used a 39k R resistor to identify it and put two 5 LED strips on parallel so you can see the charge on either side. This was just a prototype. I have to reprogram the hilt so it recognizes the charge, and then extend a bit the body because you can’t see all the pixels with deep blade bores. After that, if @Sabersense doesn’t mind, I could make a new thread with the STL, Wiring Diagram and preset adds.
1 Like
TCSS had a similar idea.
That video won’t work.
Here.

Wait! That video is 18hs old. @Sabersense validated that idea here before. Well, I guess I will prepare the STL and the wirings and open a thread.
Sounds good to me. ![]()
1 Like
yeah that’s why i shared it.
@profezzorn It has been pointed out that if the battery depletes, this system won’t work. TCSS apparently did a module, but I’ve been thinking if this feature could be implemented in the new revision of a board (whatever it might be). I though of using a diode to circumvent the MOSFET, but apparently it would incur in a voltage drop which would be self-defeating.
But I wonder about two possible solutions:
- What if you put a diode between the PAD and the MOSFET, which would only allow current to flow from the pad to the MOSFET, and use the output of that diode to activate the MOSFET? It should work even if the battery is dead as long as you have a power source on the PCB connector.
- What about using a normally open transistor to power the MOSFET (if there is such a thing) and have it closed while there’s power on the board?
-
The FETs already have such a diodes inside of them. However, the battery charger won’t be able to sense the battery voltage through the diode. Depending on how the charger is made, this may or may not be a problem.
-
Making the transistors normally open is a matter of applying a pullup resistor to them. However, leaving it open would make deep sleep entirely impossible, and would also cause flashes/blinking on startup, so I won’t be doing that.
As I understand it, the problem is that once the board is off, and thus you are not applying voltage to the gate of the MOSFET. What I was wondering about, is this:
What if you add an (X?)OR gate, that takes voltage from:
-The line between the MOSFET and the PAD; and
-The line from the CPU to the MOSFET gate as input.
That OR gate activates the MOSFET gate.
You might need to put a parallel line with a diode between the MOSFET and the Pad to take the one of the inputs so you can actually turn off the MOSFET. Or may be not, I don’t know how the timings work.
This still wouldn’t fix the problem if the charger is trying to measure the voltage of the battery.
Also, I’m not sure how this would actually work, it seems like the circuit might be unstable if you did this.
I don’t actually think any of this is needed though. Your particular charger doesn’t measure voltage, it measures current. It outputs a voltage, and when the current gets too low it turns off. Behavior like that ought to work just fine with the diode in the FET. It just can’t charge the battery to 100% until the board is on and enables the FET properly.
I think the diode ought to be enough, even if it doesn’t work with all chargers.
1 Like
Easy to test, then. I only need to drain a battery until it dies, then try to charge it, and we will see. Should I use a protected until it cuts off, or an unprotected battery?
The answer will always be: use protected batteries.
Unprotected batteries are dangerous enough that I will never recommend them . (Even though I sometimes use them myself.)
1 Like
Can you run separate power for your display blade?
Just run data and ground from the Saber.
With it getting power from a different source?
Yes, you can have separate power for the display blade.
Just make sure the data pin is resistored so you don’t leak a bunch of power back that way.
It may also be possible to find 5v power supplies with an adjustment knob that lets you turn them down to 4.2 volts.
This is amazing work from all concerned! Watching processes like this unfold is making me love open source more and more! It’s like being in the year 2000 and having the late Steve Jobs’s home phone number and just ringing him every time you find yourself thinking, " I wish my Mac could do ________." ![]()
So this is related but might be separate, but it occurs to me to ask the following question (Let me know if you want me to make a new thread Prof):
How easy is it to specify a button press to skip to a plug charging preset, then the same press to skip back to where you were?
SA-22C’s prop has a long aux button hold that reads a vocal announcement of battery voltage. It occurs to me this would be a good opportunity to bolt an extra feature to the same button press to make it skip to the charging preset at the same time, then the same press would take you back to where you were.
In the past, the debate has centred around using Blade ID/Blade Detect to skip to the charge preset. But I feel there are shortcomings with that solution which are:
-
BladeID usually requires a reboot to work properly unless used in conjuction with Blade Detect. This isn’t always easy depending on the hilt.
-
Blade detect requires particular blade connectors and an extra wire to be run though the hilt. This means the feature can’t easily be added to existing hilts.
-
BladeID requires that the main blade data be wired to data 1. I frequently use data 2 for the main blade because Shtok connectors have built-in resisters, but accent pixels often don’t. Using data 1 for accents can help reduce the need for more resistors in tight installs. And again it means BladeID can’t easily be made to work in existing hilts without the correct wiring.
So could this be made to work with just a line or three of code to SA-22C’s prop file, and if so what would those lines be?
It’s fairly easy, it’s basically just a case statement for the right event and then something like: (this is from memory, so it probably doesn’t work as literally written.)
    if (!charging) {
        saved_preset = current_preset.preset_number;
        SetPreset(-1); // last preset
        charging = true;
    } else {
        SetPreset(saved_preset);
        charging = false;
    }
    return true;
Then you just need to declare saved_preset and charging somewhere and Bob’s yer uncle.
1 Like
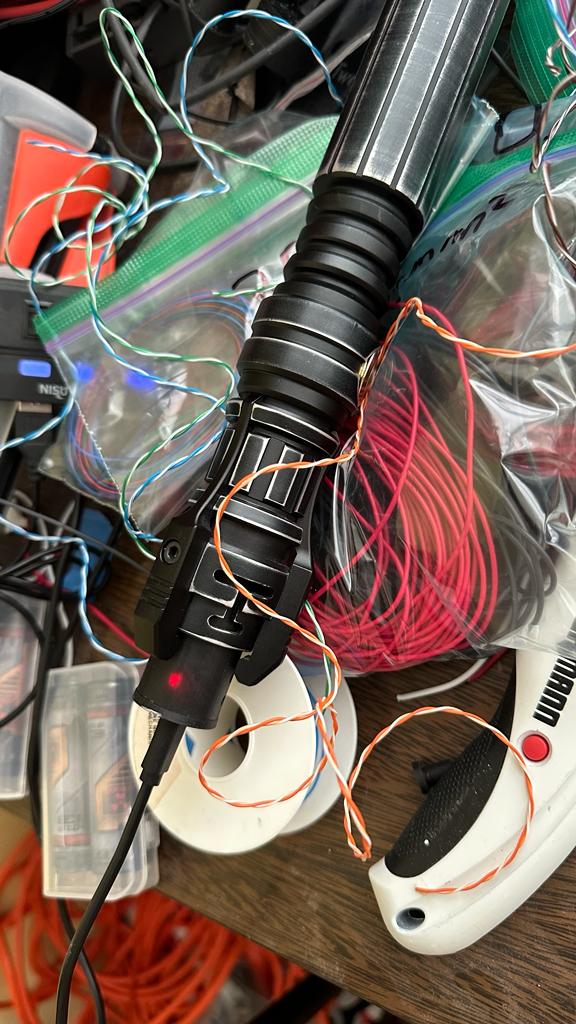
I am happy to report that after painfully draining the battery to the point where the board does not even starts up, the plug charger did worked and so could actually charged depleted battery. This means that you can do away with any charging port and depend 100% on the plug charger.
You might want a killswitch/on off and easy access to programming your board, though. But some simplifications of the installs might be done.
3 Likes
Fantastic! Thanks again Prof. I’m in your debt as always! ![]()
![]()
And great work on the plug charger Baldusi. This really does give a lot more freedom in terms of chassis design. The already awesome Proffie system just got… er… awesomer! ![]()