I would be interested in the CAD designs @jedi_j_stream. I’d like to try and convert my saber.
Also, @crazy is the STL or CAD file for your mounting plate available anywhere?
I would be interested in the CAD designs @jedi_j_stream. I’d like to try and convert my saber.
Also, @crazy is the STL or CAD file for your mounting plate available anywhere?
Here are the TinkerCAD files on google drive.
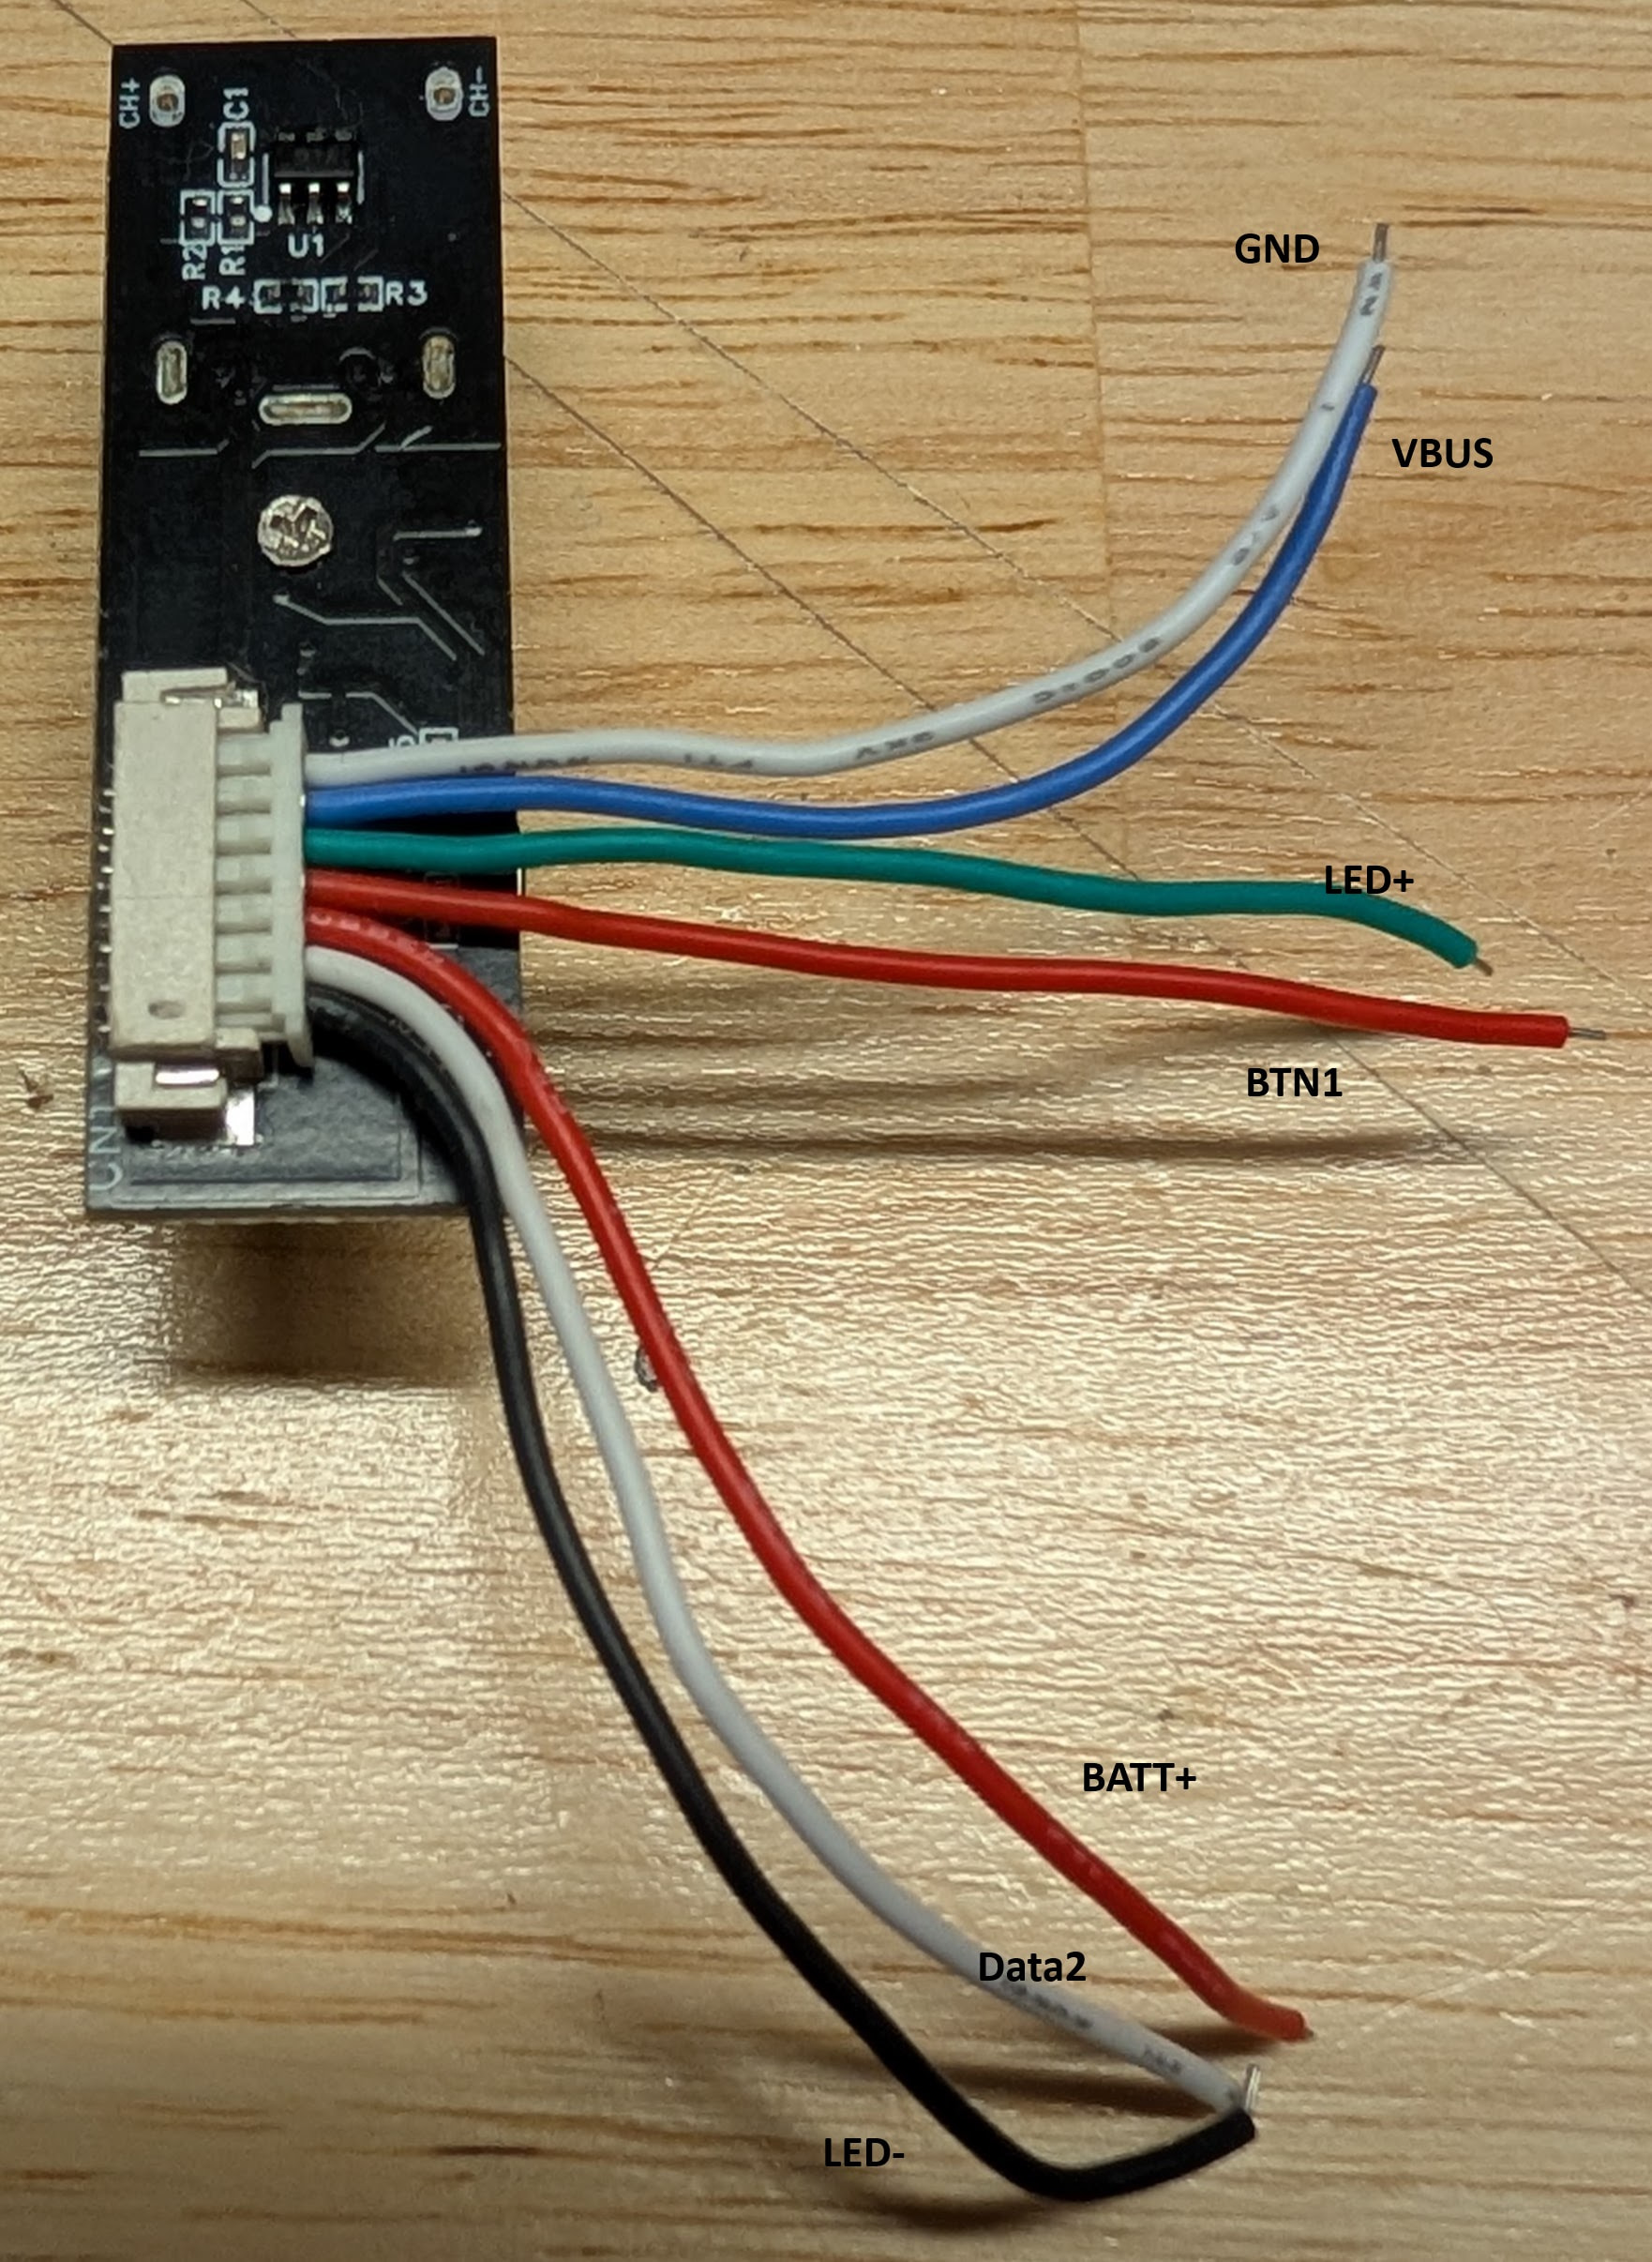
I found another variation of the DamienSaber switch/usb C combo! This time with a pixel… Fancy!
BladeConfig blades[] = {
 { 0, WS281XBladePtr<123, bladePin, Color8::GRB, PowerPINS<bladePowerPin2, bladePowerPin3> >(),
	WS281XBladePtr<1, blade2Pin, Color8::GRB, PowerPINS<bladePowerPin5> >(),
	CONFIGARRAY(presets) },
};
Blade config was pretty easy, but I wonder if there’s a way to incorporate the white LEDs with the pixel? For now they’re wired to Free3 (Pin 9) as discussed above but not incorporated in Blade Config. I don’t want to run it as a SimpleBladePtr third blade, as I think that will just wash it out. Maybe I’m overthinking it and should just stick with the pixel. It looks GOOD, but I’m always looking for brighter!
I’ve done a few of those and gone both ways. But it’s honestly simpler to skip the little white LEDs since you have the pixel. You would only use the LEDs if you wanted another effect separate from the pixel, but unlikely you’re really see a difference or do anything you couldn’t have already done without them. Maybe more pure white but that won’t combine with the pixel so it wouldn’t add much value. On a xeno they use it for power indication and then on ignition the pixel is wired in parallel with the blade. On the proffie you get to have the pixel switch as its own blade and control what it does when the blade is off and when ignited.
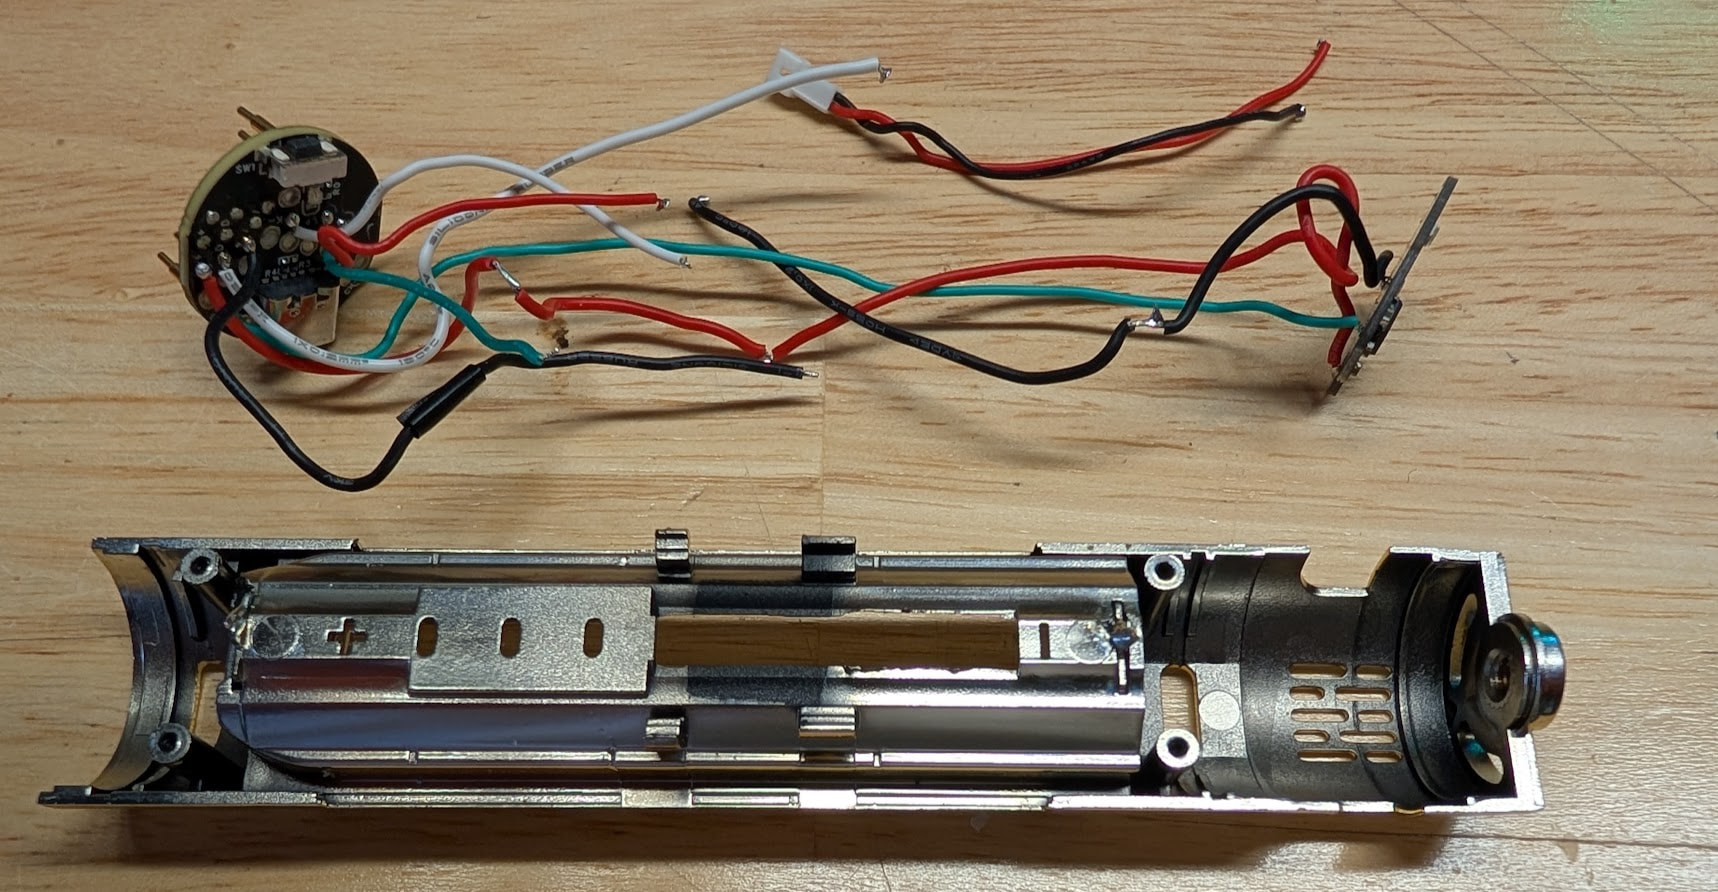
Ok so maybe this is the holy grail of LGT/Nexus to proffie conversion? The drop out core. Has anyone done one? This one stopped working after a drop. These are the leftover parts:
Yep, I’d did one of these. That little switch is in parallel with the switch in the upper static chassis. The additional board is a charger. I don’t recall the charge current but it works fine. Use a multimeter to verify your wires. The pixels on that chassis connect board are all in parallel and will be the first pixel in your blade array.
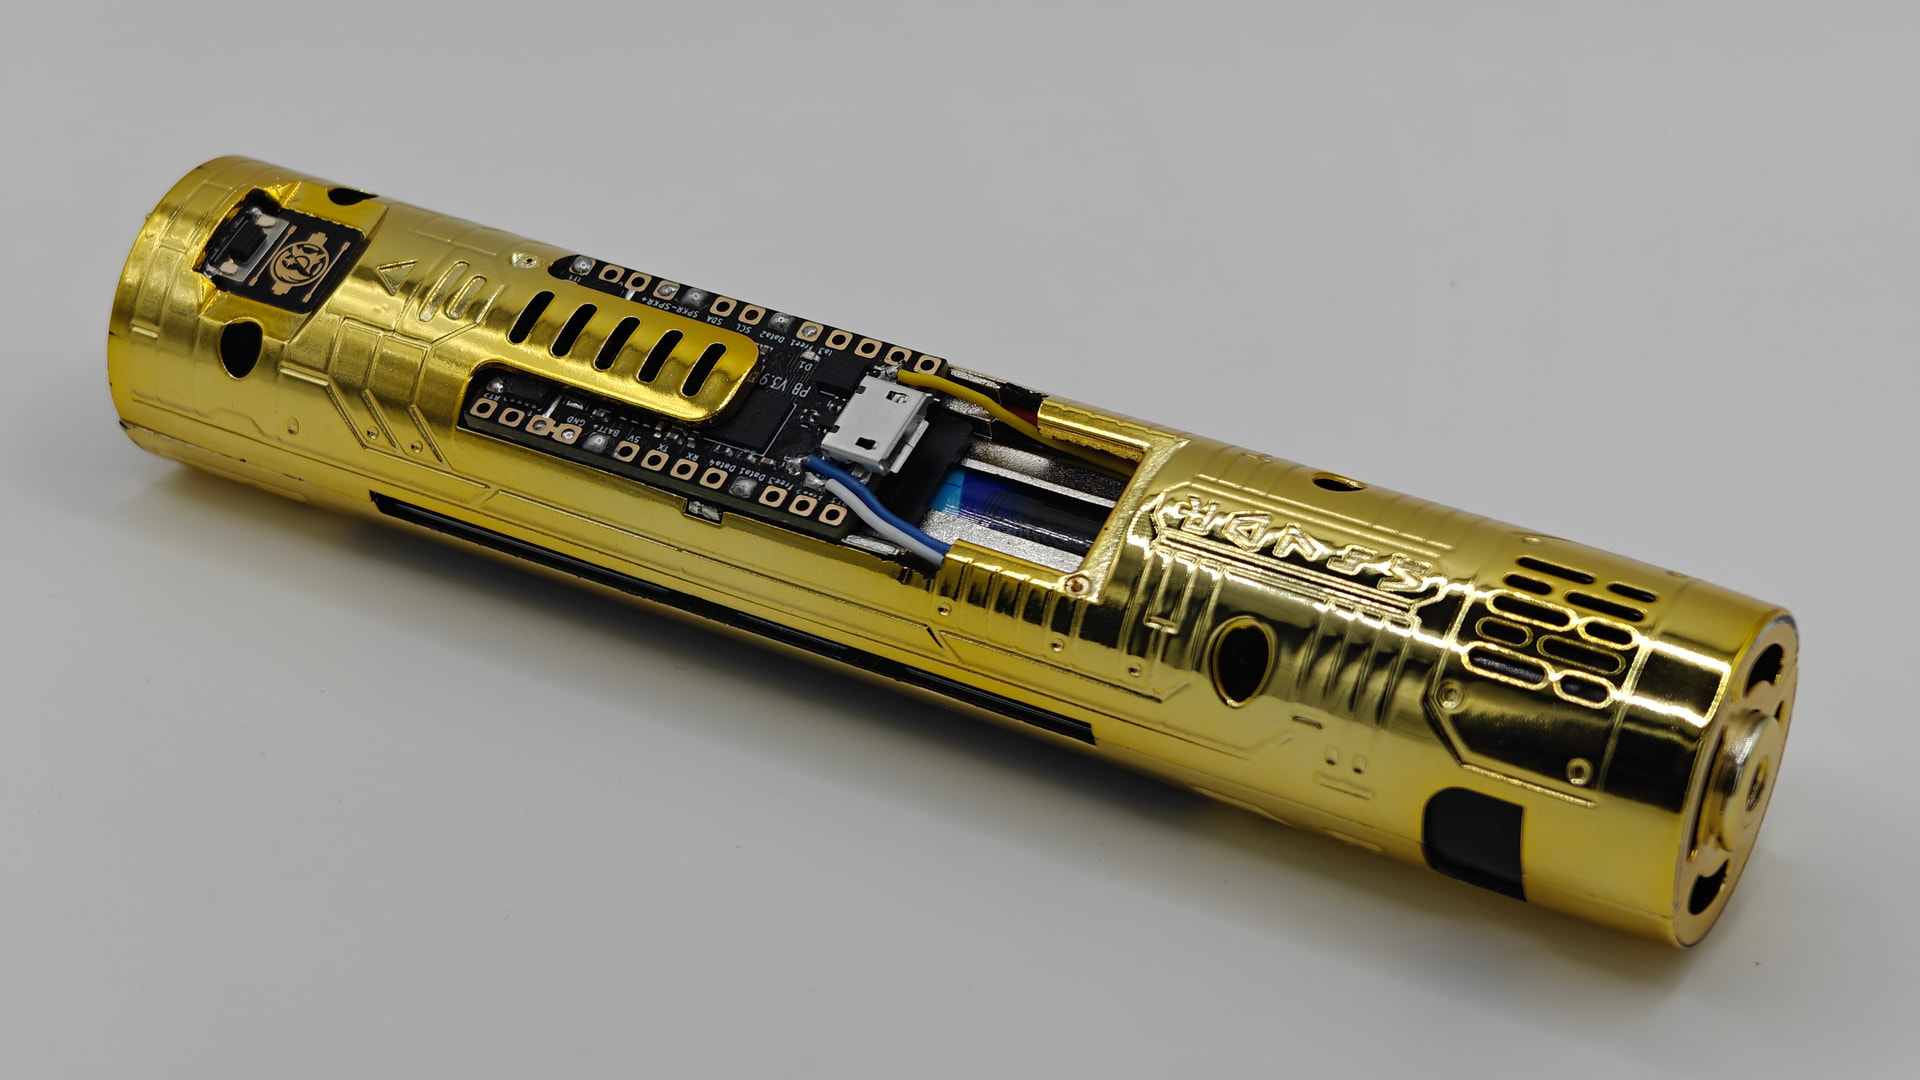
Oh yeah, I’ve converted double-digit amounts of these things. The RGB variants have the switch in a pull-down config, while the Pixel cores have it in a pull-up (I always rewire it to be a pull-down so I can have the extra contact on the chassis connector be another led data line, for stuff like illuminated buttons or side blades). You have to cut the shell a little bit to fit a Proffieboard, or you can purchase a shell that fits the PB somewhere like AliEx. I designed a small 3D printed mount for a USB-C breakout board that fits into the extra USB-C hole at the bottom of the chassis, allowing me to wire up the data lines to it.
Nice! I got the one above working with a proffie 3.9. The little break out board is damaged so the accent LEDs don’t work but it’s inside the saber so I called it a win.
I gotta get me a 3D printer…