but it reeeeealy stinks bad after a few cleanings with it.
i will get a bottle of the water washable then and let you know how well it works 
1 Like
I have seen lots of issues with cracking with water washable. for me its all Siraya tech resins, blu and tenacious
1 Like
Thanx for the feedback, I’ll let you know how it turns out and if cracking is something I encounter.
I will look at the ones you’ve recommended too.
1 Like
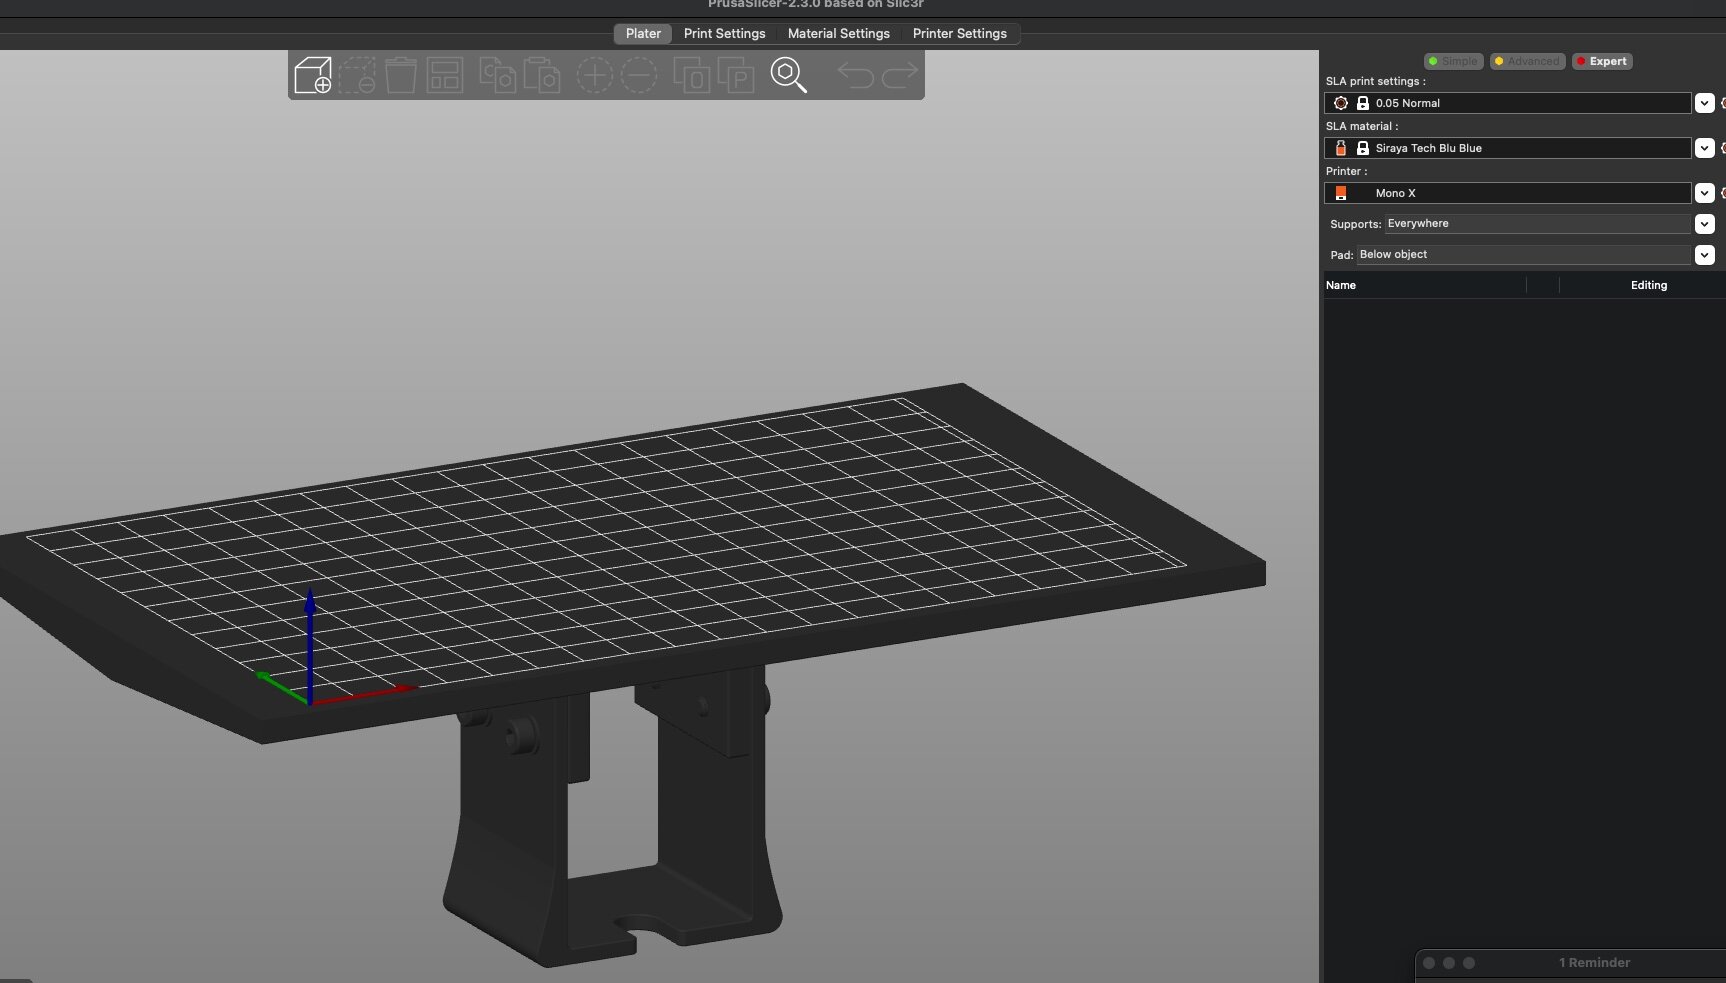
I find Lynchee buggy, but here is a PROTIP.
PruserSlicer lets you setup for THEIR SLA. Adjust your bed size to fit, and you can even load in a model of your Bed.
User Prusa to auto orient support, hollow etc. Then once done. EXPORT the plate WITH SUPPORTS to STL.
Open photon, load that stl, and slice to PWMX. I am better than 98% success on that. the only fail I had was leaving my resin for 2 weeks and printing without stirring first!
1 Like
I’ve been using Anycubic Mega-S since March 2020 and I’m very pleased with it, although now I am ready to upgrade to the Vyper (auto-leveling). It allows me to prototype very quickly, and is really decent in terms of output if you are ok with the limitations of FDM printing.
I’ll purchase a resin printer from them ASA I have a little more time for 3D printing related stuff again (working with Facebook Reality Labs nowadays, so it might be a while until I have some time to do this…) Have you seen the output of the resin printers?! It’s amazing!
2 Likes
Creality LD 002H resin printer has arrived and received the resin today so I will be soending some time having a play with this new toy tonight and seeing if I can print any parts off.
Stay tuned for feedback on the printer and the resin.
1 Like

Let the testing commence!
First impressions of the machine is good. Solid and simple with a straight forward UI.
The resin had hardly any smell to it at all.
I’m running a quick test print to see how it turns out as this is literally the first one to be printed on this machine and a first for me using resin.
1 Like
for those who are wondering what resin i went for in the end it is this one.
Phrozen water washable, model grey.
cost was 46 quid for 1 liter.
most reviews suggested a good print quality and everyone liked the ease of cleaning the part.
one did mention that his parts warped using this resin. (it was the only one out of 500 odd reviews)
The key to first prints is to dial in your exposure time for that resin on that printer. There are test files you can use. Perhaps you’ve read up on this.
i have indeed, i also have the data sheet for the resin i bought.
first run came out over exposed (recommended settings from data sheet)
i’ve reduced the exposure times and will see how it comes out.
but i will print a bunch of the same file using different settings and find the best one for the printer and resin.
i have a day off tomorrow so will probably spend time dialing it in then as its gone 2 in the morning now 
Nice thing about my Anycubic is it comes with a calibration file that prints 8 quadrants at 1 second differential of exposure at the same time, all in one print session. Handy.
2 Likes
i will check it out.
thanx for the heads up.
an update for those who are interested in the water washable resin.
i’ve done a number of small prints of some fairly detailed pieces have shown some good results so far.
when cured they seem quite solid with some flex on the thinner parts.
the smell is minimal and i’ve had this in my dining room all day printing my test pieces and not noticed anything that would upset my home environment.
initial layers / base layers (10) cured in 20 secs and gave good adhesion to the bed without needing excessive force to remove the part after printing.
i found the best for detail retention (as they are very small details) exposure time for each layer was 1 sec.
i initially started with 5 secs (specs were 1.5 - 7 secs machine dependant) and this over exposed the resin and detail was lost completely.
so i dialled it in over 4 prints to see how this would change and made notes of my findings.
| RESIN MANUFACTURER | RESIN TYPE | QUANTITY | COLOUR | COST | BASE TIME | LAYER TIME | RESULT |
|---|---|---|---|---|---|---|---|
| Phrozen | Water Washable | 1 liter | Grey | £46.55 | 50 | 5 | over exposed , hard to get off the bed, lack of detail |
| 20 | 2 | good, better detail, easy to remove part | |||||
| 18 | 2 | good, better detail, no noticeable ease to remove part | |||||
| 16 | 1.5 | failed, part came off bed half way through | |||||
| 18 | 1.5 | good, detail slightly better, easy to remove | |||||
| 18 | 1 | failed, part came off bed half way through | |||||
| 20 | 1 | great details , easy to remove |
so after that lot i decided to have a go at printing a part from my crystal chamber as this has some very fine details to see how it would come out.
you be the judge but i think it did a good job.
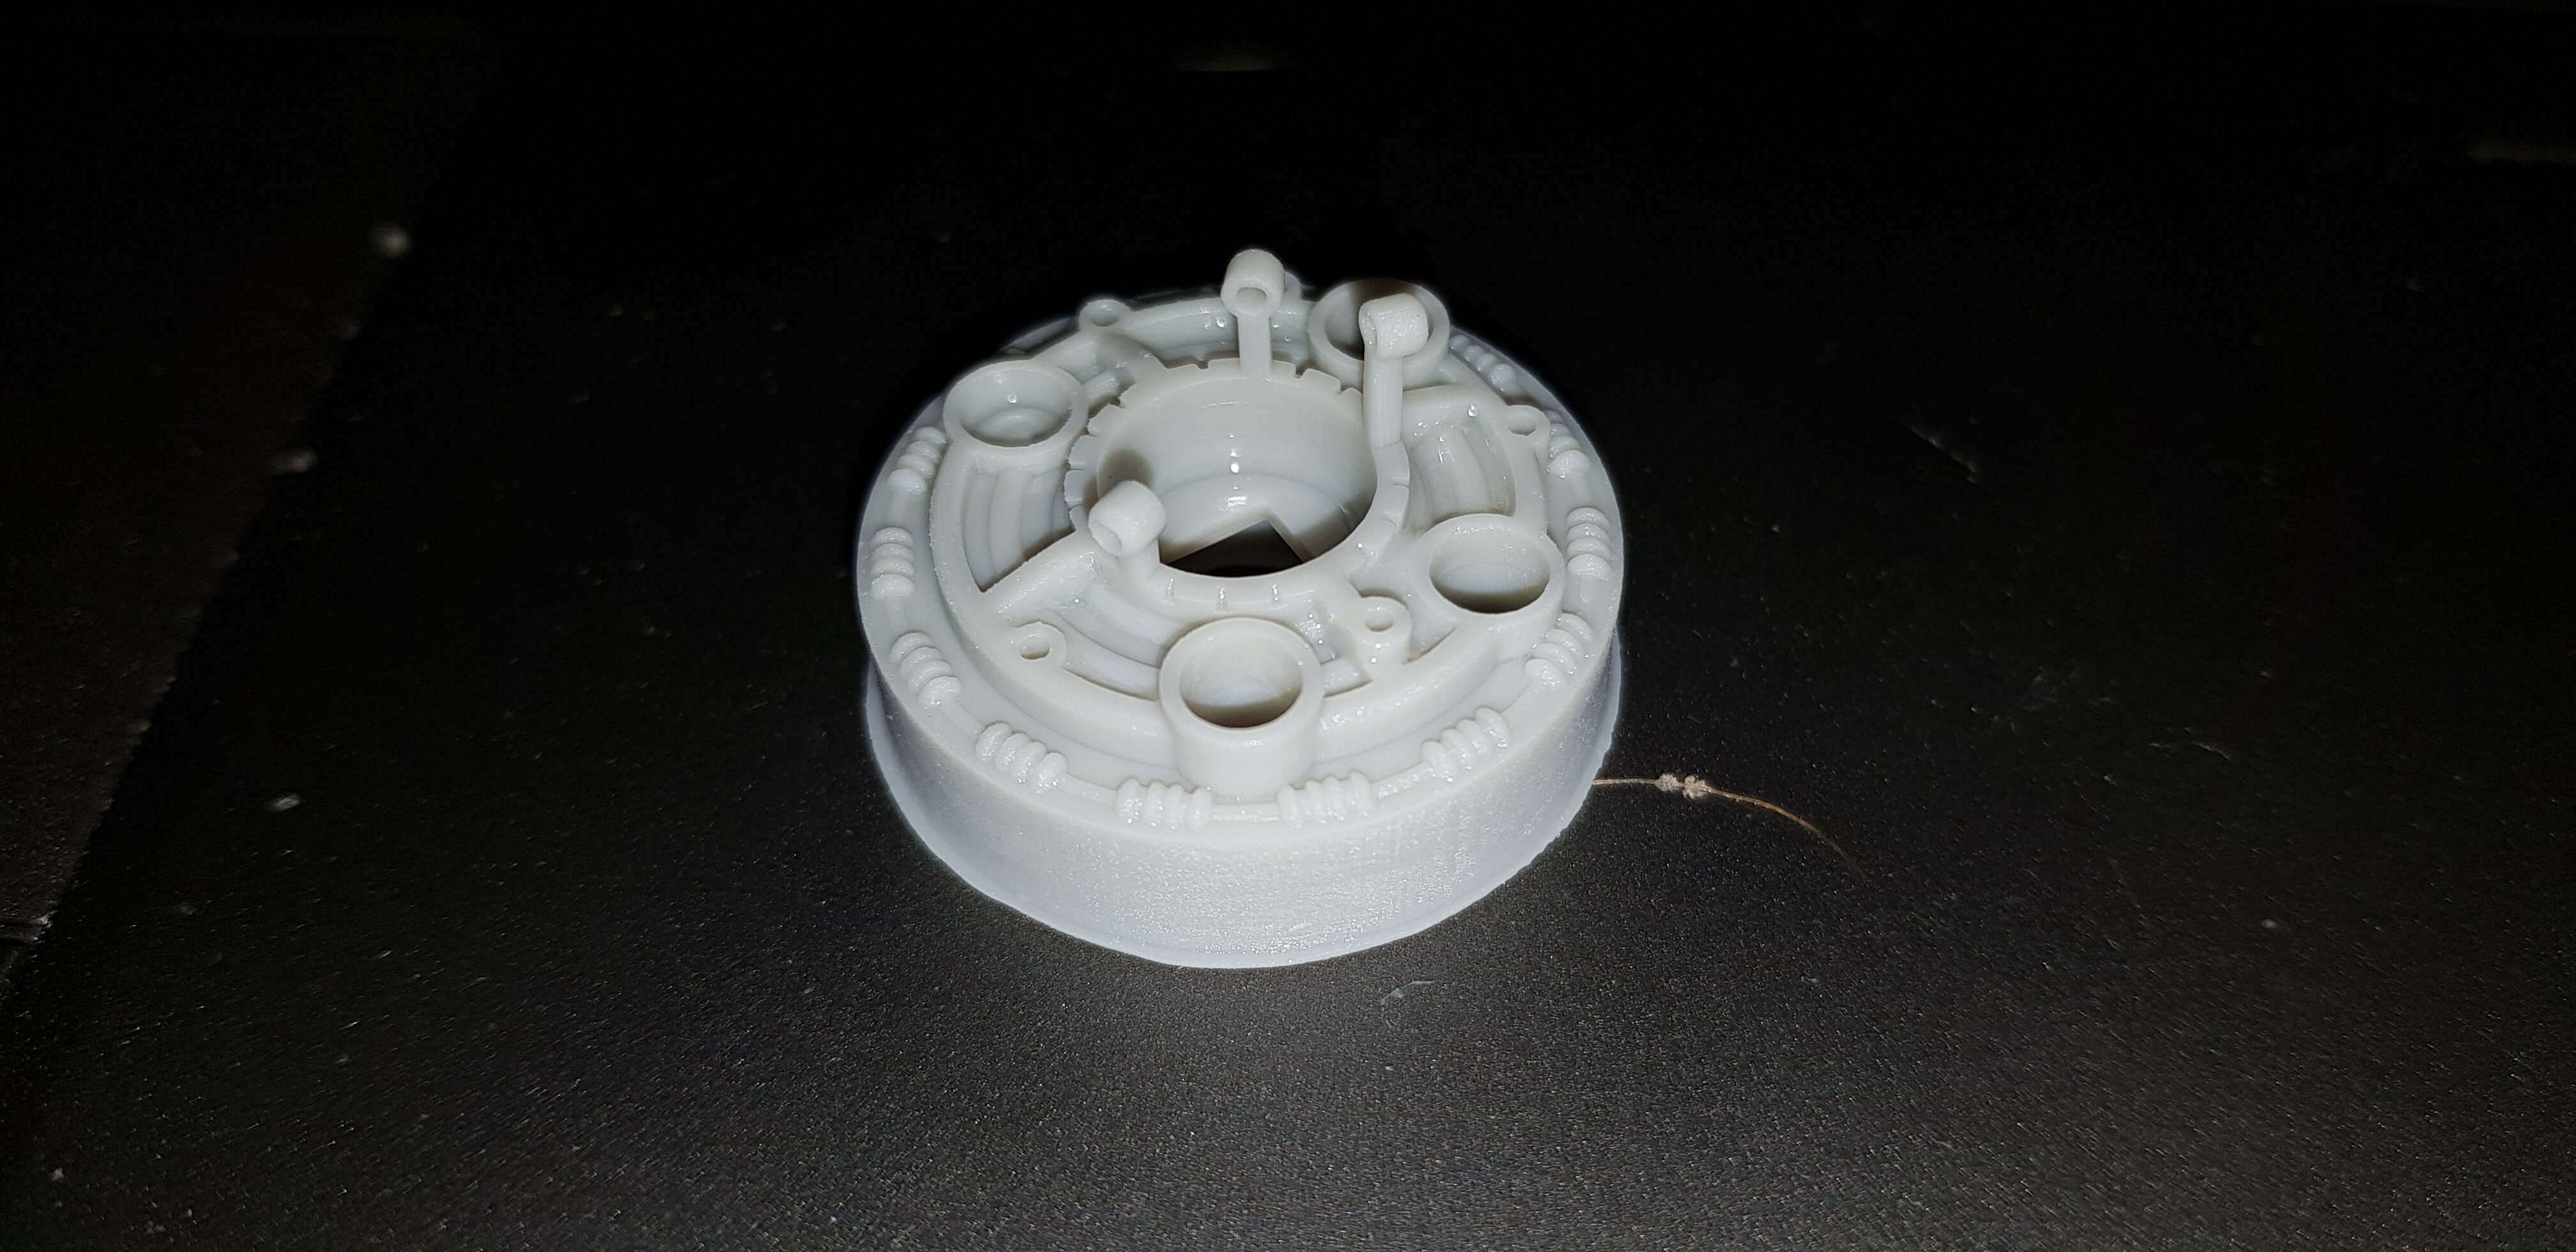
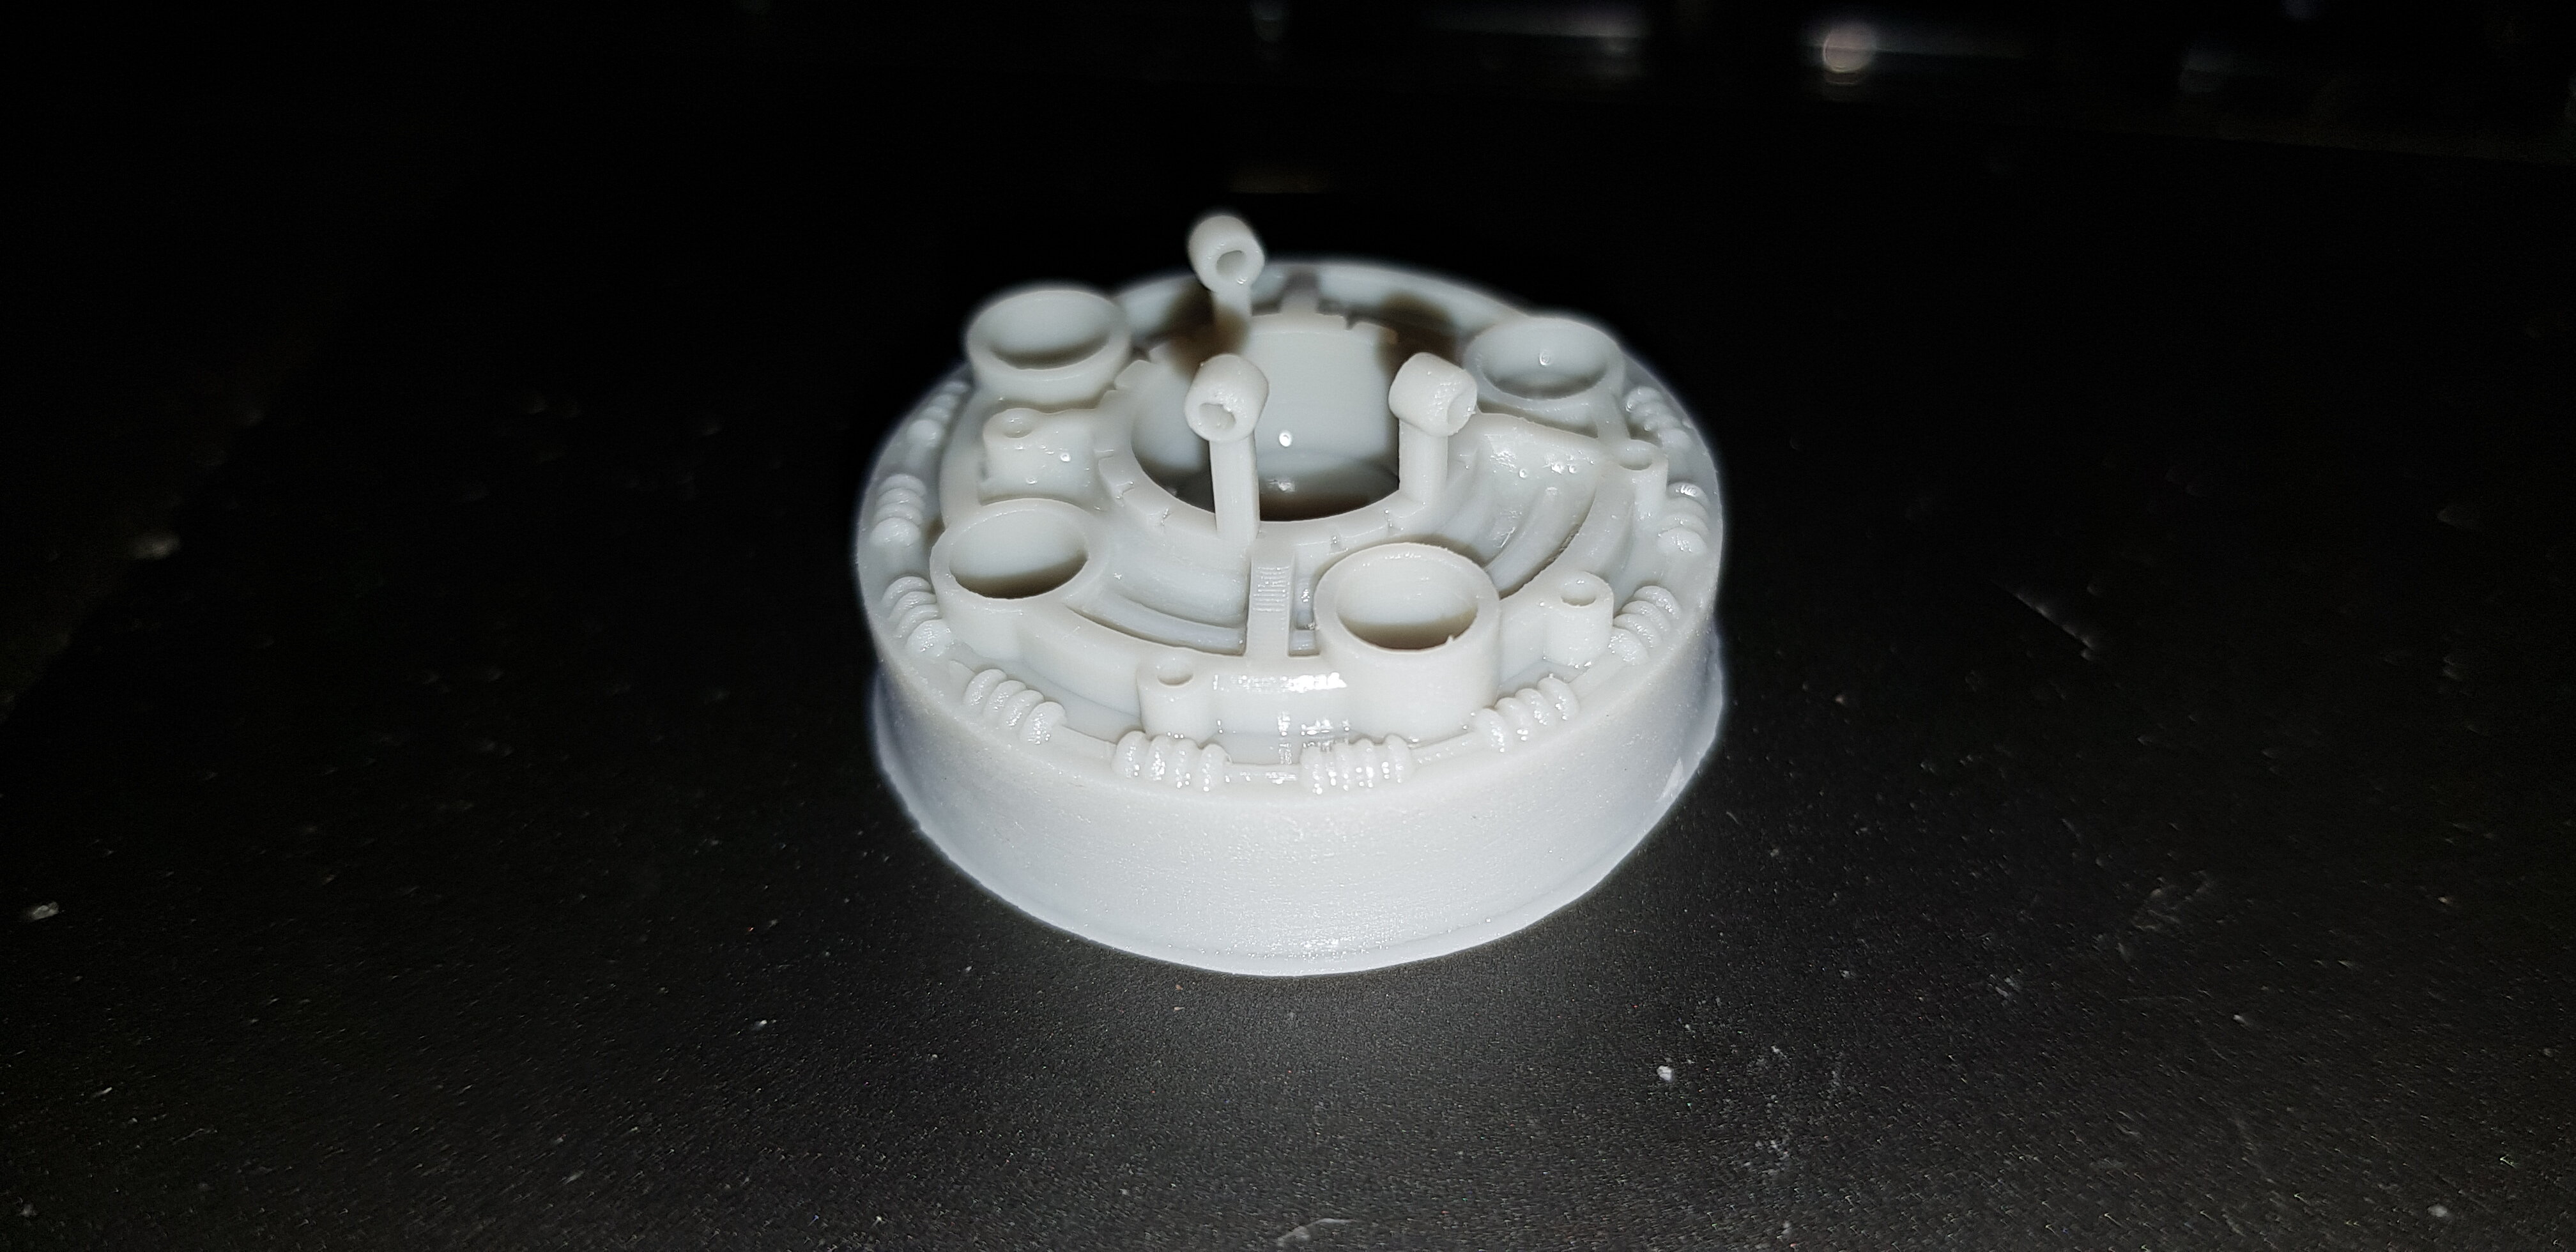
To give some reference the small holes are 1mm
as a foot note the water washable seems to be as i expected, a bucket of water and a brush is all that is needed to clean the parts and the bed. so no nasty chemicals for the clean up.
forgot to mention, these results are all based on my very limited knowledge as i’ve just started my journey with this type of printing.
but i wanted to let everyone know what i have found.
this my change completely when i get more experience under my belt and also once i’ve tried some other resins to compare with.
i will be getting (at some point) some Anycubic clear / coloured resin and one of the Elegoo resins.
1 Like
Nice.
A note about your bottom layers. You could likely get away with 4-6, and notice the “elephant foot” at the build plate layers. You will need to sand that down if the OD is to be specific.
Generally, raising the part off the bed via supports is the way to avoid that, and angling the piece to correspond with your layer thickness helps to avoid aliasing (visible lines through the print in the vertical plane.
They’re still square pixels, so the closest to the “staircase” you can get the major visible parts the less “steppy” they’ll be.
.05 layer height = ~50 degrees, that sort of logic.
I recommend Lychee slicer.
1 Like
My third (and latest) 3d printer, A peopoly phenom L:

2 Likes
Thank you for the advice @NoSloppy I will have a play with that and see how I goes after work today.
I’ve tried to reduce the first layer time to reduce the elephants foot but anything less than 20 - 18 secs and the part falls off.
Maybe the support route is what I need to be doing.
@profezzorn nice printer.
Is that you favourite?
The phenom is a great.
It’s not quite as good as the Formlabs printer I have access to at work, but it prints much bigger which is quite handy.
I need to experiment with resins more though, the ones I have used so far a bit on the brittle side.
1 Like
There’s a free application written by Nerdtronic called Bulge Buster that does a bunch of math for you to eliminate an Elephant’s Foot. I have yet to try it out but reviews are great.
https://nerdtronic3d.com/bulgebuster/
1 Like