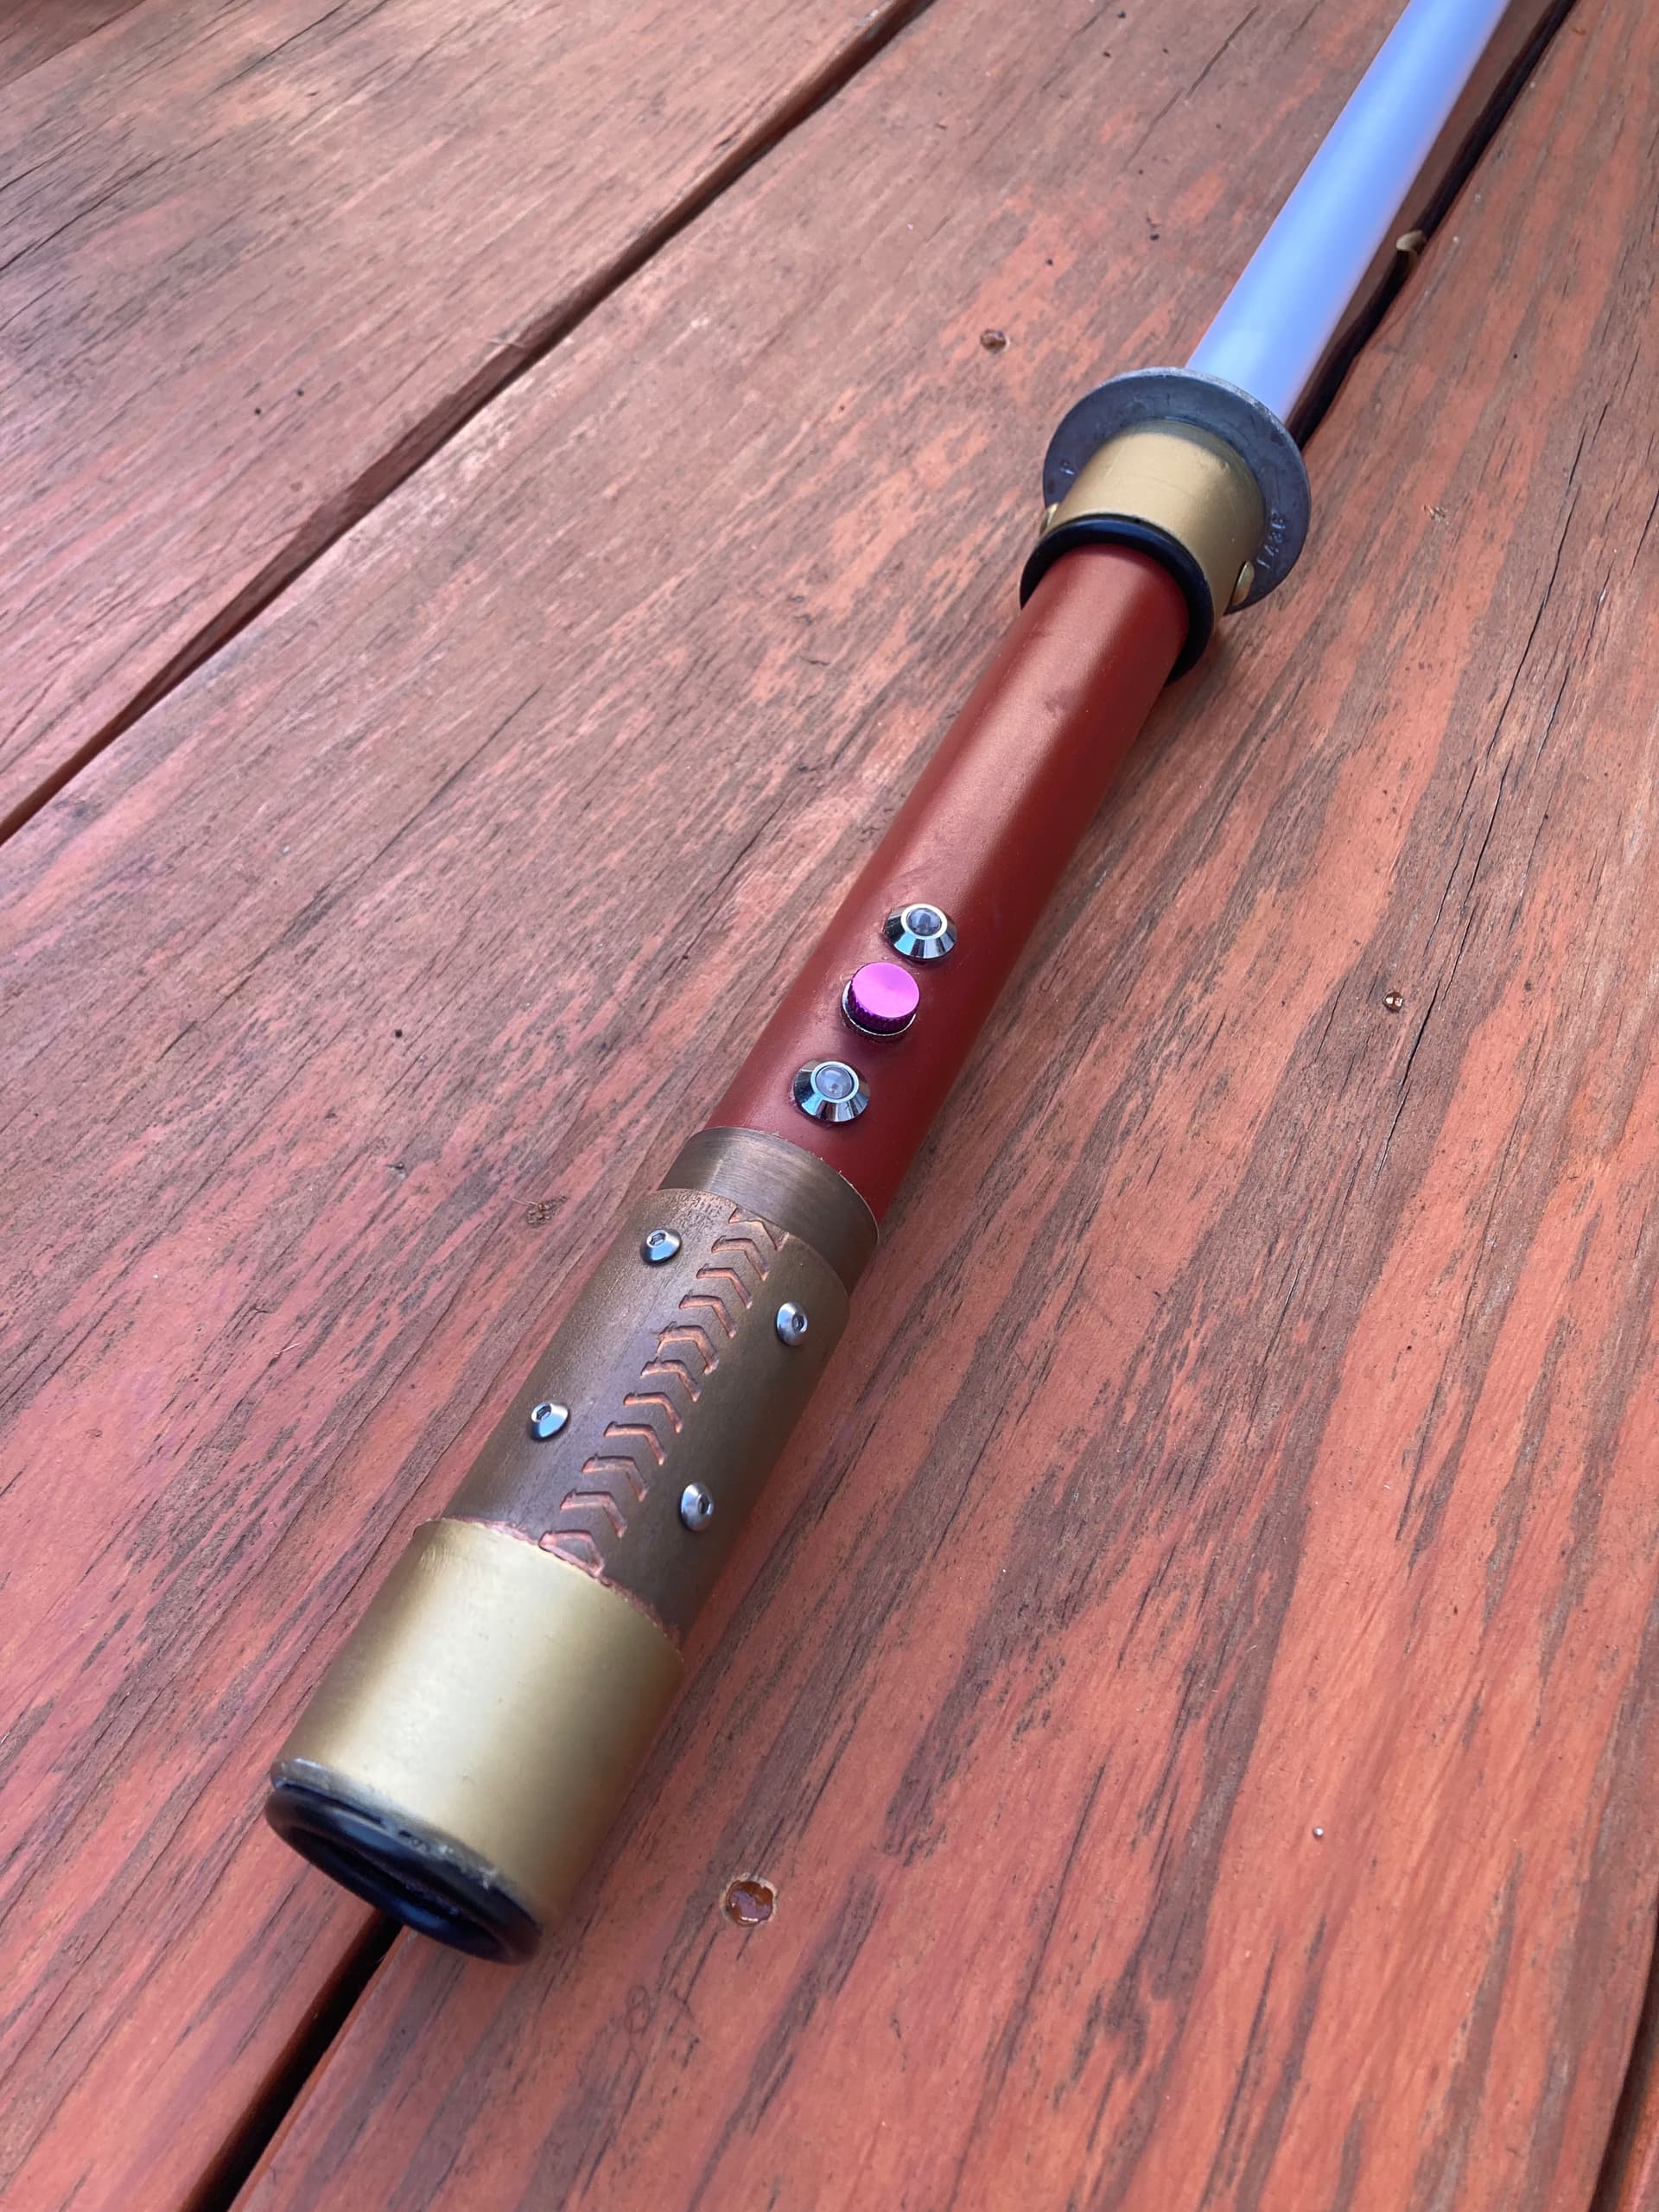
I’ve completed my latest proffie saber (so satisfying) and in testing I’m noticing a sticky recharge port.
After a remove the kill key, there’s a click and power is applied to the board. The longer the kill key is in the socket, the longer I sweat while waiting for the click. The full barrel of a charger is the worst…after a charge it can take a good 30 second for the switched negative to click into place.
I’d swap it out but I only do junk builds (no chassis, main hilt all plumbing supplies and such) and it’s hard to reach, loctite held in place.
The battery is also in a place where it would be destructive to the hilt to remove it, so there’s current to deal with (no kill switch).
Any suggestions? Clean with circuit board cleaner? Lubricant with something? Adjust the negative pin in the port?
As usual asking because I’m afraid I’ll break it and greatful for any advice.
I know it’s a bit late, but my standard advice is to have a removable battery and dump the RCP. I don’t see any advantages to having the RCP when it’s possible to design a removable chassis for pretty much any hilt shape these days.
But if your RCP is getting gummy, figure out what’s causing it. Is the kill key painted?
That is sound advice.
The main body of this new ‘hilt design’ is schedule 40 pvc which has an OD of 1” and an ID of 3/4”. Just enough room for an 18650 and the 22 awg blade wires. The thing I still like about an external rcp is that it’s great for ‘never opening the saber’. Especially if the parts are held together with set screws, etc, and nothing is nicely threaded. For a kid or for casuals, I dig it. Maybe I’m also nostalgic and learned from Rob’s videos at TCSS a little too well. At least I stopped using vinyl coated wires 
The thing that sucks about this design set up is dropping the kill key on the floor.
And now this :).
No paint on the kill key. I was using a TCSS key but the thickness made it worse, so now I’m using one from the kill key factory on Etsy. I think it’s 3D printed and it has a slightly smaller barrel. That helped.
Thanks.
just blast some of this in there and plug and unplug a bunch
1 Like
Yup, that did it.
Stripped some of the Tamiya paint off of it too. That’s what I get for using a fancy model hobby top coat. Touching it up and hitting it with a proper coat of poly like I should have.
Worth it though. Thanks.