Reading Raw Angular Positional Data from Board

Howdy!

I am currently on a mission to perform what I hope to be is a simple task; I would like to be able to read the angular position of my saber and have that data streamed to a Digi Xbee 3 Micro radio module. The reason I’m trying to do this is because I’d like to be able to wirelessly control a pinball machine, and I need to constantly know if the user is tilting the saber to the left or to the right, and possibly even if they’re tilting it forward.

I am brand new to all of this, and I only heard the name “Proffie” 2-3 days ago. I’ve been trying to do some of my own research, and if I’m not mistaken, I believe the Proffie board has an accelerometer that would be able to read my angular position. I am borrowing a friend’s Sabertrio saber for the time being so that I can test out this proof of concept. Is what I’m trying to accomplish actually possible with the Proffie board? If so, has it been done before? I have everything I believe I’ll need to make this happen… I have the Sabertrio Power Core with the board embedded, my Xbee 3 radio modules, and an Arduino Uno in case I need to do some programming.

In my current state, I have my Xbee 3 radio modules linked up and talking to each other. So my big two remaining efforts seem to be extracting that angular position and figuring out how to make the radio forward that data. One step at a time.

Your assistance would be greatly appreciated in this endeavor, as it’s certainly a lot to absorb in such a small bit of time. I look forward to learning more about this hobby!

I think this should be fairly easy to do. (Assuming you know some coding.)
My guess is that you’ll be hooking up a serial link between the xbee and the saber?
Or is going to go through USB? Not sure if I would recommend soldering up a serial port connection to a borrowed saber…

Either way, the easiest way to access the accelerometer is to call Fusor::down.
There are also some convenient functions called Fusor::angle1 and Fusor::angle2 which returns the up-down angle and the twist angle respectively.

I’m not sure what you mean by “angular position” though, depending on what you mean this might be very simple or very difficult. (If you mean is it pointing left or is it pointing right, then it’s going to be difficult.)

Other than that, you’ll need to find a place to put some code, set up the serial port, then call Fusor every 10ms or something and then print out the result to the serial port so the xbee module can pick it up and send it. (I assume, I’ve never worked with Xbee modules.)

There are a lot of places this code could go, most liekly the easiest place to start is in the loop() function of whatever prop you’re using, but you could also create a class that inherit from SaberBase and put that in your config file. If you need help with this let me know. I do not recommend using AI, because the “normal” way of doing it is rarely quite right for ProffieOS.

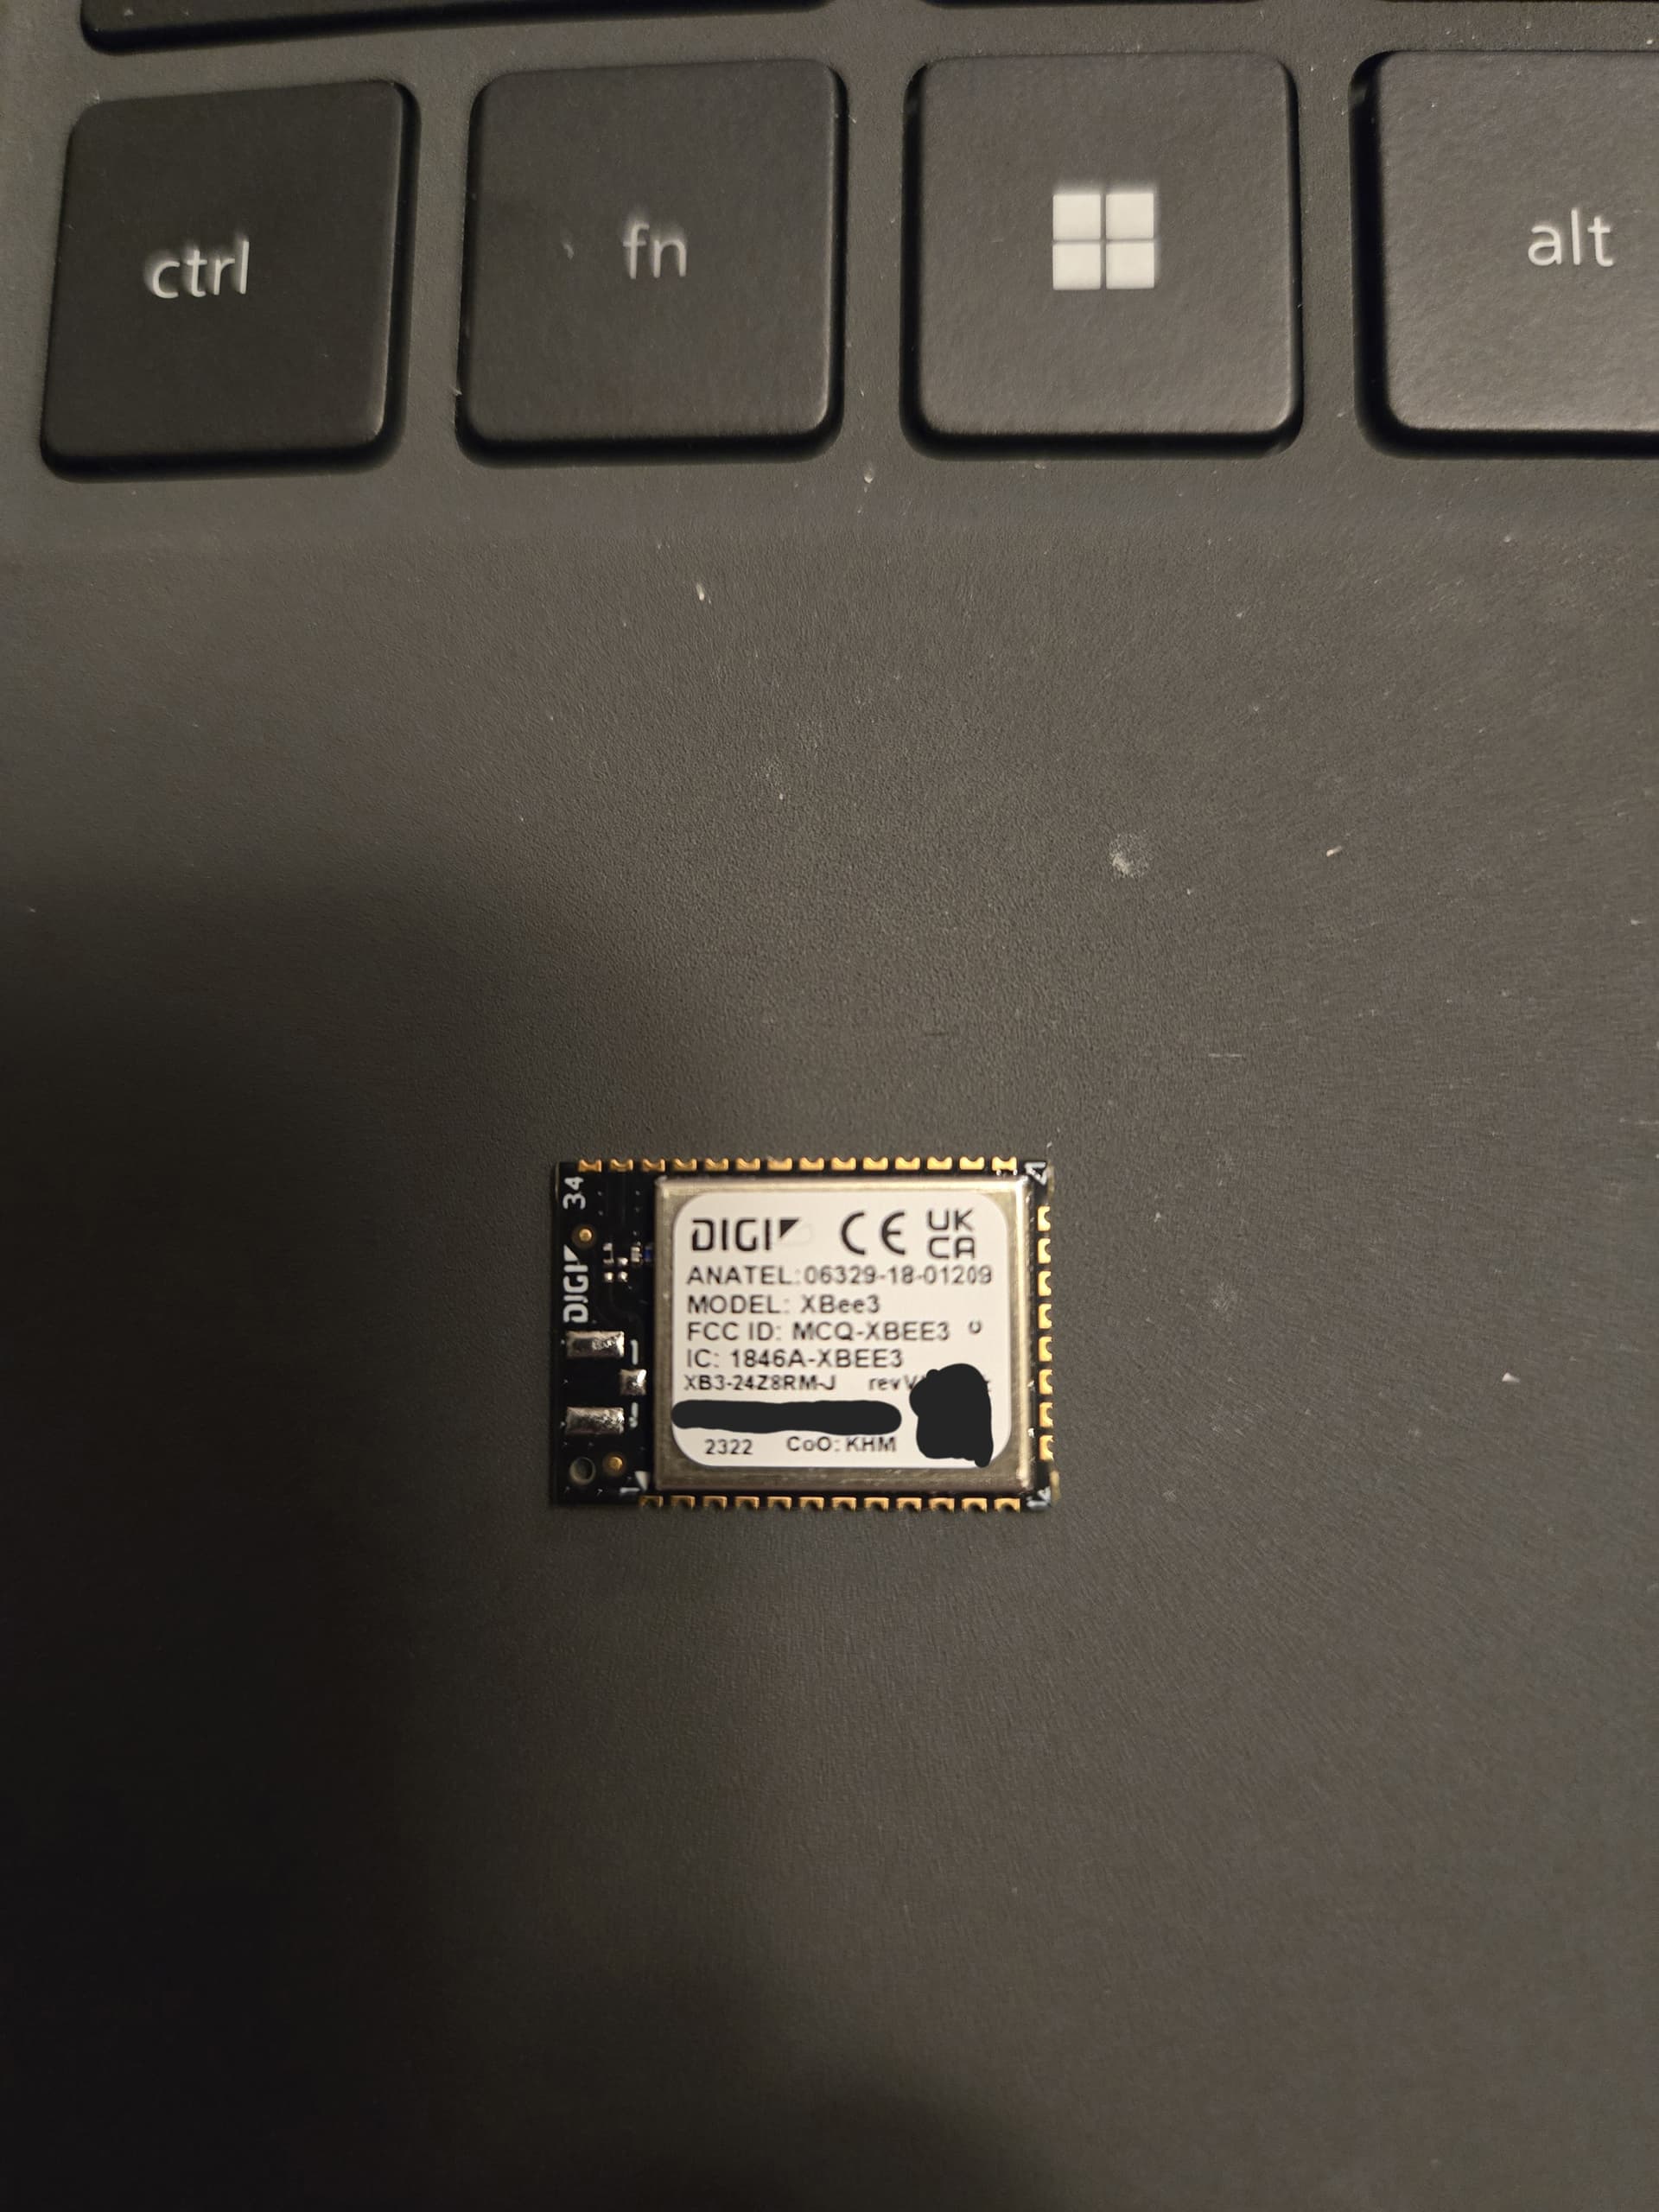
It’s been a hot minute since I’ve actually had to perform any coding, but if I know that what I’m trying to accomplish will actually work, it’s a worthwhile uphill battle. The Xbee can receive input as UART, SPI, regular GPIO, and it even has analog input as well. The plan was to figure out how the proffie is reading the angular data and just pass it along to the xbee. Soldering will probably have to happen eventually, but I will of course do that once I have a saber of my own. For now, I’ll see if I can make do with jumper cables and a breadboard.

When I say “angular position”, what I mean is that I need to be able to sense if the player is literally tilting the saber towards the left or right, a.k.a raw x/y/z values. My “neutral” position would be if the saber was sticking straight-up, perpendicular to the ground (0,0,0). So the left/right position would be relative to the user (i.e. if you’re facing the machine and you angle the saber to the left, the left flipper would activate and remain active until it’s returned to the upright position). The player should always be facing the machine, and the orientation of the saber should always be the same (the “on” button on the hilt always faces the player, it never rotates in-hand). And it’s important for me to measure position and not velocity/force, because if the player holds the saber in a 45-degree angle tilting left (I’ll play around with the appropriate angle to trigger a flip, this is just an example), it needs to consistently send those x/y/z values so that the flipper remains active. If I were to measure the velocity/force, it would trigger the flipper upon the initial movement, but stop triggering the moment they try to hold that position. This is where I was worried it would be difficult, because playing around with the saber I can tell that force is tracked and different sounds are played depending on how hard I swing. One thing that gives me hope though is that when I hit the “blaster” effect, depending on the orientation of the saber, a certain point on the blade lights up. Holding the saber straight up lights the “blaster” effect near the hilt, and pointing it straight down lights it up near the tip. So I know that there’s some sensor able to track it’s vertical position and change where to light up the blaster on the blade. I tried left and right and it just lit near the center-ish, so whatever sensor that is might not be tracking that particular axis.

In terms of the code, I believe you’re on the right track on how I need to be constantly calling for Fusor (or whatever the relevant library will be) and relaying that to the other radio module. Xbees merely help establish a wireless connection where there currently isn’t one. They come with Micropython nowadays so I don’t even need a separate microcontroller. I could just read in the x/y/z values, pump them into Micropython, and depending on the values I can send high/low data signals to the flippers. So the proffie board itself doesn’t need to necessarily know if left is left and right is right, it just needs to be able to tell me the current x/y/z values the accelerometer is reading, and a Micropython program will determine what those values represent.

I would absolutely accept assistance in any fields dealing with the intricacies of the Proffie board. I’m trying to merge two worlds that I have very little experience in. Again, this seems like it’ll hopefully be a painless effort, assuming I’m relaying my goal accurately. I’m not doing any major modification of any kind (or any modification, really), I’m just trying to read data from a sensor and play some pinball using the force!

One possibility would be to plug in through usb, then have the data go proffie → computer → serial dongle → xbee. Doing it this way would require no soldering on the saber side.

This of course only works if you hold the saber a particular way, but other than that it is simple, because I already have some code that works like this.

The function you want is called fusor.pov_angle(), and can be found here:

It calculates the angle from to the down vector, the down vector uses both accelerometer and gyro to calculate which direction is down, and should generally work better than just using the accelerometer. (The accelerometer gets confused if you move the saber around, especially if the movement accelerates faster than one G)

If you prefer to just have x/y/z, I would still use the down vector over the raw accelerator measurements. You can get the down vector with fusor.down().

Communication with the computer should only be required for the configuration portion of this project, correct? Because ultimately I want everything to be communicating just by turning on the saber. So my Xbee 3 Micro would actually go in the core, draw power from the same place the board draws power, and connect to a pin on the proffie board that I’ve set up to output those x/y/z values. So my final layout will most likely have to involve soldering, unless there’s some new-fangled way to easily connect and disconnect an external device like the xbee. Again, I wouldn’t do anything as drastic as that on my friend’s saber.

This is what I’m working with. The Xbee 3 Micro only has micro-mount pads along the edges, so I think soldering is inevitable. And the Xbee alone is small enough to fit into the cut-out of the core where the board sits, which can’t have anything sticking out because of how tight it already fits inside the hilt. The board’s USB is shrouded in it’s own cut-out, so I don’t think the Xbee could be connected to it while everything’s housed in the hilt. Hence, why I wanted to see if I could output those values to one of the proffie’s pins instead.

If I can get the x/y/z info I need from fusor.down() or pov_angle(), how can I copy that data and set it to output to a pin?

Correct.

I was suggesting an alternate way of doing it which streams the data through an USB cable as way to avoid soldering. Depending on your requirements, that could be an intermediate solution, or the final solution, or not any kind of solution at all.

Sorry for the delay in response, I had to return the saber to my friend and I’ve been reading up on the Proffie board in the interim. My saber should be coming in a whopping 4-ish weeks, so that should give me more time to read up on the Proffie board.

In the meantime, after speaking with my friend, he raised a valid point to me: the pinball flippers only care about a high (3.3V) or low (0V) signal, so I could just perform that calculation in one of the program files on the Proffie, right? Read in the angle, and if the resulting value corresponds to a “left” lean, output a high signal to one of the Proffie GPIO pins. If it reads a value corresponding to “right”, output a high signal to a different Proffie GPIO pin. Those GPIO pins connect to the Xbee, which mirrors the high/low signals to the Xbee inside the pinball machine and outputs those signals to the assigned Xbee pins. By doing this, I don’t need to pass along data packets for the Xbee to interpret, or use MicroPython, or negotiate clock speeds of any kind. The Proffie board would just send high/low signals to two different GPIO pins, and my Xbee passes that along.

Just because I know it’s sometimes hard to visualize, here’s a summary of what I mean:

  1. Somewhere in the main Proffie board program (not sure where yet), call the function fusor.pov_angle()

  2. read in the value(s) returned by fusor.pov_angle()

  3. In a switch-case block, determine:
    pi/2 >= down_.x >= pi/8 (saber left = set GPIO pin ‘A’ to high)
    -pi/2 <= down_.x <= -pi/8 (saber right = set GPIO pin ‘B’ to high)
    pi/8 >= down_.x <= -pi/8 (saber neutral = set GPIO pins ‘A’ and ‘B’ to low) OR just make this the default case

  4. Wire Proffie GPIO ‘A’ to Xbee transmitter GPIO ‘A’ and Proffie GPIO ‘B’ to Xbee transmitter GPIO ‘B’, with the only two possible values being a high or low signal

  5. Xbee receiver mirrors the inputs seen on Xbee transmitter’s GPIO pins and outputs them to the pinball flippers

Looking back at your previous responses, it looks like you may have been telling me to do it this way already, so my apologies if I’ve been misunderstanding you this whole time. I somehow manage to find the most difficult way to achieve my tasks at first. I just need the Proffie board to give me a high/low signal on two GPIO’s based on that pov_angle function (is it just returning two floats corresponding to the x-axis and y-axis in a circle?) and push those high/low signals to the Xbee. It’s almost like the Proffie board is sending an on/off button press per flipper to the Xbee, uncanny…

Hopefully this makes everything 100x easier. That said, in your opinion, where would be the best spot to repeatedly call this function and perform this operation? Is there already somewhere in the code that’s constantly requesting the pov_angle that I can leech from so that I can avoid having to call that function again? And would this new approach slow down the functionality of the saber in any way, or add unwanted latency?

I was thinking that you could use a serial port. Your idea is simpler than that. Not 100x simpler, but definitely simpler.

Probably the best thing to do is just to create a place for this code, like this:


class PinballController : public Looper {
 public:
  const char* name() override { return "PinballController"; }
  static const int LeftPin = blade5Pin;
  static const int RightPin  = blade6Pin;
  void Setup() override {
    pinMode(LeftPin, OUTPUT);
    pinMode(rightPin, OUTPUT);
  }
  void Loop() override {
     float angle = Fusor.pov_angle();
     digitalWrite(LeftPin, angle < -M_PI / 8);
     digitalWrite(RightPin, angle > M_PI / 8);
  }
};

PinBallController pinball_controller;

This code can be placed lots of different places, but probably the best place is the CONFIG_STYLES section of your config file, which is kind of meant for stuff like this.

I recommend wiring these two signals up through resistors (something between 1k and 10k maybe), this will protect the two circuits in case something weird happens.

Also, you’ll need to connect GND to GND, otherwise the low/high signal might not work as there wouldn’t be anything to compare to. (The signal would be floating.)

You may also want to hook up some small LEDs to these wires (with their own resistors) so that you can see when signals are active. This could potentially help a lot in the beginning if you have problems with the whole setup and you want to figure out where the problems is.

Just a minor update. My saber finally came in, so this effort is ramping back up.

When you say to place the code in the CONFIG_STYLES section of my config file, are you specifically talking about the ProffieOS.ino file? That’s the only place I’ve been able to find any reference named CONFIG_STYLES, and it’s just 3 lines of code. But looking at those lines, they point to the CONFIG_FILE variable, which my saber has set to “config/s3config_v3.h”. So would that make s3config_v3.h my config file instead?

Looking inside that s3config_v3.h file, I can see all of the presets that are loaded onto my saber. This project should work regardless of which blade style the user chooses, so I don’t think that chunk of code needs to go under any specific blade configuration.

Currently, I have that code in the ProffieOS.ino file, stuck in right after the “#include CONFIG_FILE” command. My core doesn’t stay on long enough for me to constantly be reading the serial monitor and see live updates (it says something about an unknown image format, read image fail). It spits out EVENT MENU TURN LEFT and EVENT MENU TURN RIGHT for about 30 seconds before it just stops populating. Saber still works totally fine, it just doesn’t seem to be able to effectively read the SD card when debugging.

Lastly, what voltage does a digital high equate to? Would it be 3.3V, or 5V? The Xbee modules can accept a max digital input of 3.3V, so if the Proffie outputs 5V on those blade5 and blade6 pins I’ll have to do some voltage dividing.

I appreciate your patience with me while I waited for this saber to come in! I’m hoping to see this effort pay off soon.

No, I mean your config file, more information:

3.3v

ProffieOS reads the SD card from the sound interrupt, and that can happen at any time, so that generally makes it unsafe to access the SD card from any other code. You can lock the SD card to make it safe, but if you lock the SD card for any more than a few ms, it will cause an audio glitch. Most proffieos code only uses the SD card when the saber is retracted.

Thank you for the clarification. I’ll move the code into s3config_v3.h. I’m assuming as long as I don’t stick it between any #ifdef and #endif sets, it’ll be fine.

Is the upload process fairly straightforward? Stick the SD card into an SD card reader, navigate to the s3config_v3.h file and throw in the code, save, and stick the SD card back into the board? I found this page that walks through a users first config file, but the config changes seem so minimal that I just saved it as the same .h file so that I didn’t have to change where the CONFIG_FILE variable in ProffieOS.info pointed.

Yes

No

You load up ProffieOS.ino in Arduino, connect the board to the computer with an USB cable an hit upload. The compiled program is uploaded into board flash memory which is independent of the SD card.

The config presence on the SD-card does nothing. It is there for back-up & ease of finding.

To use your new config, it needs to be placed in your ProffieOS/config folder & uploaded in the Proffieboard via Arduino by opening ProffieOS.ino and changing this line:

// #define CONFIG_FILE "config/YOUR_CONFIG_FILE_NAME_HERE.h"

to

#define CONFIG_FILE "config/s3config_v3.h"

Ok, I performed the upload. It told me that the sketch uses up ~57% of my storage space, so it looks like the push was successful.

Hooking up some LED’s and powering the core up, the LED’s remain dark. I’m wondering if there are some commands I can put in the code to debug via the serial monitor. That way I can plug in the core, move it around, and see in the code working in real-time when it reaches those left/right thresholds. Would I need to use STDOUT.println("Left threshold: " + LeftPin); or would it need to be std::cout << "Left threshold: " << LeftPin << std:endl; ?

STDOUT.println should work, or STDOUT << “whatever”

There are lots of serial monitor commands:

I’ve added some println statements after the digitalWrite statements, but I’m not seeing my added statements appear in the serial output. I still think the uploads are working, because when I click “upload”, it takes 1-2 minutes and then it plays the boot sound.

Continuing to play around with it, I’m seeing those “EVENT MENU TURN LEFT” and “EVENT MENU TURN RIGHT” outputs whenever I, well, pivot my core. And they seem to trigger around the +/- pi/8 limits. So there’s already something detecting those left/right tilts. Would it be simpler to just move the code snippets to wherever those calculations are taking place instead? I like the convenience of having one block of code in one spot, but if it means reinventing the wheel…

I’m also wondering if my println statements aren’t coming out because it’s just my core sitting on my desktop plugged into my computer. Does it possibly need to be put into my saber and lit up before it starts performing those angle calcs (I know it’s doing them currently for the event menu but I don’t know if it’s currently doing it for the code you generated)? I have a bluetooth module installed, and I’ve seen you post a link to this terminal before. Maybe I can get something to show up through here if it means I have to assemble my saber before I start to see results.

Can you show us your code. I feel like this ought to work.

It’s probably not really any simpler.
If we can just get your code to work, it should be simple enough.

Accelerometer values may stop updating when the saber is not on, but Loop() should still be called regardless, so your printouts should still be there.

This snippet is located in my s3config_v3.h file:


#ifdef CONFIG_PROP
#include "../props/saber_sabertrio_buttons.h"
// #include "../props/saber_fett263_buttons.h"
#endif


//start of custom code
class PinballController : public Looper {
 public:
  const char* name() override { return "PinballController"; }
  static const int LeftPin = blade5Pin;
  static const int RightPin  = blade6Pin;
  void Setup() override {
    pinMode(LeftPin, OUTPUT);
    pinMode(rightPin, OUTPUT);
  }
  void Loop() override {
     float angle = Fusor.pov_angle();
     digitalWrite(LeftPin, angle < -M_PI / 8);
	 STDOUT.println(LeftPin);
     digitalWrite(RightPin, angle > M_PI / 8);
	 STDOUT.println(RightPin);
  }
};

PinBallController pinball_controller;
//end of custom code


And in my ProffieOS.ino file, I’m still defining CONFIG_FILE as “config/s3config_v3.h”

This code is not inside any section. Having code outside of the #ifdef CONFIG_XXXXXX sections is not supported. The config file is included several times from ProffieOS.ino, which means that your code would be read several times, which I think should cause a compilation error. The big question is why didn’t it? It probably means that Arduino isn’t reading the file you think it’s reading. Is it possible that the file you edited is called s2config_v3.h.h? Windows tends to hide the part and call it “type H” instead. (Compare with other files in same directory.)

I’ve gone ahead and put the code inside the #ifdef CONFIG_PRESETS block, right at the beginning.

I have file extensions visible in File Explorer, and I can confirm that the file is, in fact, called s3config_v3.h and not s3config_v3.h.h

Maybe these will help, here’s my output when I push upload:

C:/Users/xxx/AppData/Local/Arduino15/packages/proffieboard/tools/arm-none-eabi-gcc/14-2-rel1-xpack/bin/../lib/gcc/arm-none-eabi/14.2.1/../../../../arm-none-eabi/bin/ld.exe:C:\Users\xxx\AppData\Local\Arduino15\packages\proffieboard\hardware\stm32l4\4.6\variants\STM32L452RE-ProffieboardV3/linker_scripts/STM32L452RE_FLASH.ld:224: warning: memory region `SRAM2' not declared
lto-wrapper.exe: warning: using serial compilation of 9 LTRANS jobs
lto-wrapper.exe: note: see the '-flto' option documentation for more information
C:/Users/xxx/AppData/Local/Arduino15/packages/proffieboard/tools/arm-none-eabi-gcc/14-2-rel1-xpack/bin/../lib/gcc/arm-none-eabi/14.2.1/../../../../arm-none-eabi/bin/ld.exe: warning: start of section .bss changed by 16
Sketch uses 296296 bytes (58%) of program storage space. Maximum is 507904 bytes.
Cannot open DFU device 0483:df11
1
dfu-util 0.9

Copyright 2005-2009 Weston Schmidt, Harald Welte and OpenMoko Inc.
Copyright 2010-2016 Tormod Volden and Stefan Schmidt
This program is Free Software and has ABSOLUTELY NO WARRANTY
Please report bugs to http://sourceforge.net/p/dfu-util/tickets/

Opening DFU capable USB device...
ID 0483:df11
Run-time device DFU version 011a
Claiming USB DFU Interface...
Setting Alternate Setting #0 ...
Determining device status: state = dfuERROR, status = 10
dfuERROR, clearing status
Determining device status: state = dfuIDLE, status = 0
dfuIDLE, continuing
DFU mode device DFU version 011a
Device returned transfer size 2048
DfuSe interface name: "Internal Flash  "
Downloading to address = 0x08000000, size = 296304

Download	[                         ]   0%            0 bytes
Download	[                         ]   1%         4096 bytes
Download	[                         ]   2%         6144 bytes
Download	[                         ]   3%        10240 bytes
Download	[=                        ]   4%        12288 bytes
Download	[=                        ]   4%        14336 bytes
Download	[=                        ]   6%        18432 bytes
Download	[=                        ]   6%        20480 bytes
Download	[==                       ]   8%        24576 bytes
Download	[==                       ]   9%        28672 bytes
Download	[==                       ]  11%        32768 bytes
Download	[==                       ]  11%        34816 bytes
Download	[===                      ]  12%        36864 bytes
Download	[===                      ]  13%        38912 bytes
Download	[===                      ]  14%        43008 bytes
Download	[===                      ]  15%        45056 bytes
Download	[====                     ]  16%        49152 bytes
Download	[====                     ]  17%        53248 bytes
Download	[====                     ]  19%        57344 bytes
Download	[=====                    ]  20%        59392 bytes
Download	[=====                    ]  21%        63488 bytes
Download	[=====                    ]  22%        67584 bytes
Download	[=====                    ]  23%        69632 bytes
Download	[======                   ]  24%        71680 bytes
Download	[======                   ]  24%        73728 bytes
Download	[======                   ]  26%        77824 bytes
Download	[======                   ]  27%        81920 bytes
Download	[=======                  ]  28%        83968 bytes
Download	[=======                  ]  29%        88064 bytes
Download	[=======                  ]  31%        92160 bytes
Download	[=======                  ]  31%        94208 bytes
Download	[========                 ]  32%        96256 bytes
Download	[========                 ]  33%        98304 bytes
Download	[========                 ]  34%       102400 bytes
Download	[========                 ]  35%       104448 bytes
Download	[=========                ]  36%       108544 bytes
Download	[=========                ]  38%       112640 bytes
Download	[=========                ]  39%       116736 bytes
Download	[==========               ]  40%       118784 bytes
Download	[==========               ]  41%       122880 bytes
Download	[==========               ]  42%       126976 bytes
Download	[==========               ]  43%       129024 bytes
Download	[===========              ]  44%       131072 bytes
Download	[===========              ]  44%       133120 bytes
Download	[===========              ]  46%       137216 bytes
Download	[===========              ]  47%       141312 bytes
Download	[============             ]  48%       143360 bytes
Download	[============             ]  49%       147456 bytes
Download	[============             ]  51%       151552 bytes
Download	[============             ]  51%       153600 bytes
Download	[=============            ]  52%       155648 bytes
Download	[=============            ]  53%       157696 bytes
Download	[=============            ]  54%       161792 bytes
Download	[=============            ]  55%       165888 bytes
Download	[==============           ]  56%       167936 bytes
Download	[==============           ]  58%       172032 bytes
Download	[==============           ]  59%       176128 bytes
Download	[===============          ]  60%       178176 bytes
Download	[===============          ]  61%       182272 bytes
Download	[===============          ]  62%       186368 bytes
Download	[================         ]  64%       190464 bytes
Download	[================         ]  64%       192512 bytes
Download	[================         ]  66%       196608 bytes
Download	[================         ]  67%       200704 bytes
Download	[=================        ]  68%       202752 bytes
Download	[=================        ]  69%       206848 bytes
Download	[=================        ]  71%       210944 bytes
Download	[==================       ]  72%       215040 bytes
Download	[==================       ]  73%       217088 bytes
Download	[==================       ]  74%       221184 bytes
Download	[===================      ]  76%       225280 bytes
Download	[===================      ]  76%       227328 bytes
Download	[===================      ]  78%       231424 bytes
Download	[===================      ]  79%       235520 bytes
Download	[====================     ]  80%       237568 bytes
Download	[====================     ]  80%       239616 bytes
Download	[====================     ]  81%       241664 bytes
Download	[====================     ]  82%       245760 bytes
Download	[=====================    ]  84%       249856 bytes
Download	[=====================    ]  85%       251904 bytes
Download	[=====================    ]  86%       256000 bytes
Download	[=====================    ]  87%       260096 bytes
Download	[======================   ]  88%       262144 bytes
Download	[======================   ]  89%       264192 bytes
Download	[======================   ]  89%       266240 bytes
Download	[======================   ]  91%       270336 bytes
Download	[=======================  ]  92%       274432 bytes
Download	[=======================  ]  93%       276480 bytes
Download	[=======================  ]  94%       280576 bytes
Download	[======================== ]  96%       284672 bytes
Download	[======================== ]  97%       288768 bytes
Download	[======================== ]  98%       290816 bytes
Download	[======================== ]  99%       294912 bytes
Download	[=========================] 100%       296304 bytes
Download done.
File downloaded successfully
Transitioning to dfuMANIFEST state

And here’s my serial monitor:

Battery voltage: 4.13
Activating polyphonic font.
Activating SmoothSwing V2
Accent Swings Enabled.
Polyphonic swings: 16
Monophonic swings: 0
Accent Slashes NOT Detected: 
unit = 0 vol = 0.50, Playing 1-SABERTRIO/boot.wav
channels: 1 rate: 44100 bits: 16
Playing common/Welcome to ProffieOS v7.12
For available serial commands, see:
https://pod.hubbe.net/tools/serial-monitor-commands.html
EVENT: ?47 millis=2037
EVENT MENU TURN RIGHT
EVENT: ?47 millis=2188
EVENT MENU TURN RIGHT
Saving Global State
Amplifier off.
EVENT: ?47 millis=2462
EVENT MENU TURN RIGHT
Playing common/idle.bmp
Unknown image format. a=-1 b=-1 pos=576
read image fail
Unmounting SD Card.
Battery voltage: 4.14
EVENT: ?48 millis=190156
EVENT MENU TURN LEFT
EVENT: ?48 millis=190223
EVENT MENU TURN LEFT
EVENT: ?47 millis=190787
EVENT MENU TURN RIGHT
EVENT: ?47 millis=191467
EVENT MENU TURN RIGHT
EVENT: ?47 millis=191522