I have a side hobby/gig building props that’s increased the past few years. Some of you have seen the ideas used so I figure I may as well share the images as well as parts list so you can make some of these on your own.
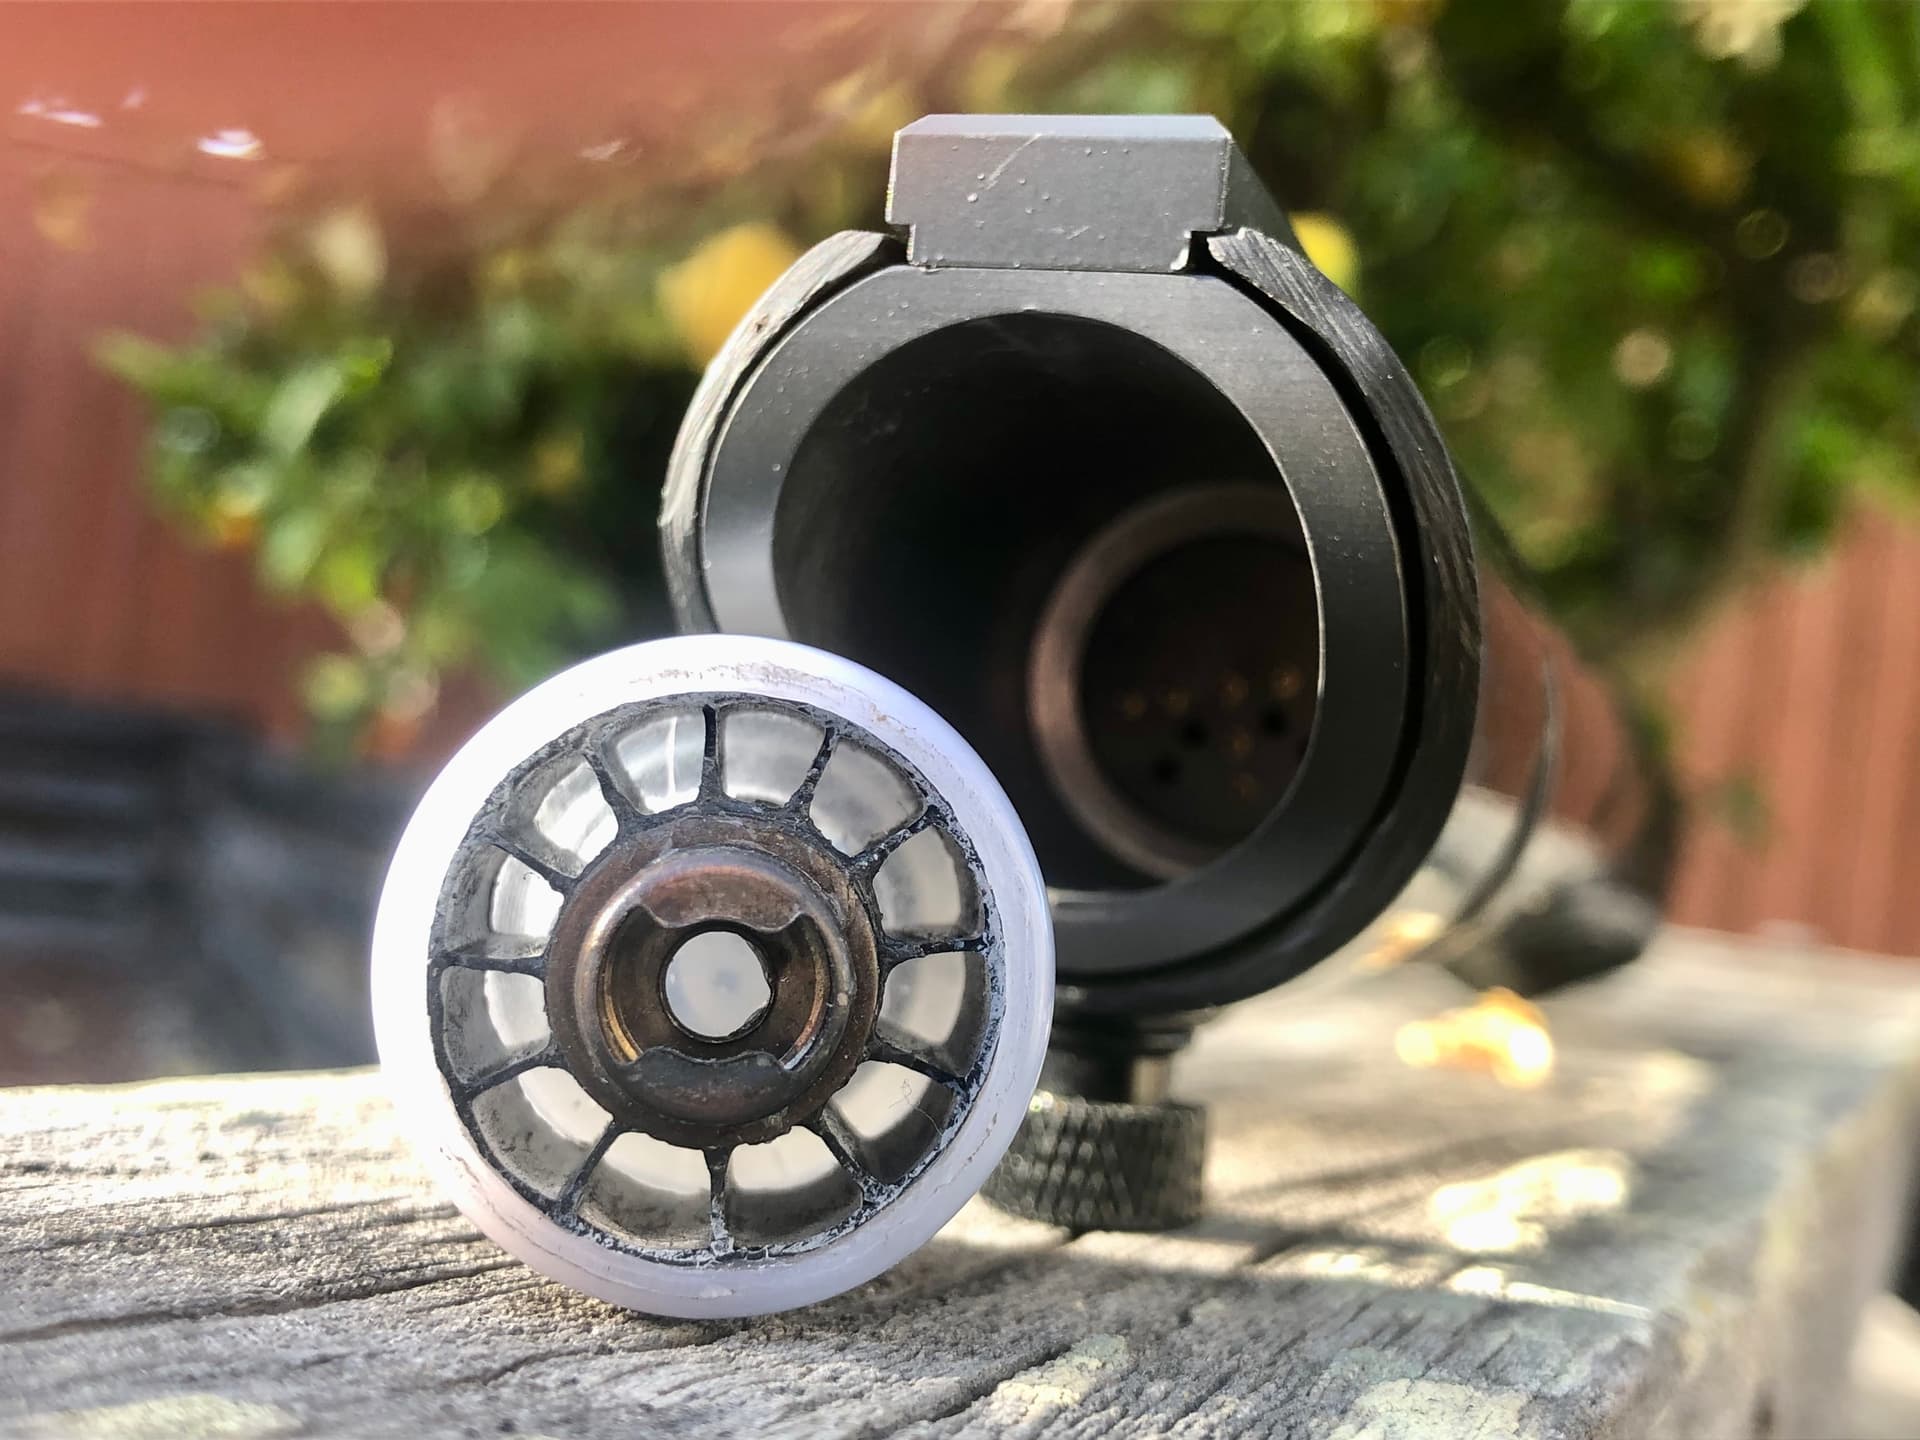
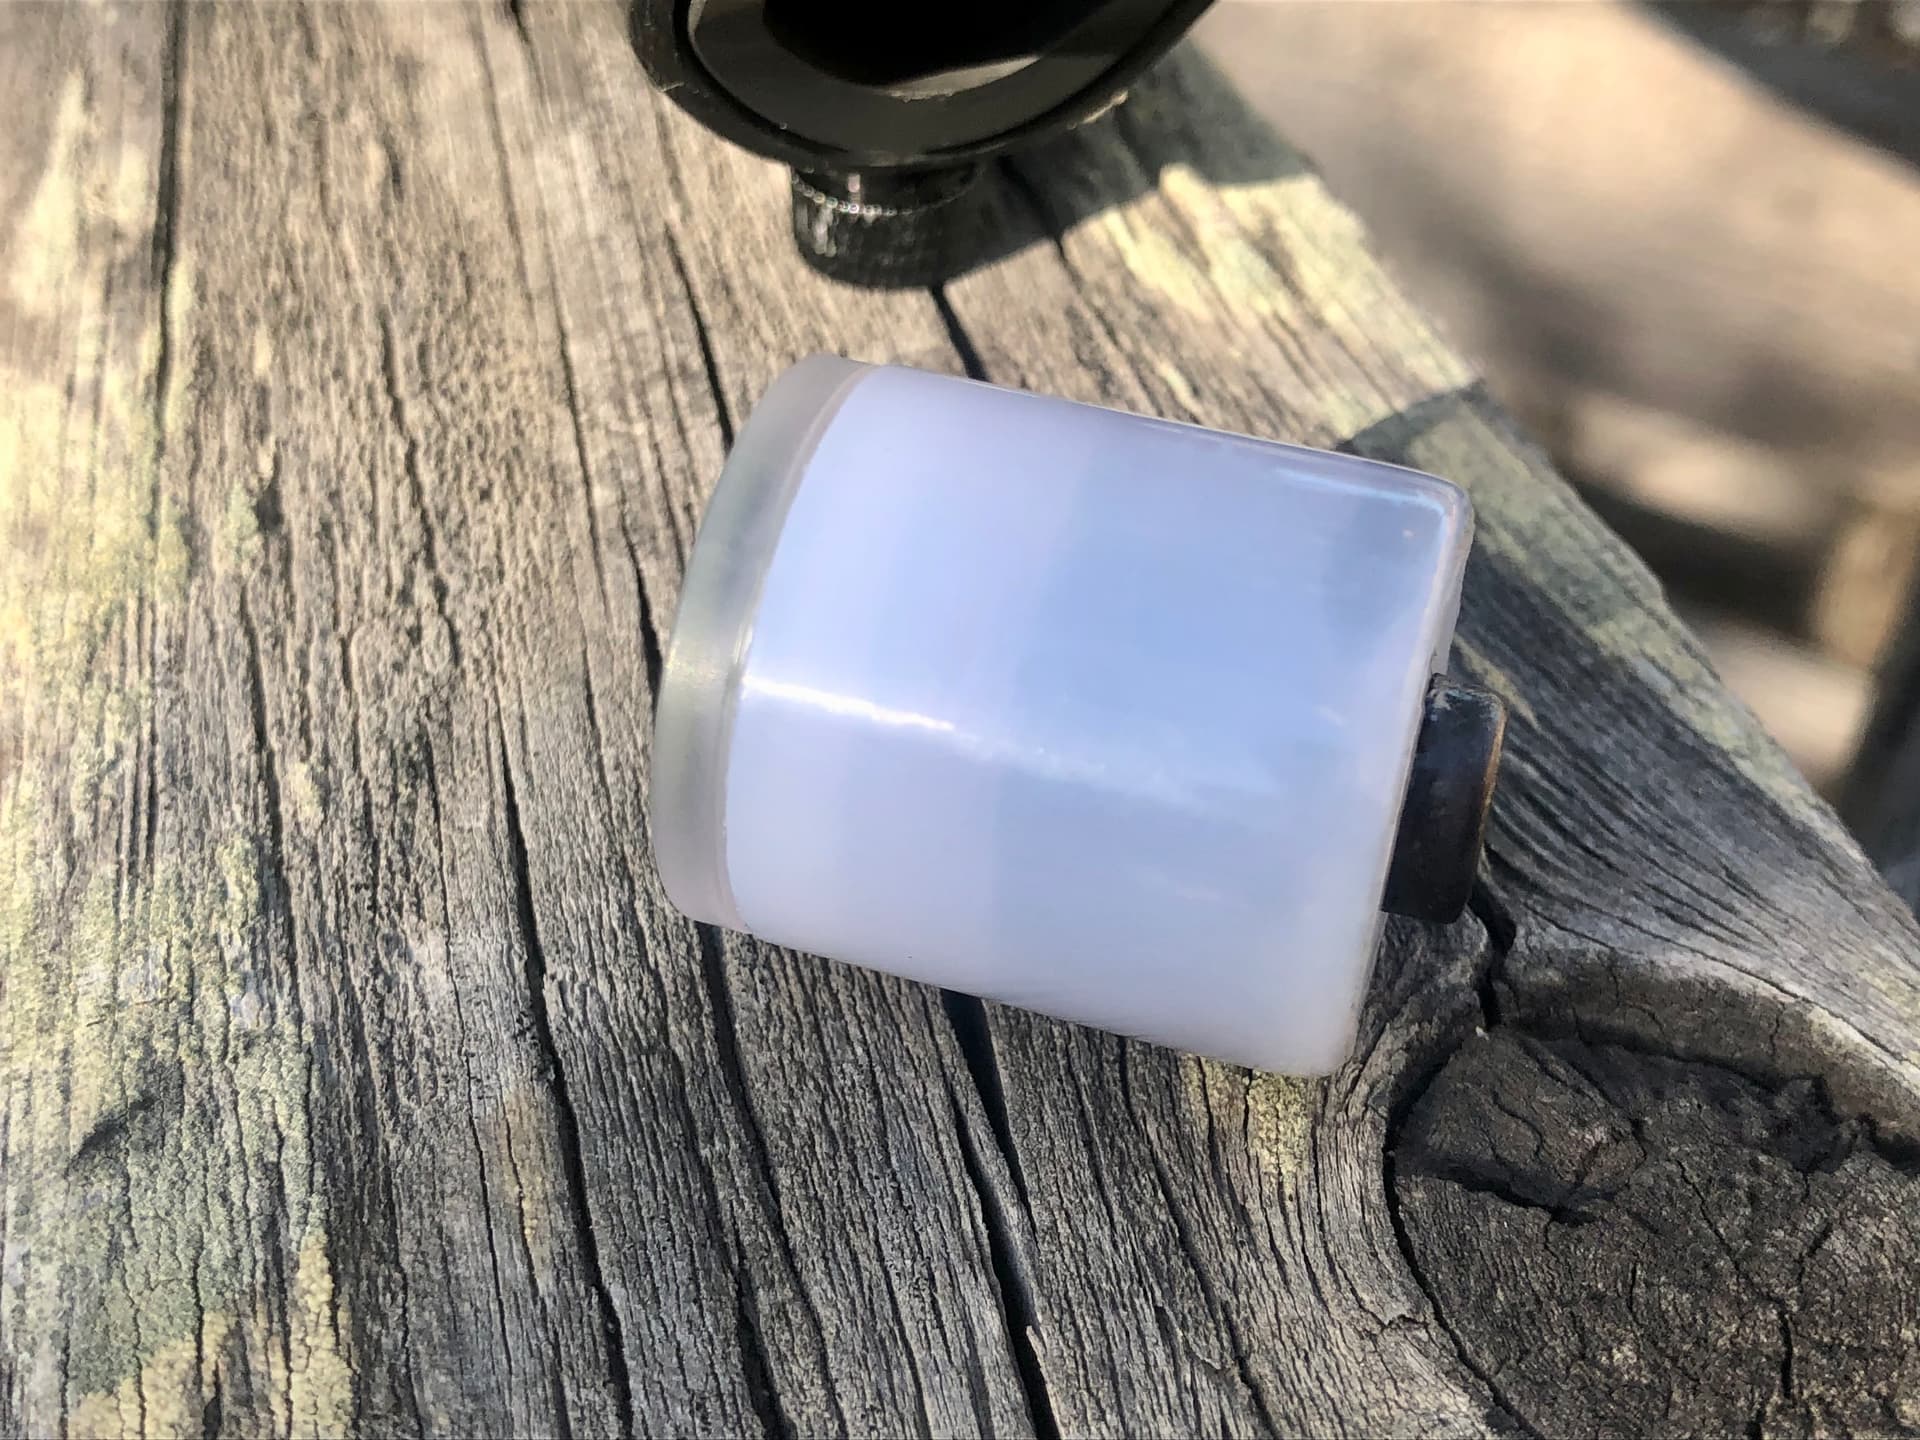
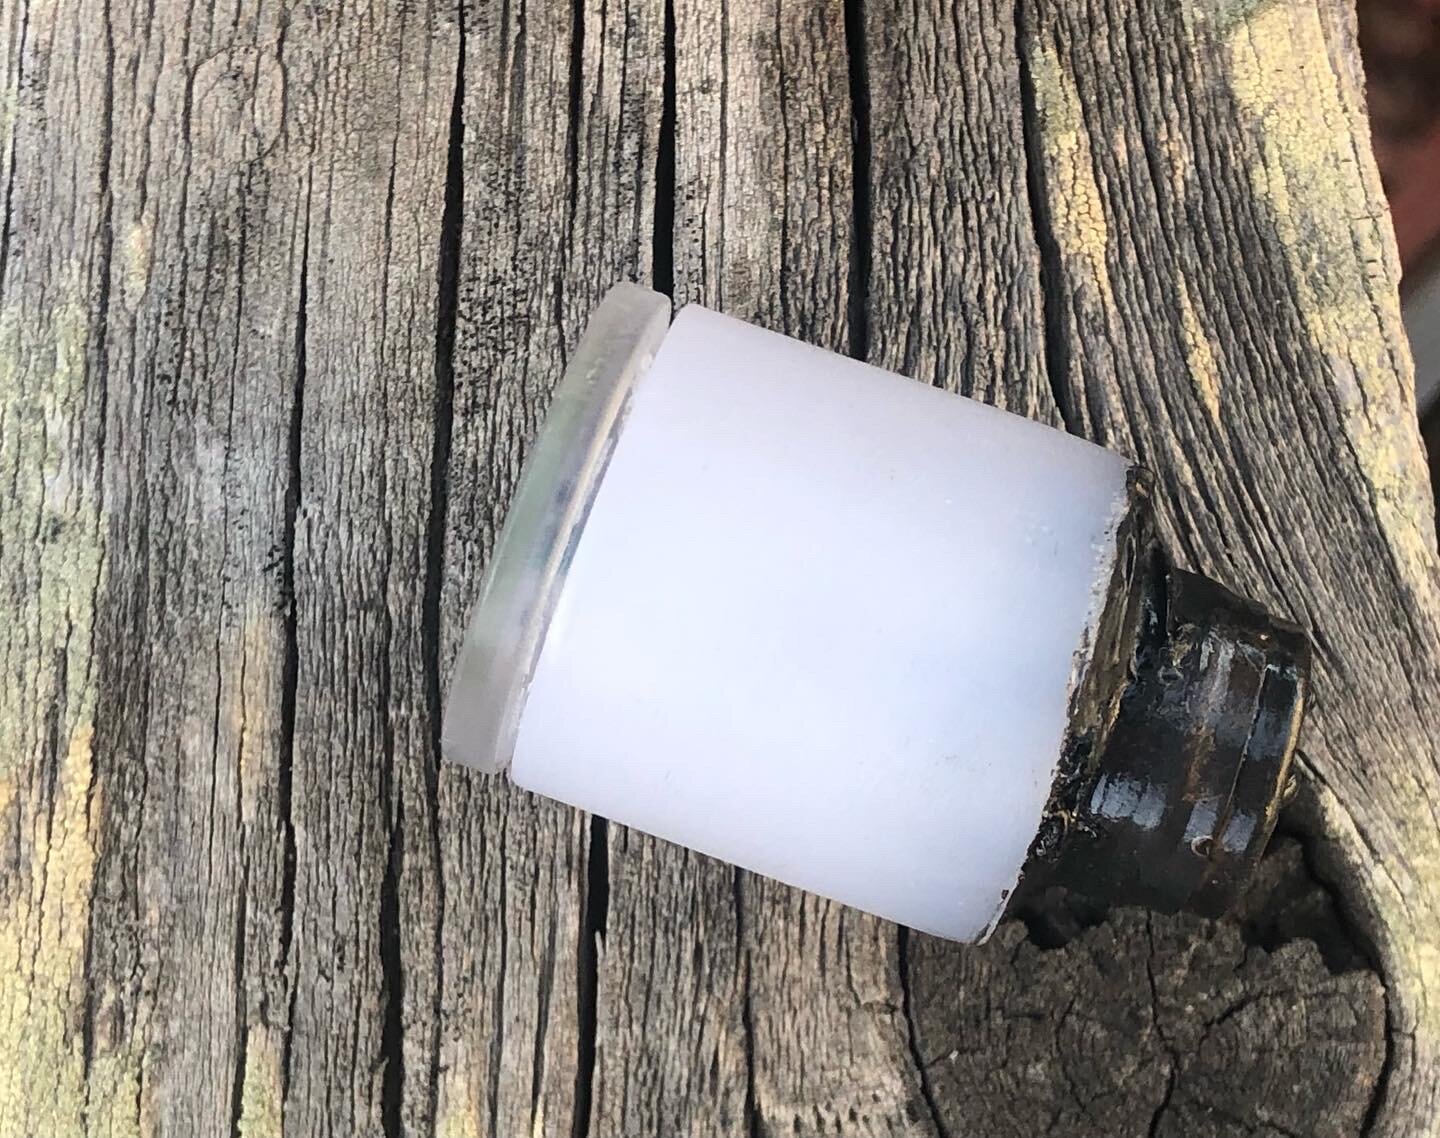
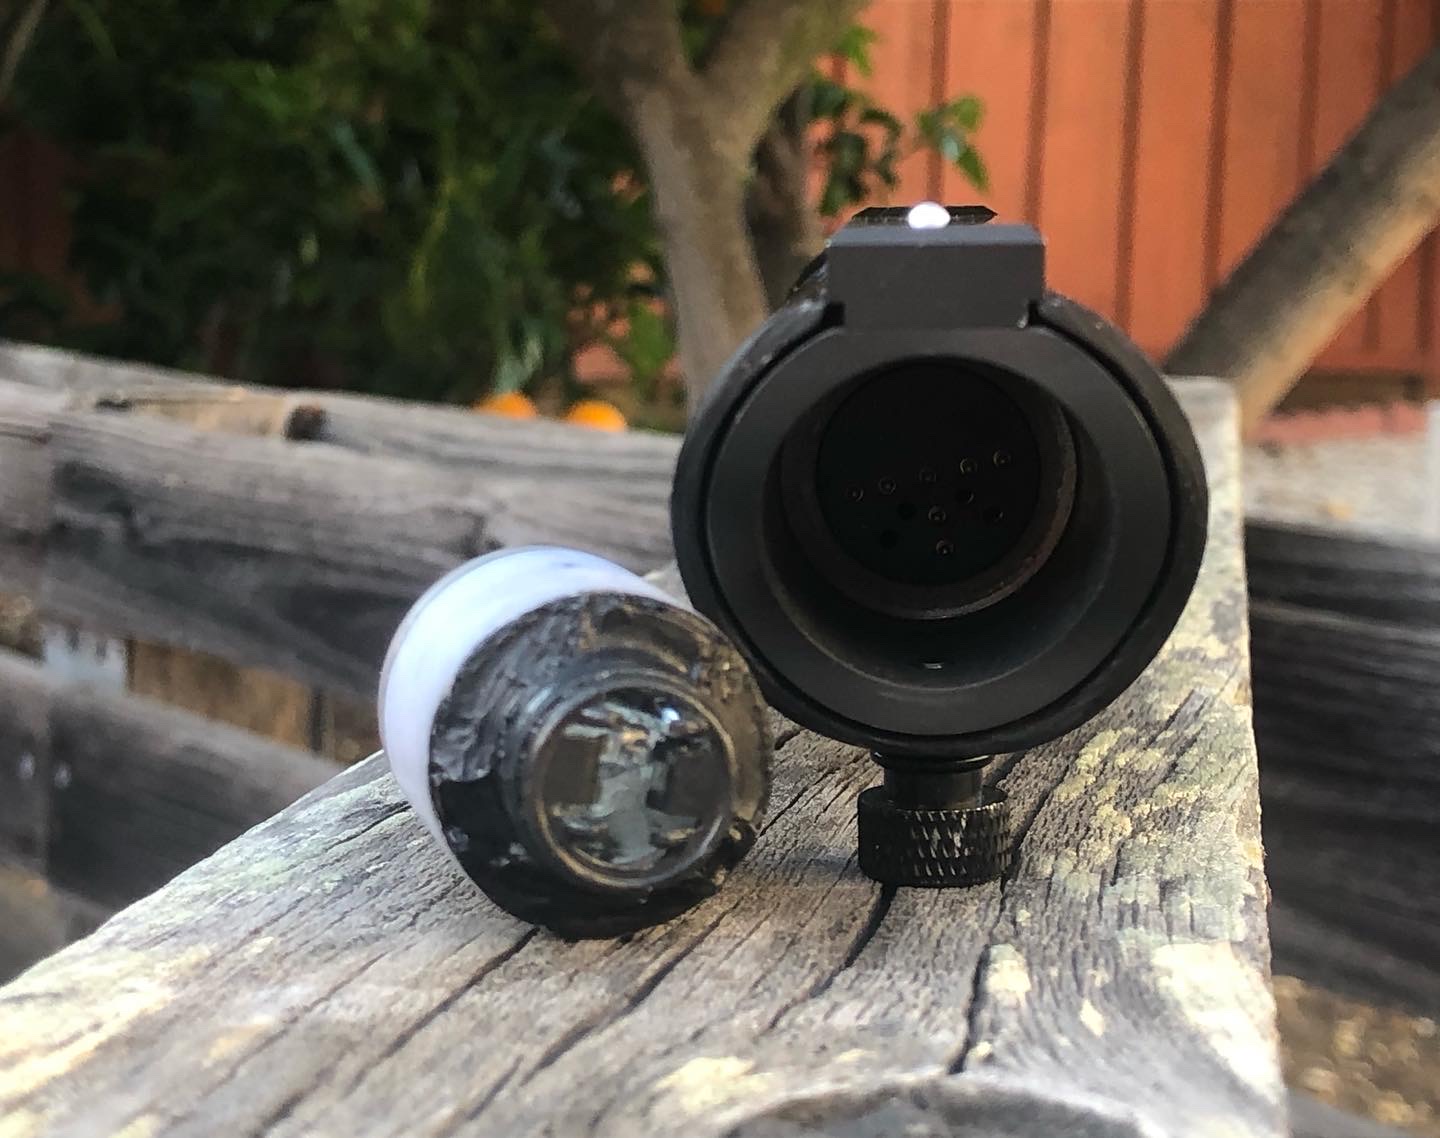
This has to be the smallest blade-plug I’ve ever built and it came out perfect! It’s a small section of pre-sanded and pre-polished blade tube scrap I had sitting around. A slice of plastic register receipt paper spool, and what’s left of a quick-disconnect Dremel disc. The Dremel quick disconnect disc and slice of register tape spool are glued into the tube. Since I want it to also work with non lit pcb connectors I used a TCSS PCB and PCB adapter that has a single pixel with about 1cm of wire. It’s resting on a dab of hot glue for aiming and has a dab of hot glue on the pixel itself for diffusion.
1 Like
This one as far as the electrics uses the same method as the first so I’ll skip that. Just be sure your tube section and sometimes the pcb blade adapter is properly sanded down. With stuff this small getting them out if they get stuck in an emitter is a pain. I find it best to take my scrap blade sections and run them on a home made lathe to be about .95-1.0” since that works for most sabers.
*pcb adapter not yet fully inserted and glued since I was still sanding for a clean fit.
I cut the metal mount off a blown H-11 headlamp bulb using a quick-disconnect Dremel diamond cutter. *You’re gonna see along with the proper safety gear and glues for most of this stuff a handy hobby vise and Dremel tool set are vital. Crack and remove the bulb itself using gloves and eye protection. Most H-11 metal rounds just fit inside a thick battle blade tube.
Now decide, do you need or want to weather it or not.
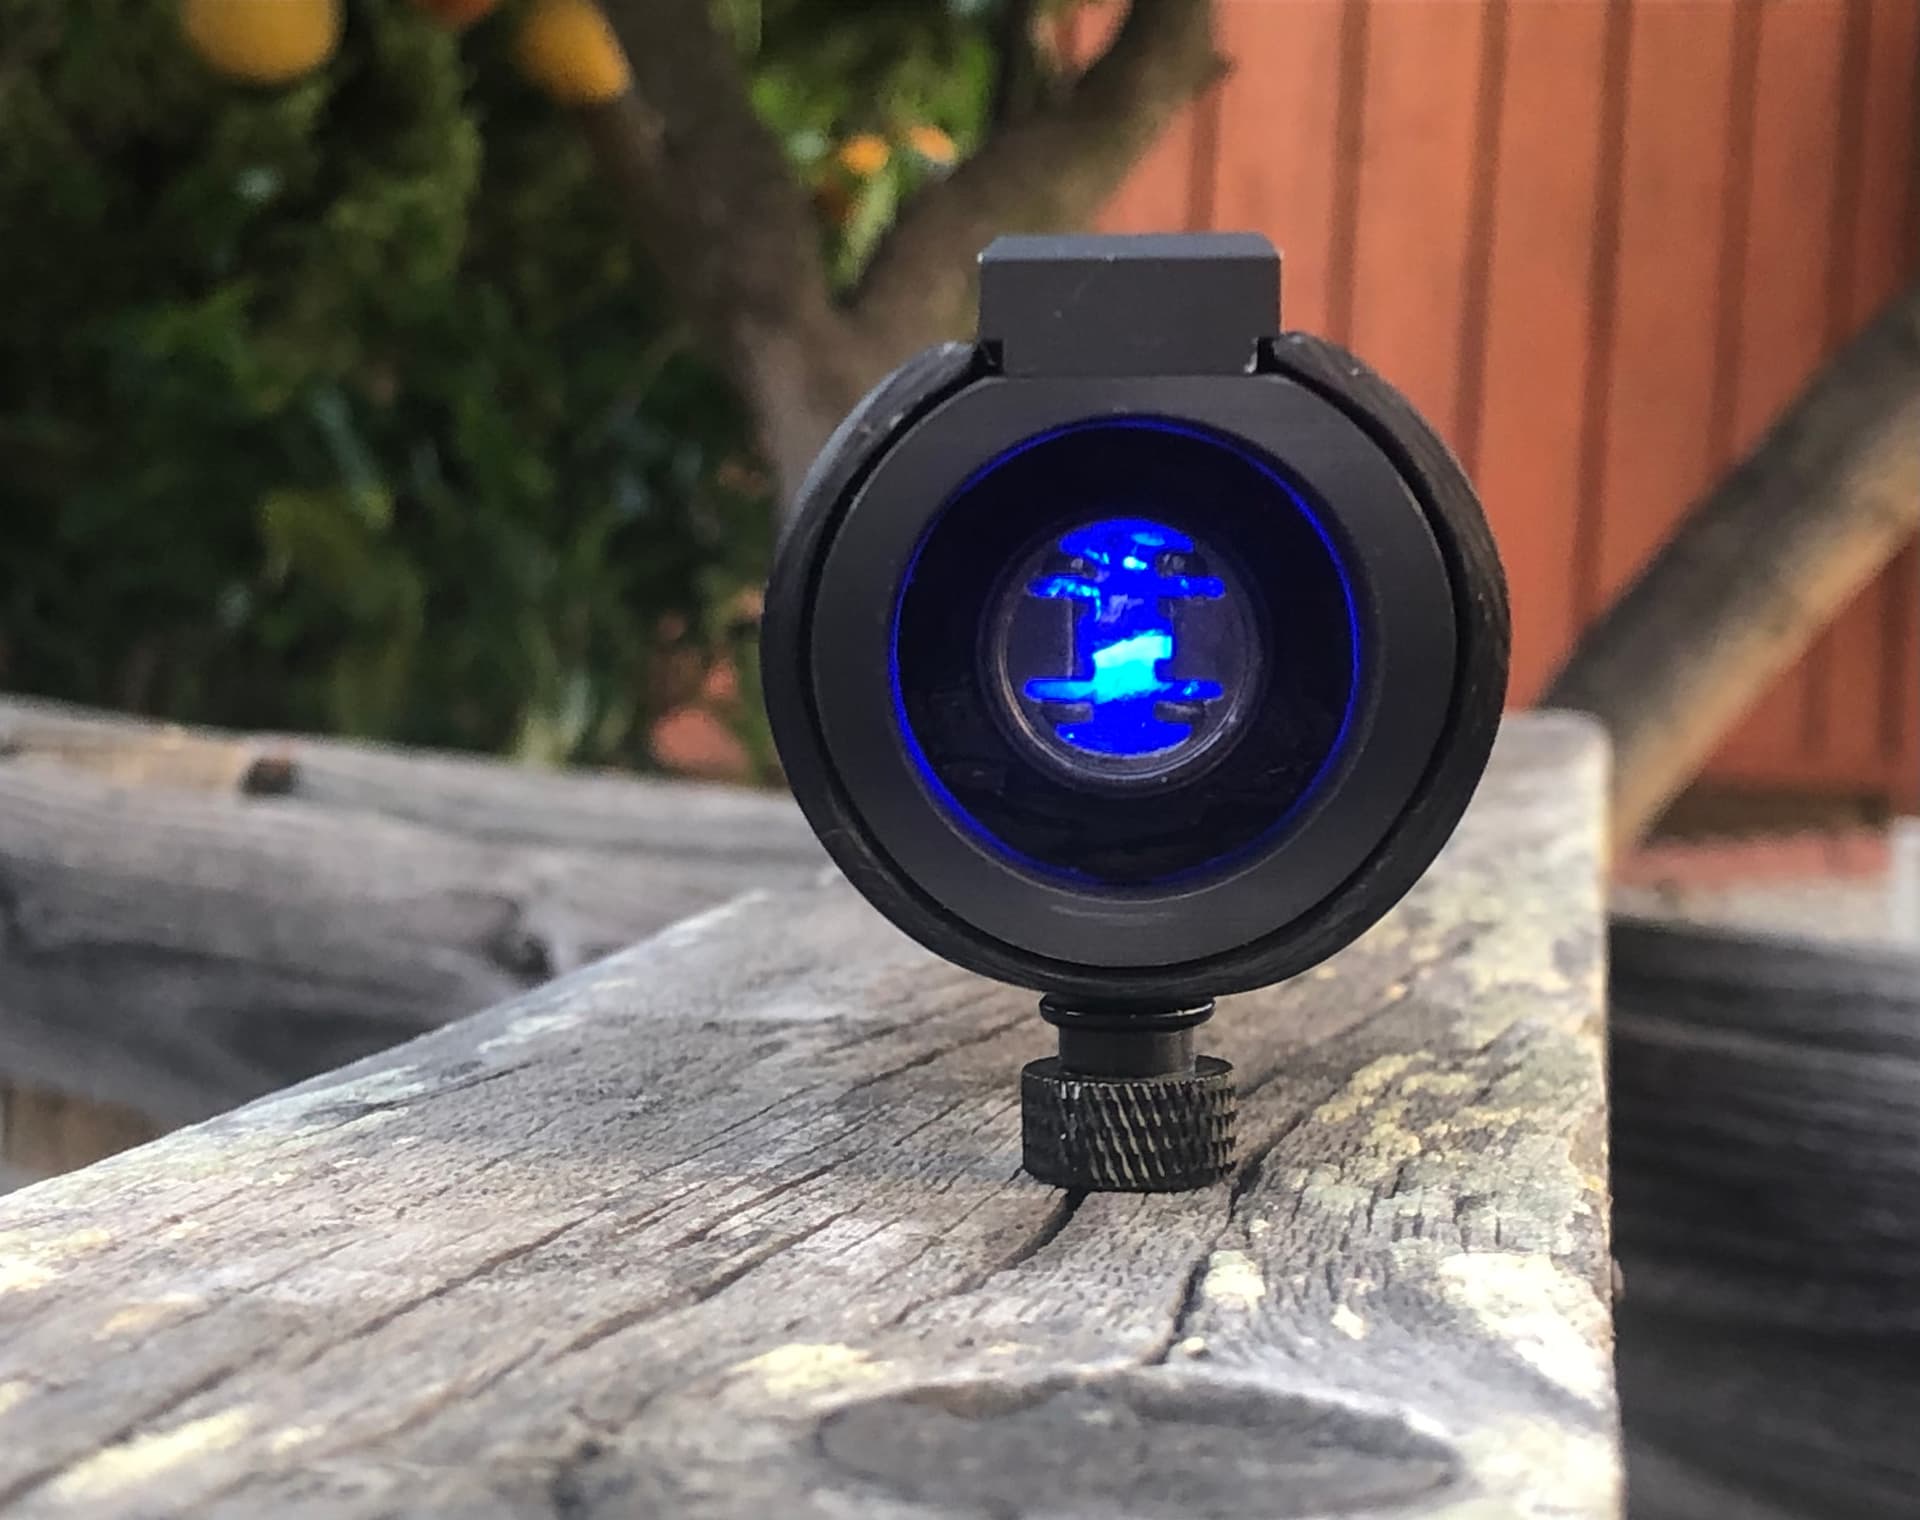
Here once the metal round with the glass claws was cut free I took out my oxy-acetylene torch and blued the stainless steel. I let it sit and cool down for about 5 minutes and then using pliers dropped it into some clean water to quench it. Different results with a regular at home propane torch can be achieved but for this type of bluing even yellow bottled MAP-gas works. Once it cooled and had fully dried off I Gorilla glued it into the short section of tube. After the glue set I mixed some baking powder with a small amount of glue and smeared it around the metal and tube. This gives the flat black enamel paint something “grabbable”. Paint seal the exposed tube end so only light shows through the center. Now for the “visual filler”. Take a glass marble and cook it at 350 degrees for 5 minutes, using a bakers glove and tongs drop the marble into a metal pan with ice water in it. Note, you’re gonna occasionally ruin a marble and it’ll crack into two or three pieces but don’t worry. Use gloves and remove the pieces and let them dry for a day. Then go back and SuperGlue the bits together. As long as it ends up mostly round you’re good. This internally fractures the marble for not just diffusion but actual fractures that light up as visible veins. At a distance these are sweet but when you see them up close from the side and see the lit up fracture it’s just jaw dropping. Using small needle nose pliers I always bow the metal piece’s prongs up for a clean visual and to clear the marble during assembly. Think in terms of diamond setting here, I’m going to explain why. You’re gonna go back to the prongs in a bit. From the back drop the marble in and making sure to leave the center round of the marble clean glue the marble in against the inside of the metal shroud piece. You want the marble to stay off of contacting anything behind it. Really quick though use a small flashlight and adjust the marble so the cracks shine through the way you want. You only get one chance at this before the glue dries. Now simply put the blade-plug aside to dry while you build your electrics. If you have a lit PCB connector go play with your saber while the glue dries.
I love this brand of H-11 bulb holder. If you turn it 90 degrees it takes on a TIe-Fighter visual.
Once the glue has dried go ahead and move the prongs down to an angle you like, or in this case, tighten or loosen the “L” bend into either a wide or narrow “v” and push the prongs down until they touch the glass. This isn’t necessary, I’ve done ones where I leave the prongs alone, but since this one alludes to a Krayt-Dragon pearl that acts as a secondary focal to the Kyber Crystal in my mind the prongs would touch it as a means of regulating power flow. Ultimately it’s also a part of the overall visual of the piece. (*YES, FULL ON GEEK LOGIC.)
Done. From here go and use it or assemble the blade-plug with the electrics making sure your single pixel is aimed right and clears the marble. *Note: Depending on whether or not a pcb has pixels or if the blade-plug is longer I will use pixels and the connector to keep the brightness visible at a distance. YMMV Also if you want to you can play with different non-conductive translucent stuff to diffuse the light. There’s a really nice paintless dent puller blue and cream colored brand of glue-stick that’s perfect for diffusion. Last for this one the request was to seal it all in with laquer clear so the blued and weathered metal wouldn’t rust.
2 Likes
Man time flies. Has it really been almost two years since I’ve updated this thread? I still make bladeplugs, shelves, etc. Lately I’ve seen more custom greeble demand.
So I figured why not just do a “SIZZLE REEL”, pun intended. You’ll see. Enjoy!
“Customized Blade Retention Screw: SIZZLE REEL”
1 Like