I figured as much. I got it because I did something I wasn’t supposed to like I said 
I added preview_pgm.png to ALL to see what it would do.
Found out.
That should have worked though…
Unless image_pgm.h is broken?
Oh. It’s calling for pov_renderer_pgm, but the file is just pov_renderer.cc.
Yes?
edit
no, just the target has _pgm appended. Filename is right
Yeah, it compiles pov_renderer.cc, but it includes the pov file, so I added rgb/8bit/pgm to the name of the output binary.
Interestingly, I do not end up with the compiled hex version of that one. Maybe because it’s not completing.
Same here.
I also tried out the updated version:
Dank farrik! It still freezes with the following settings:
- Mando helmet png
- Preset 3 (72, 50cm,15cm)
- full color (rgb)
mando_helmet_72_FC_POV_data.h (98.7 KB) - ProffieOS 5.9
Swinging results in squee-o-death, but unplugging the battery is enough to make it work again. No boot + reset shenanigans necessary.
I found another POV bug I think, does it work better now?
Unfortunately not. I changed pov.h and flashed it again. Still freezing with the rgb version. Or should I have created the image anew?
Ok, one more fix, hopefully the last one!
Will try tonight.
In case the gif is not displayed correctly: IT’S WORKING! IT’S WORKING!
Edit: now I had one of those saber-off flashes @NoSloppy was experiencing. But not very reliable reproducable.
Edit 2: Because the rle.h was changed, I was under the assumption that I had to create the pov-data files anew, which I did and which helped solving the issue.
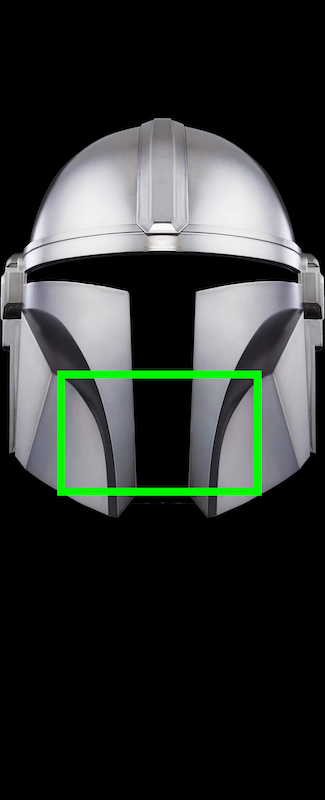
Hi @profezzorn, if I wanted to place the helmet only at the top part of the blade, what would be the best approach?
The black part below will be ignored, because of transparency I believe.
@NoSloppy had the idea to put in some extra content (e.g. a fine line at the bottom), but even if this works, this seems to be hacky at best.
Is there one of the options that can be provided to the make command, that would help with that?
My goal is to make it “wearable” by shrinking it to head size.
I suppose you can use the “–fill” option to pnmwindshieldwiper.
It doesn’t care about the contents of the image, it just scales it so that the image completely covers the “wipe”. The helmet would need to be pasted centered into the top of a landscape picture, and you would need to figure out how big it needs to be yourself.
Cool. However, NOT specifying ‘–fill’ is scaling to fit already? Which is weird because in the code we have ‘fill’ default set to no:
int fill = 0;
then if the case for ‘f’ is satisfied it turns true:
case 'f': fill = 1; break;
therefore the scaling should happen only if ‘f’ flag (or long version --fill) is supplied:
if (fill) {......scaling math here
So why does it default to fill if no flag ?
Edit Ok interesting. Maybe because fill is actually a downward scale from a larger size?
Removing all scaling EXCEPT for the if (fill) part, it results in just this small part of the image filling the wipe:
I also found that a bit confusing to be honest.
My expectation in the beginning was:
- take image that is provided (including every spacing that is included) and warp it.
- but seems like black is disregarded because it is not displayed anyways and is focused solely on the content (e.g. the helmet).
That said I will try around a bit.
It’s probably just poor naming.
The default is to scale it until the content (not the black part) just fits. In my head, this is called “scale to fit”.
With the “–fill” flag, it scales it to just cover the entire wipe. Some of the content may end up outside of the wipe, but every pixel of the wipe will have content in it. In my head, this is called “fill the wipe with content”.
You could compare this to regular image scaling. Let’s say you have a 16:9 screen and 4:3 image. You can either put black borders to the left and right. (also called “scale to fit”, or “pillarboxing”) or you can cut off some of the image until it is 16:9 and then make it cover your entire screen. (called fill screen, or “scale to cover”, or similar.)
Yes. a.k.a. “crop to fit”
But, the first option, “scale to fit” by NOT using --fill is detecting content and disregarding black. So is it possible to “shrink to fit” so that the full area of the source is scaled, including black?
And again, having the --fill flag or not is producing the same result… weird.
I don’t see how that’s possible.
Without --fill, it’s fitting the image inside the wipe.
With --fill it’s fitting the wipe inside the image.
I don’t see how those two could possibly yield the same result.
(Unless I have a bug somewhere.)
You would need to change the code.
For the use case we talked about earlier: (Shrinking the helmet) I would just use --fill.