Any programming minds know how to get POV tools working in a shell on Windows?
I’m pretty sure WSL needs to be installed, and then a few Linux commands wrapped, but it’s gone beyond what i can fathom without hands on…and I feel lazy about it
This is the conversation thus far:
Anyways back in the day you wrote you are not sure how this POV tools would work on windows.
I hoped that maybe like you found a way for the Font Renaming, that there would be now a way to make it work for windows too.
---
If you have the linux subset tools or whatever it is to have Renaming tool work in command line, the script in EZPOV might work?
---
That's what i was hoping
---
https://www.dropbox.com/s/jiyajgixlre3my5/EZ-POV2.zip?dl=0
---
i think with the renaming tool you had a .bat file which would then execute the bash stuff
---
yeah you could copy the bat to the unzipped EZPOV2 folder, and edit it to replace convert.sh to create_POV_data_files ...?
---
i'll try 😃 what could possibly go wrong
---
do i already need a png i want to transform? or could i run the code without having actually stuff to convert
---
need a source file
---
same folder as the create_POV_data_files?
need to read the manual

no dice
if i change create_POV_data_files to Makefile (which seems to be the job of create_POV_data_files (by "make") this is what i get. even more unknown commands:
https://pastebin.com/jwJVLv0Y

but it creates 3 empty files 😃
---
maybe this helps?
https://devblogs.microsoft.com/commandline/integrate-linux-commands-into-windows-with-powershell-and-the-windows-subsystem-for-linux/
---
wsl is installed but i guess i  would have to create a command for every linux command that is missing
---
just make so far
---
so i installed make and then it did not found g++ command. so i installed it. now i get this:
https://pastebin.com/F4RD3iHh
Thanks @NoSloppy for creating this real quick.
I am the guy trying to get this to work.
I got Win10 with the Ubuntu “App”.
WSL is installed and I was able to install “make” via WSL.
Afterwards I got a new error that the g++ command wasn’t found so I also installed that with the following guide:
Executing the make command now lead to the pastebin:
G++ seems to be on version 9 if that helps.
I am open for more ideas.
Cheers!
Hi @profezzorn,
do you see anything in the pastebins that would explain the rendered preview image to be pitch black?
Or do the .h-files look reasonable?
I appreciate the help.
If it’s printing out the “usage”, then it’s not the image itself that’s the problem, but the command line. Try using the name of the image instead of *.png.
Using *.png relies on there being only one png file in the directory, but that isn’t true anymore once the preview is created. It’s even possible that an empty preview file gets created before it scans for *.png. Not sure if that’s what’s causing your problem since I don’t know what else is in that directory.
Thanks to @NoSloppy and @profezzorn I was able to get the POV tools to work on my Windows 10 machine.
To help prevent anyone else having to go through this struggle from scratch, is here the guide:
“How to port POV tools to Windows 10”
Requirements:
Windows 10
“Windows Subsystem for Linux”
type “Turn Windows features on or off” into the windows search
scroll down and enable it
Steps:
get the Ubuntu App in the Microsoft Store (required for “bash” and other commands)
get the EZ-POV tool (Link to @NoSloppy Files will follow when he created a github for it)
extract the contents into a folder of your choosing
this should include
create_POV_data_files
Makefile
pgmtorle.cc
pnmtorle.cc
pnmwindshieldwiper.cc
create a textfile (e.g. EZ-POV.txt) in that folder
Therefore I would still need to know, how to implement it.
And I am also open for exposure settings.
Question: Is the height parameter in the Makefile relevant? It is currently set to 144 which looks like the amount of pixels a 1meter strip might have. But not sure if blade config will handle this and scale it accordingly.
Oh! You just add your *data.h file to the ProffieOS/styles folder, then edit the pov.h file in the same folder.
Replace the file name where it says #include "star_wars_logo_pov_data.h" with the *data.h file you generated.
Currently, the pov data is expected to be 144 pixels high. The blade code will re-scale it to the size of your actual blade. It could possibly be made slightly faster, sharper and smaller by setting the “height” parameter and adjusting the code accordingly.
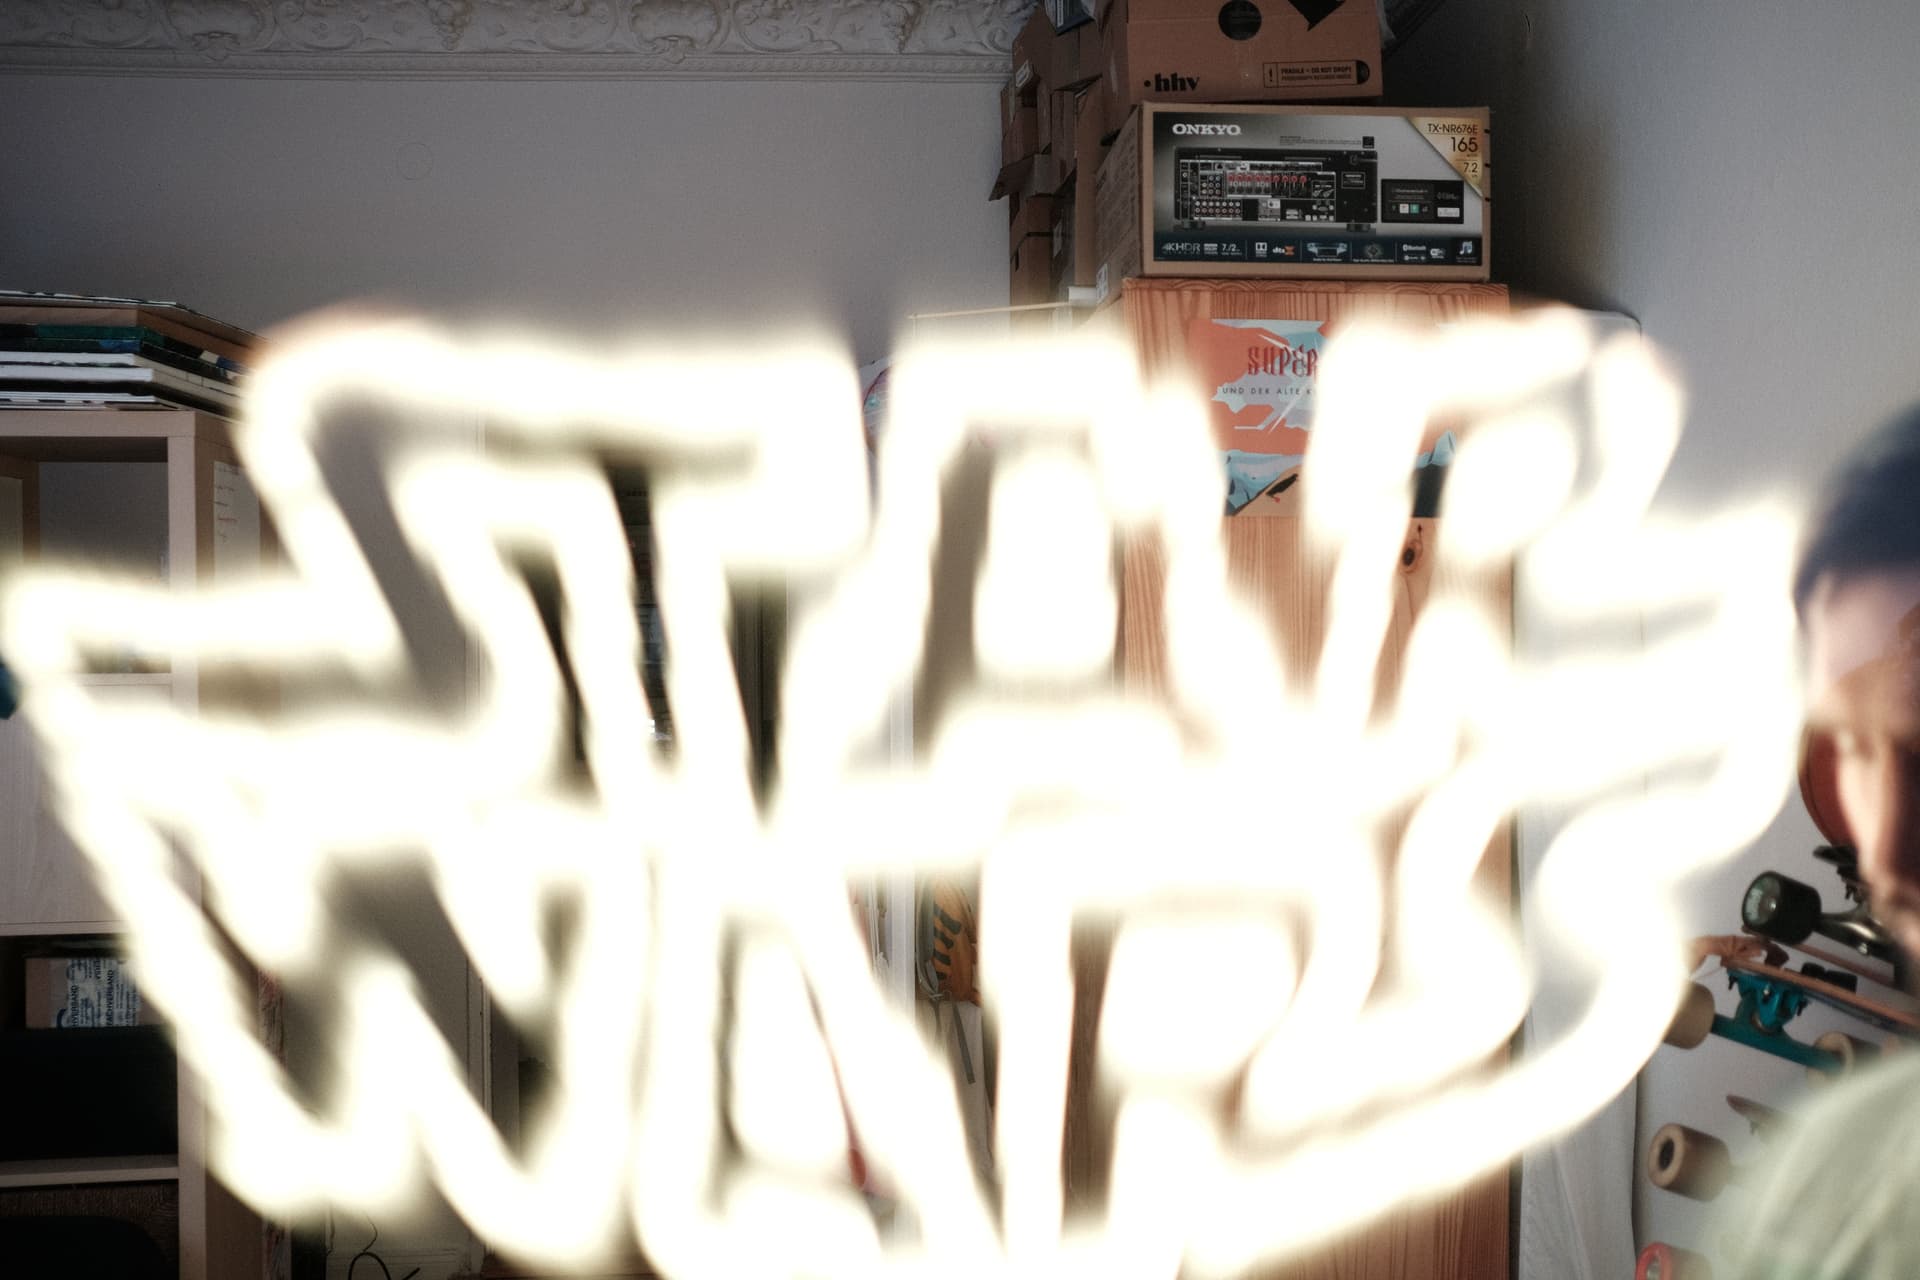
As for exposure; I used a 2-second exposure when I did this a few years ago.
I also used a remote to trigger the camera, and a tripod. If you don’t have a remote, someone else could trigger the camera, but without a tripod or some stable place to put the camera it’s just going to turn into a blur.
I should also point out that the neopixels upgrades in ProffieoOS 5 and 6 should make all of this work better than it ever has before, so I’ll be curious to see how it works out for people.