I’m working on my first build, and am trying to get everything modeled up in Solidworks, and I’ve run into a bit of a snag…
I have, from TCSS, the following parts:
Blade Holder 18
Main Body 3, with 16mm hole 1.5 inches from the end
Choke 3 long
Pommel 4
16mm Anti Vandal Momentary Blue Ring Switch
Bezel for illuminated switches
All together, it looks like this:

The problem is that if we look inside, we have this:
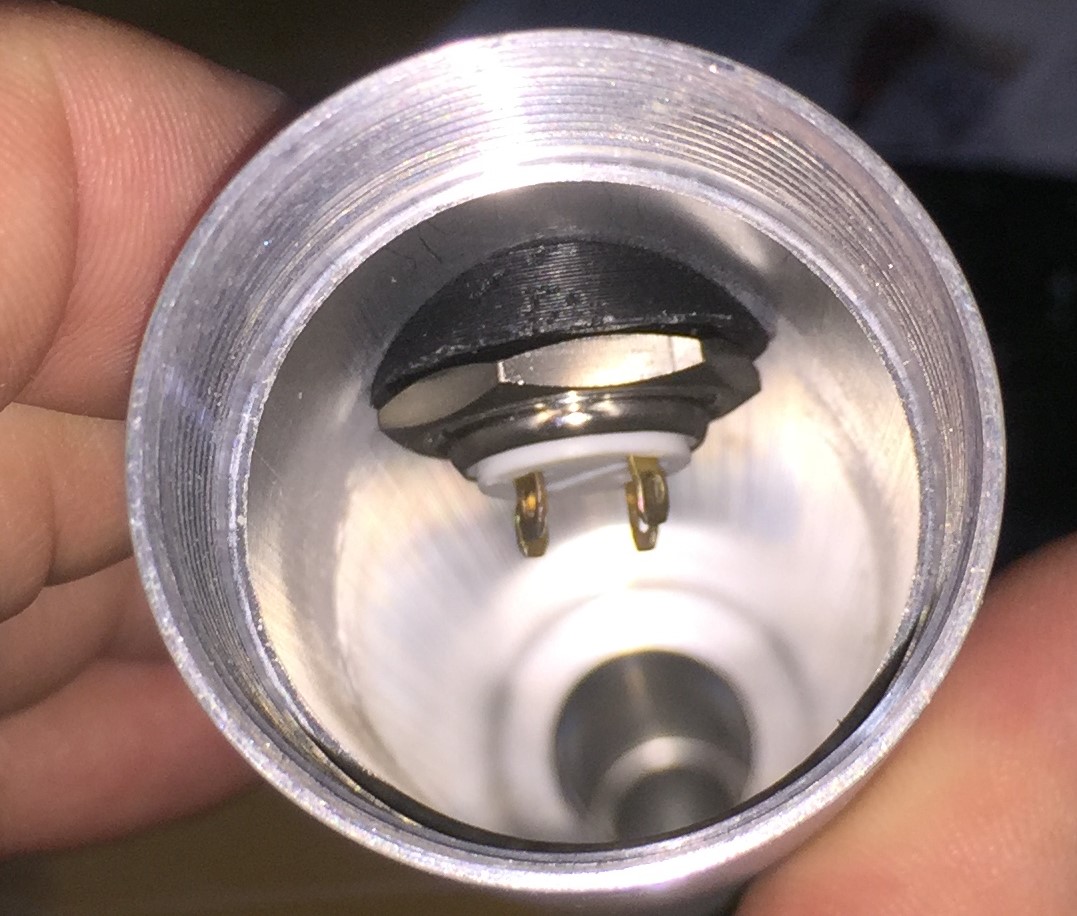
I was originally planning for this hilt to just hold a carbon fiber blade, and not have any electronics at all, so at the time that I bought it (years ago) the protrusion into the interior was a non-issue. However, now that I’ve decide to make a full saber out of this, that switch is very much in the way, both because it protrudes into space I want to use for other things, and because it would seem at first thought that it will have to have long wires with connectors in order to make the chassis removable, and that will all be awkward to assemble and disassemble.
So my question is this: What methods and types of switches have been used in sabers that have fully removable chassis? My first thought is to use tact switches mounted directly to the chassis, and have just a cap and little plunger in the hole in the main body, but I haven’t succeeded in finding any such caps that look nice. Ideally I’d like to have one that looks like the AV switch that I already have. I have a 3d printer and could make and paint one, but… it’s FDM and I’m not experienced at getting good paint jobs or even surface finishes with my prints yet.
Ideas?