I bought a lathe. I got married. I’m not allowed to buy a DRO.
However, I have some spare calipers…
The lathe is a Smithy Granite 3-in-1. It applies the old adage “Jack of all trades but master of none” but it works well for lightsaber parts. There is an actual gearbox (no fiddling around with gear sets), and while the mill is not that rigid, the build quality is what I would call above average for a machine it it’s price range. They sell a DRO kit, but it is $850.
I recently had to drill a bunch of holes in a section of 3/8" square dowel and decided to clamp a pair of calipers to the cross-slide instead of keeping track of the dials. It worked quite fantastically:
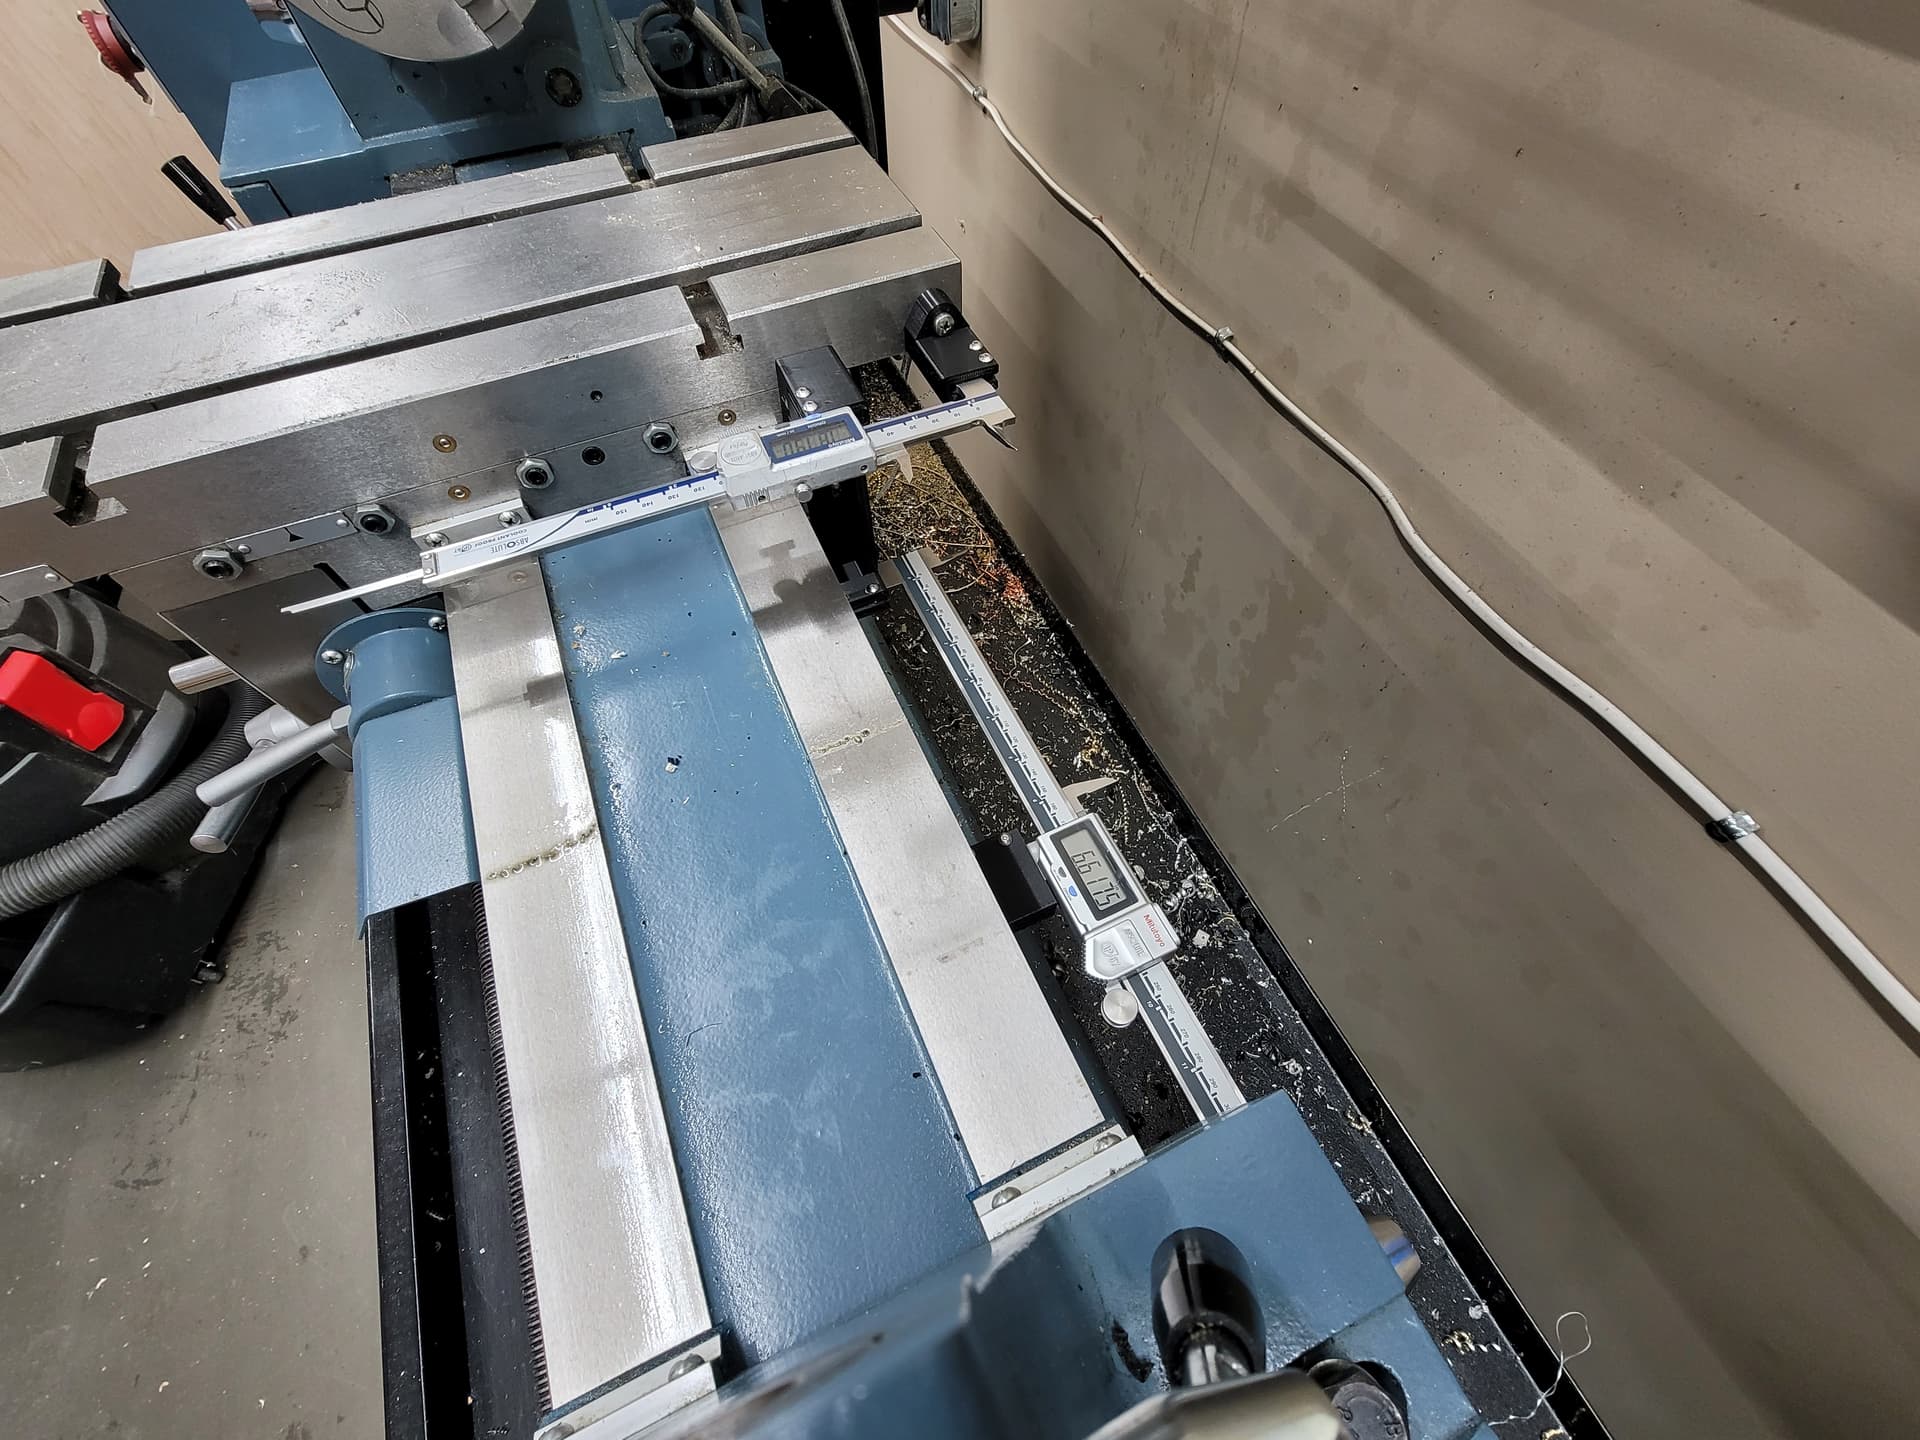
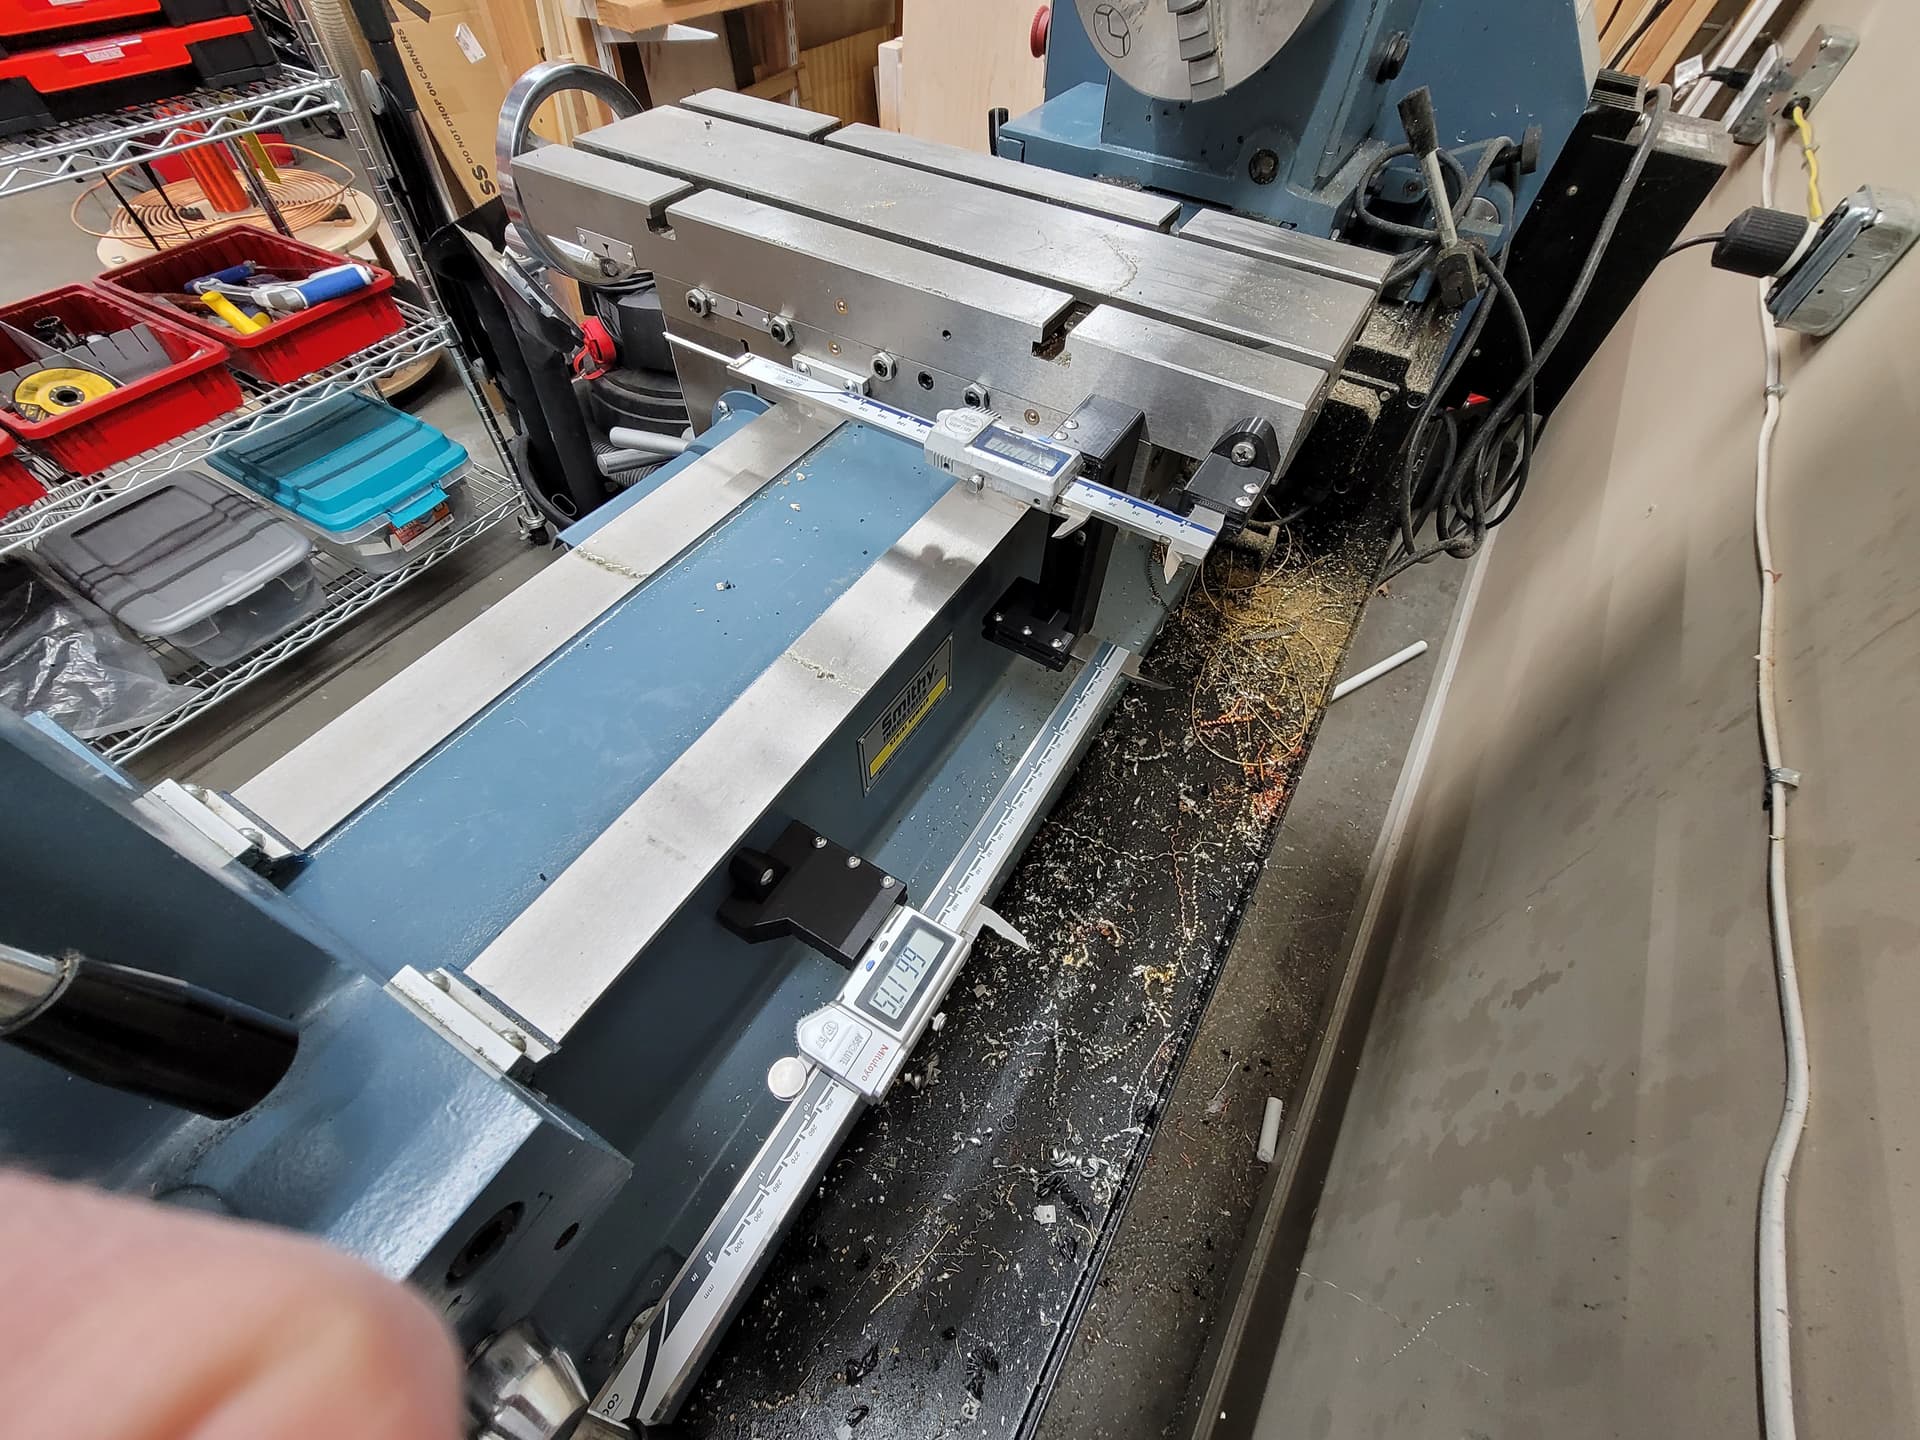
This set the wheels in motion. I found some unused M5 holes floating around on the cross-slide, apron, and on the main casting that would work with some finagling. It took three iterations of prints to get a final product that actually fit perfectly (50% infill…I wasted a lot of filament…![]() ):
):

The cross-slide uses a pair of 6-inch calipers, while the apron moves a 12-inch pair. The caliper tines are simply clamped by some small 6-32 BHCS, which can be loosened with minimal effort. I might order some thumbscrews just to make it that much easier to free my calipers if needed.
I apologize for the crappy photos. For those who are interested, I made a short video of the movement:
I don’t know if anyone has this lathe on here. Or if anyone has extra calipers. But, I am proud of the modification and it really does work amazingly. I checked the movement accuracy with my dial indicator, and it is staying consistent to the thousandth’s place when moving in both directions. This will help me so much in machining parts.


