Build Log - Council Saber

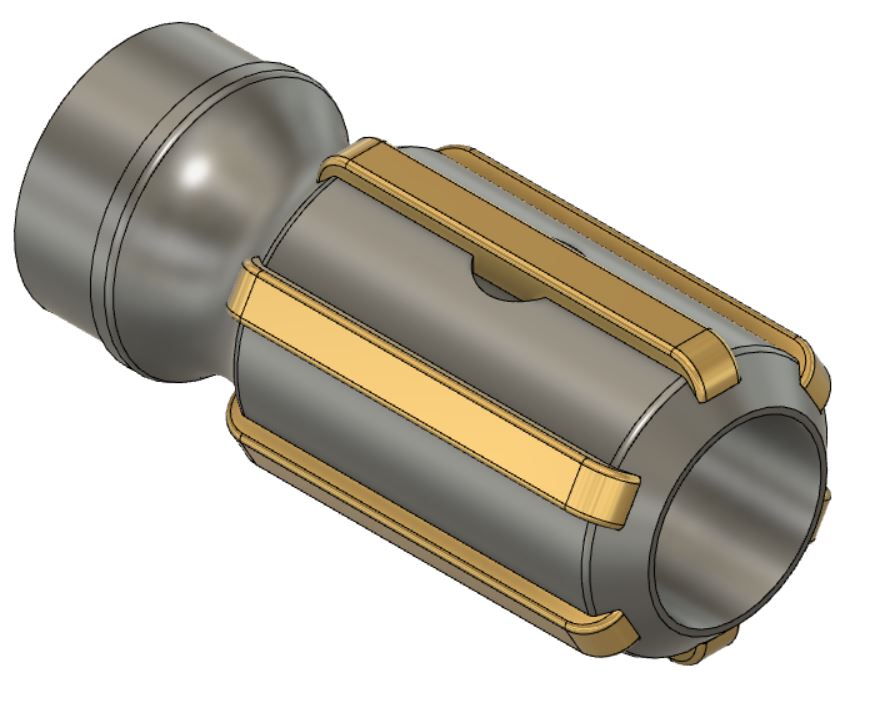
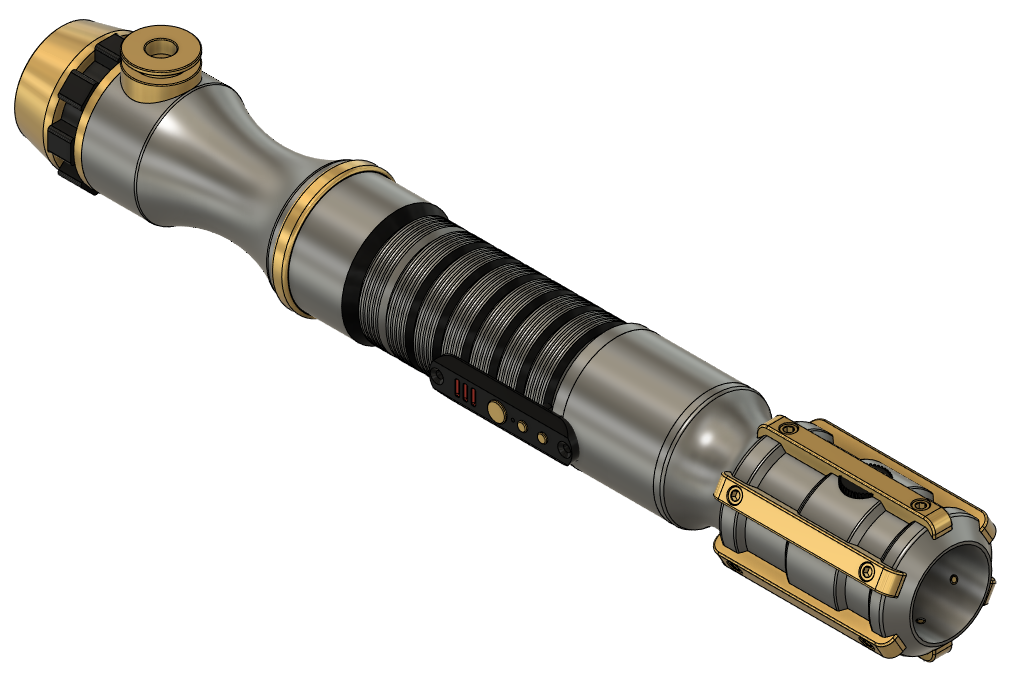
I’m working on a saber that is inspired by the more ornate styling/color-scheme of the council member’s hilts. I’ll post some photos of the hilt CAD later, but I have been working on the battery/speaker/crystal chamber for the last few weeks.

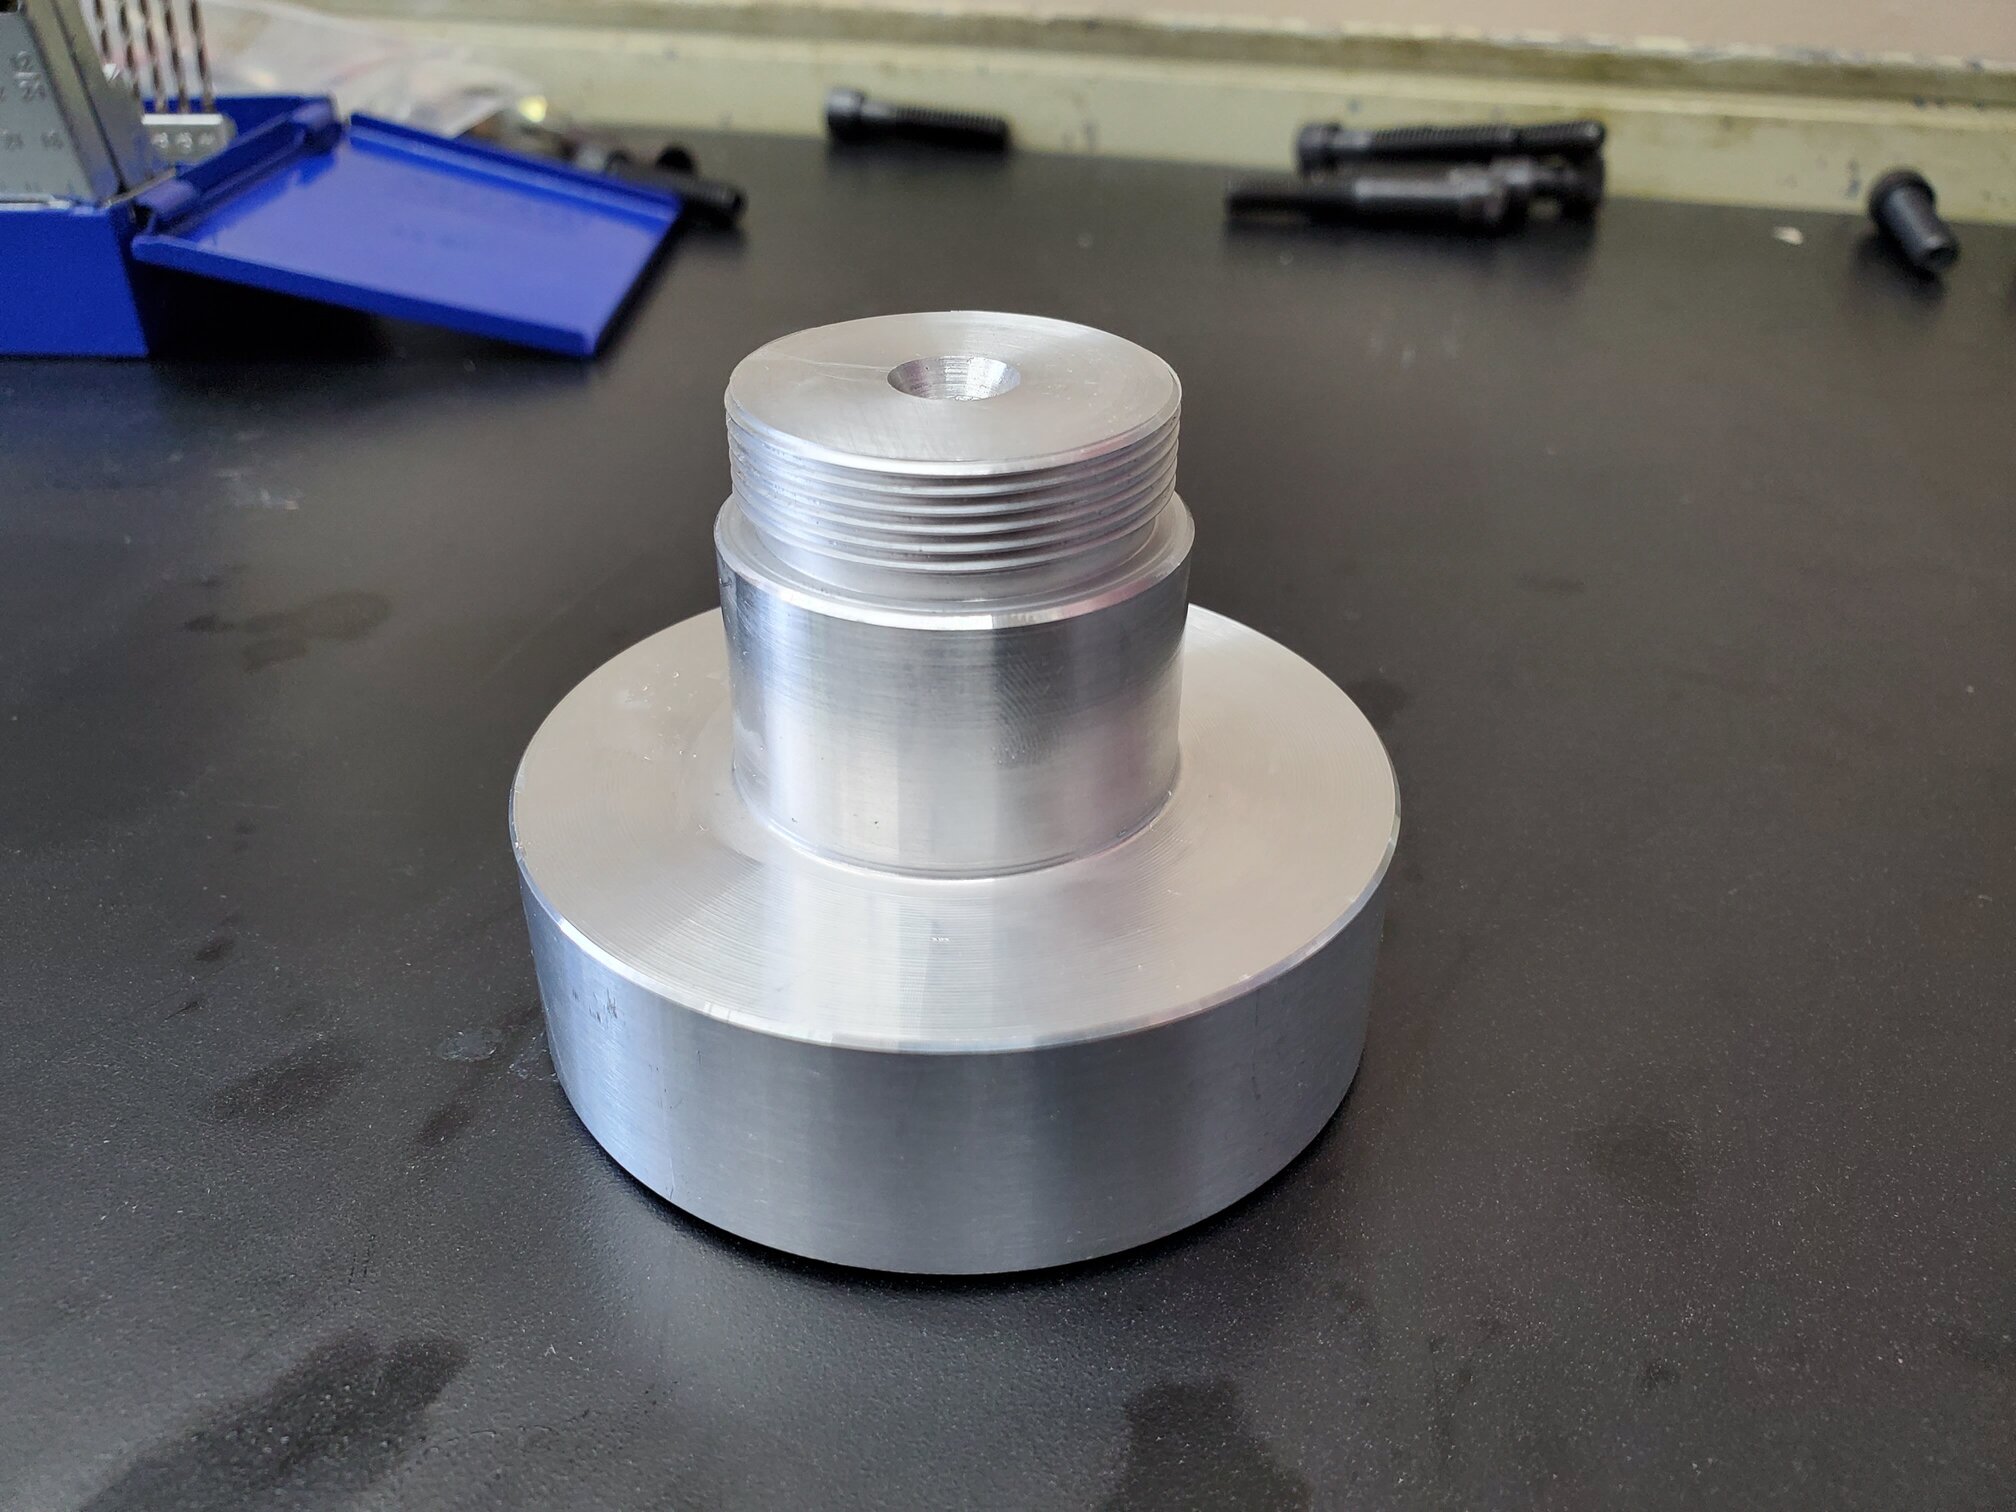
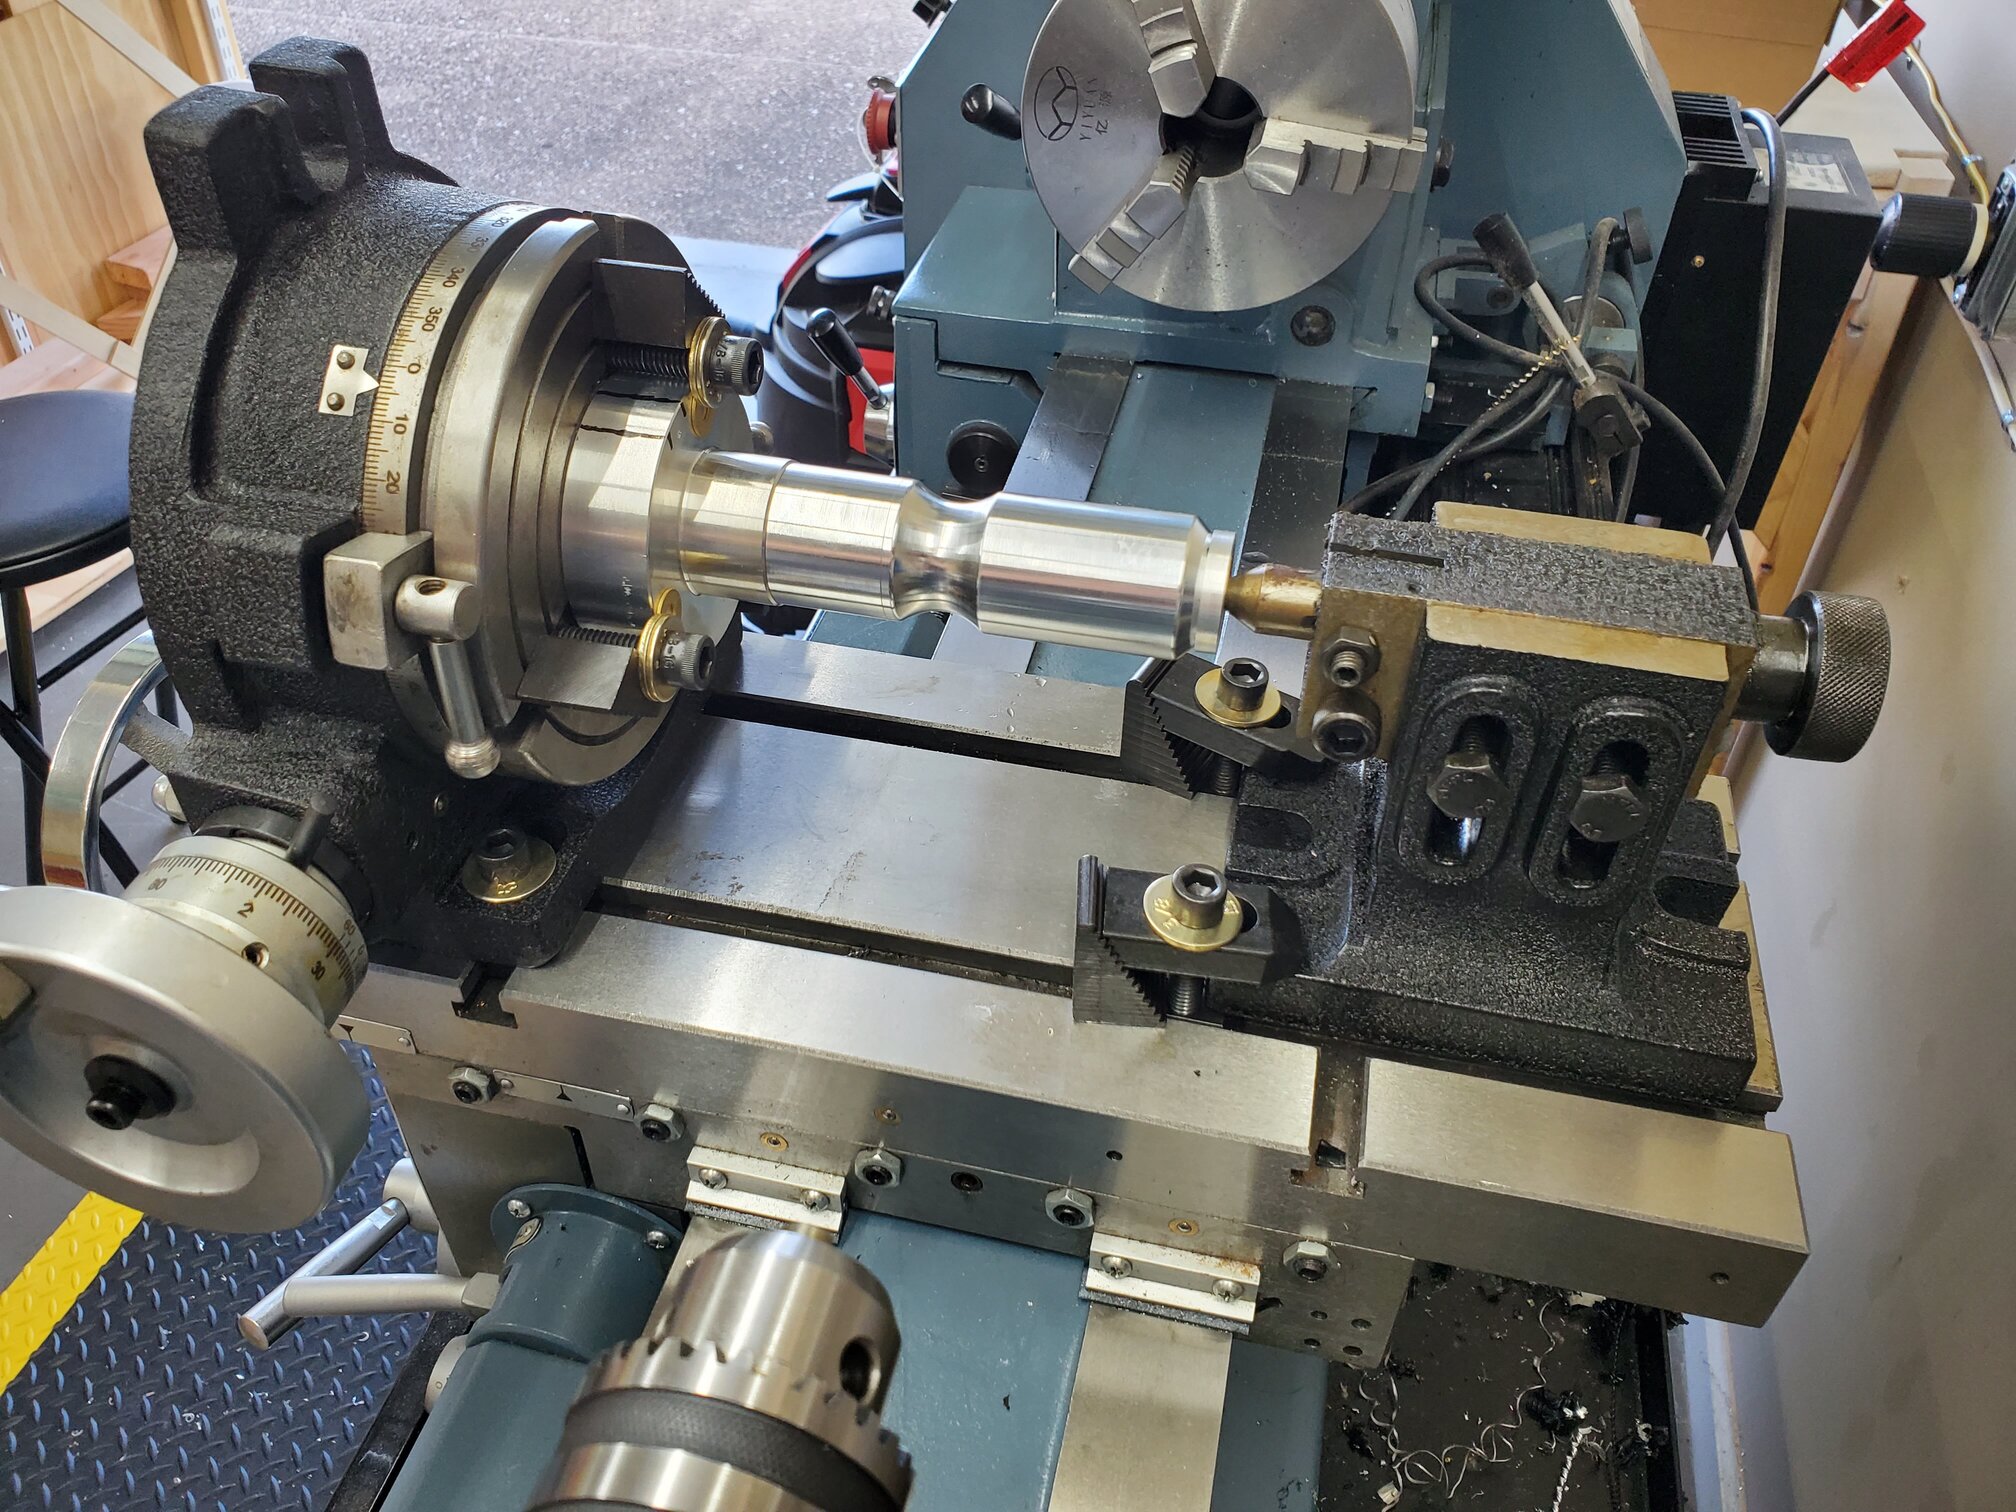
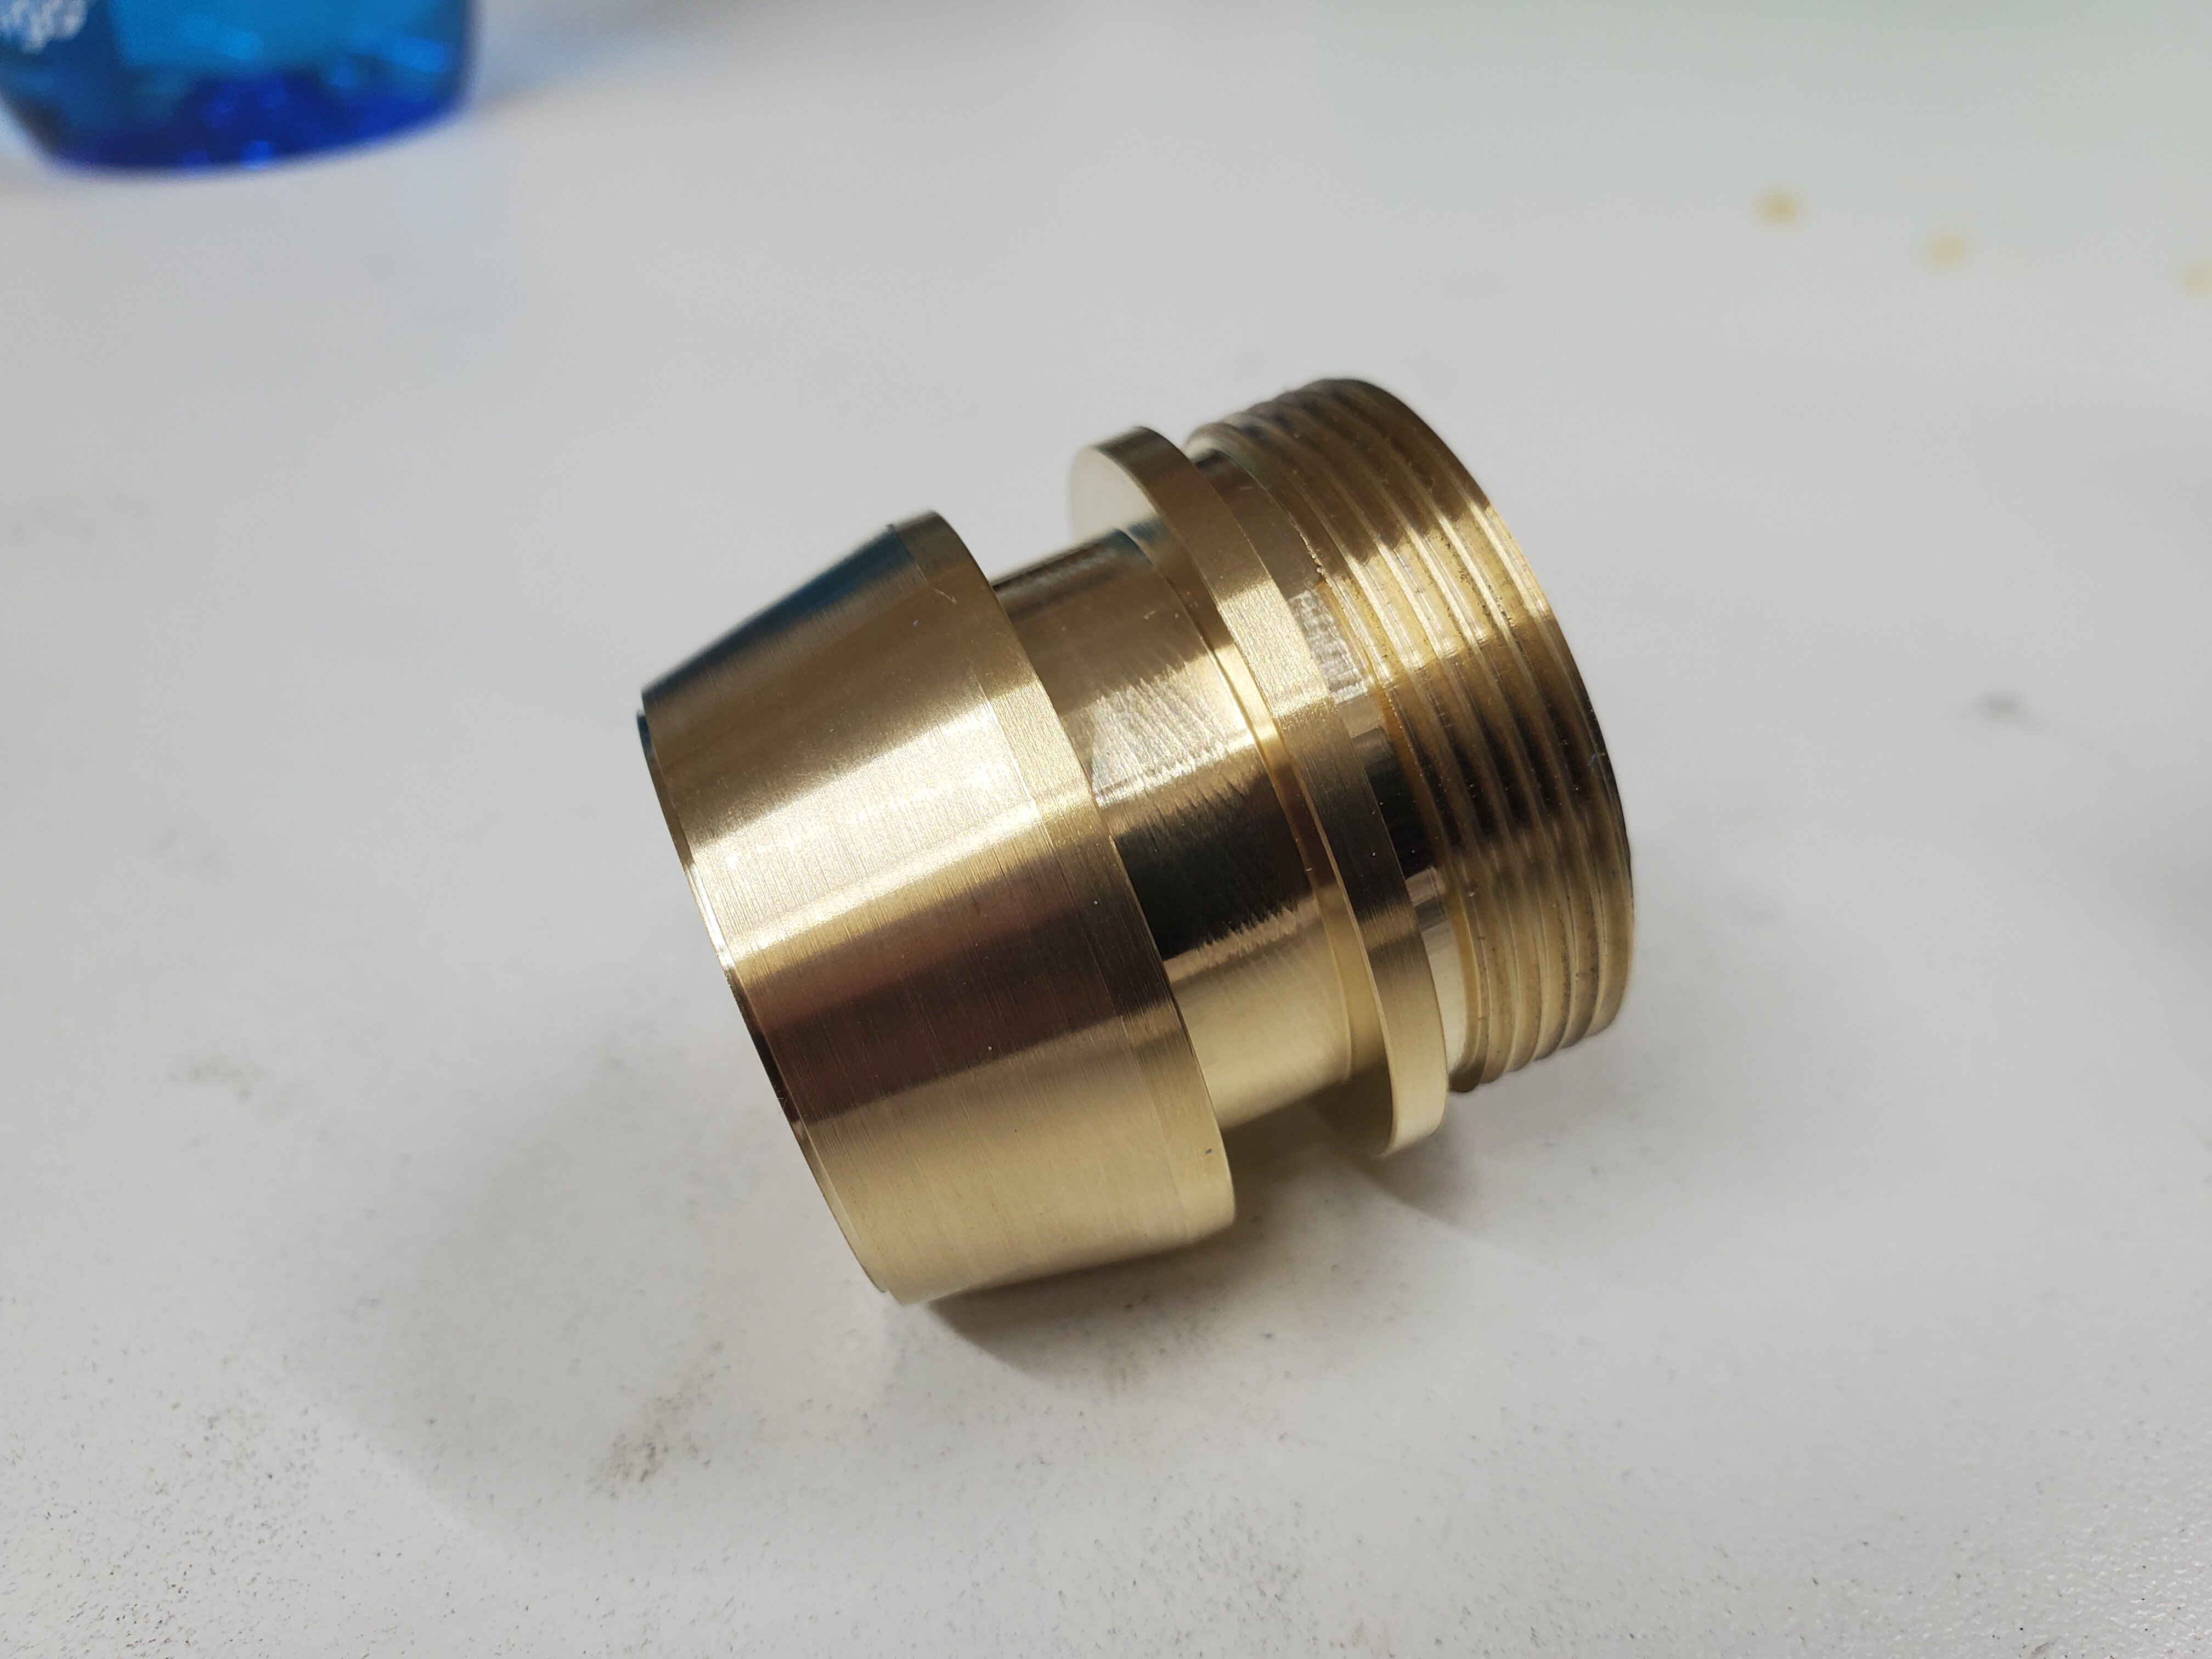
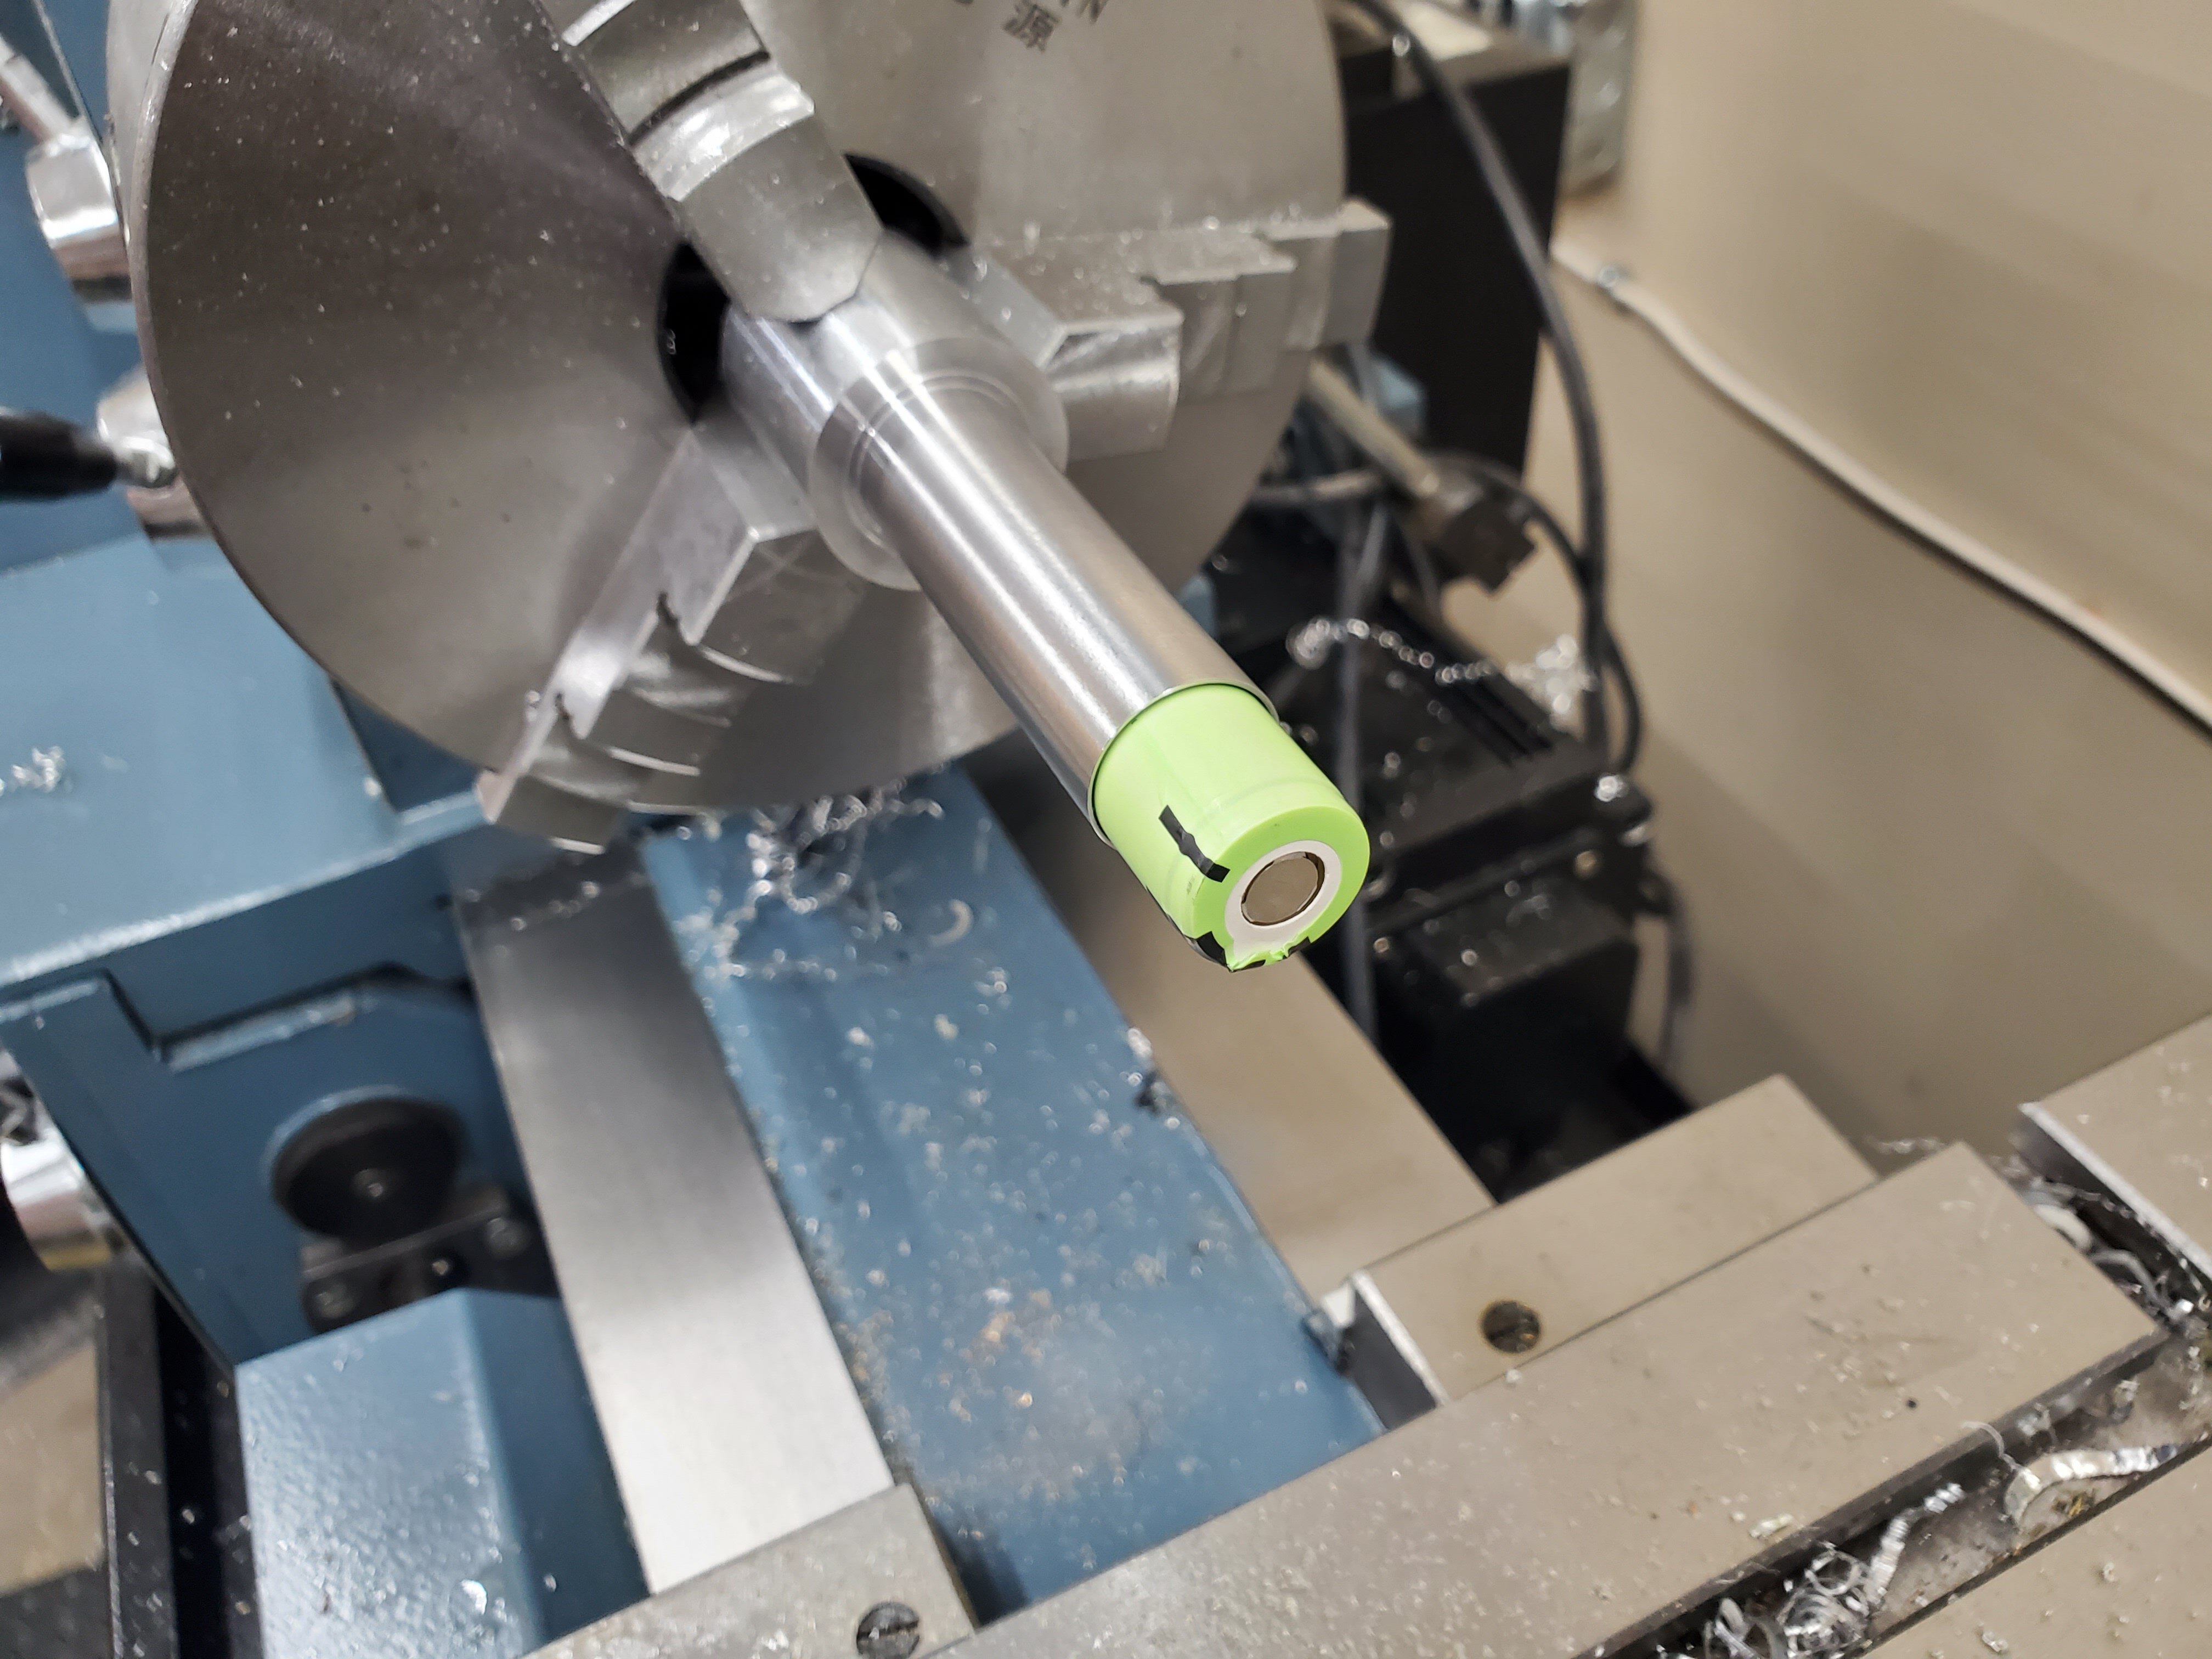
It all has to fit through the 0.783" ID of a MHS choke, which is a very tight squeeze for a crystal chamber. First step was machining a tube to slide a 18500 into:

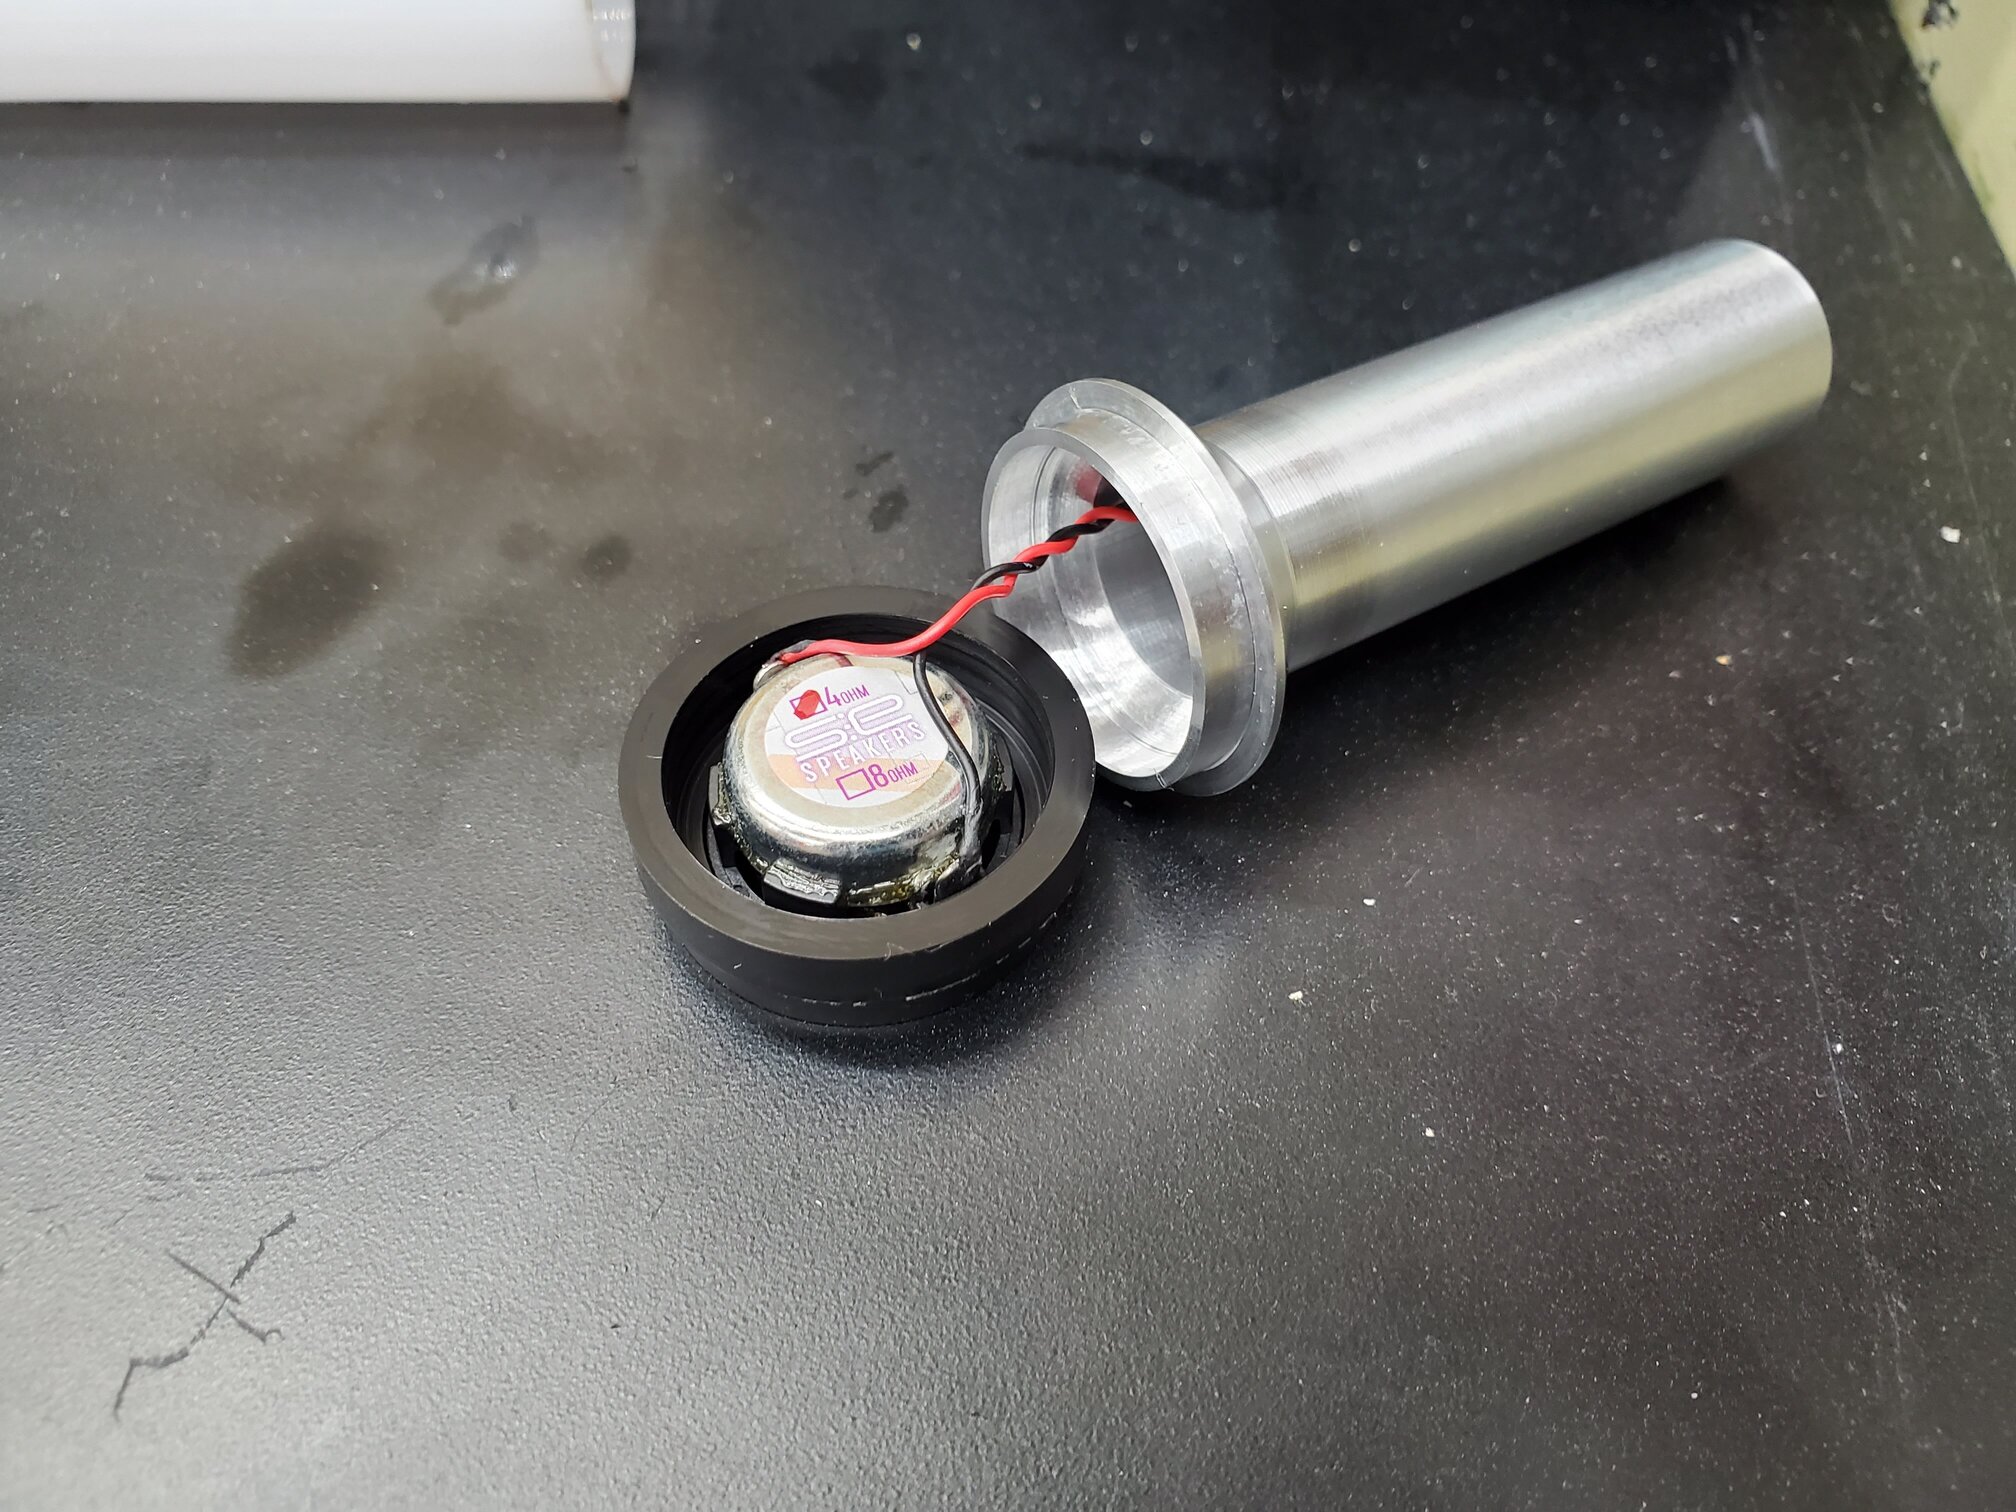
The 24mm speaker is mounted in a holder machined from black Tecanyl:

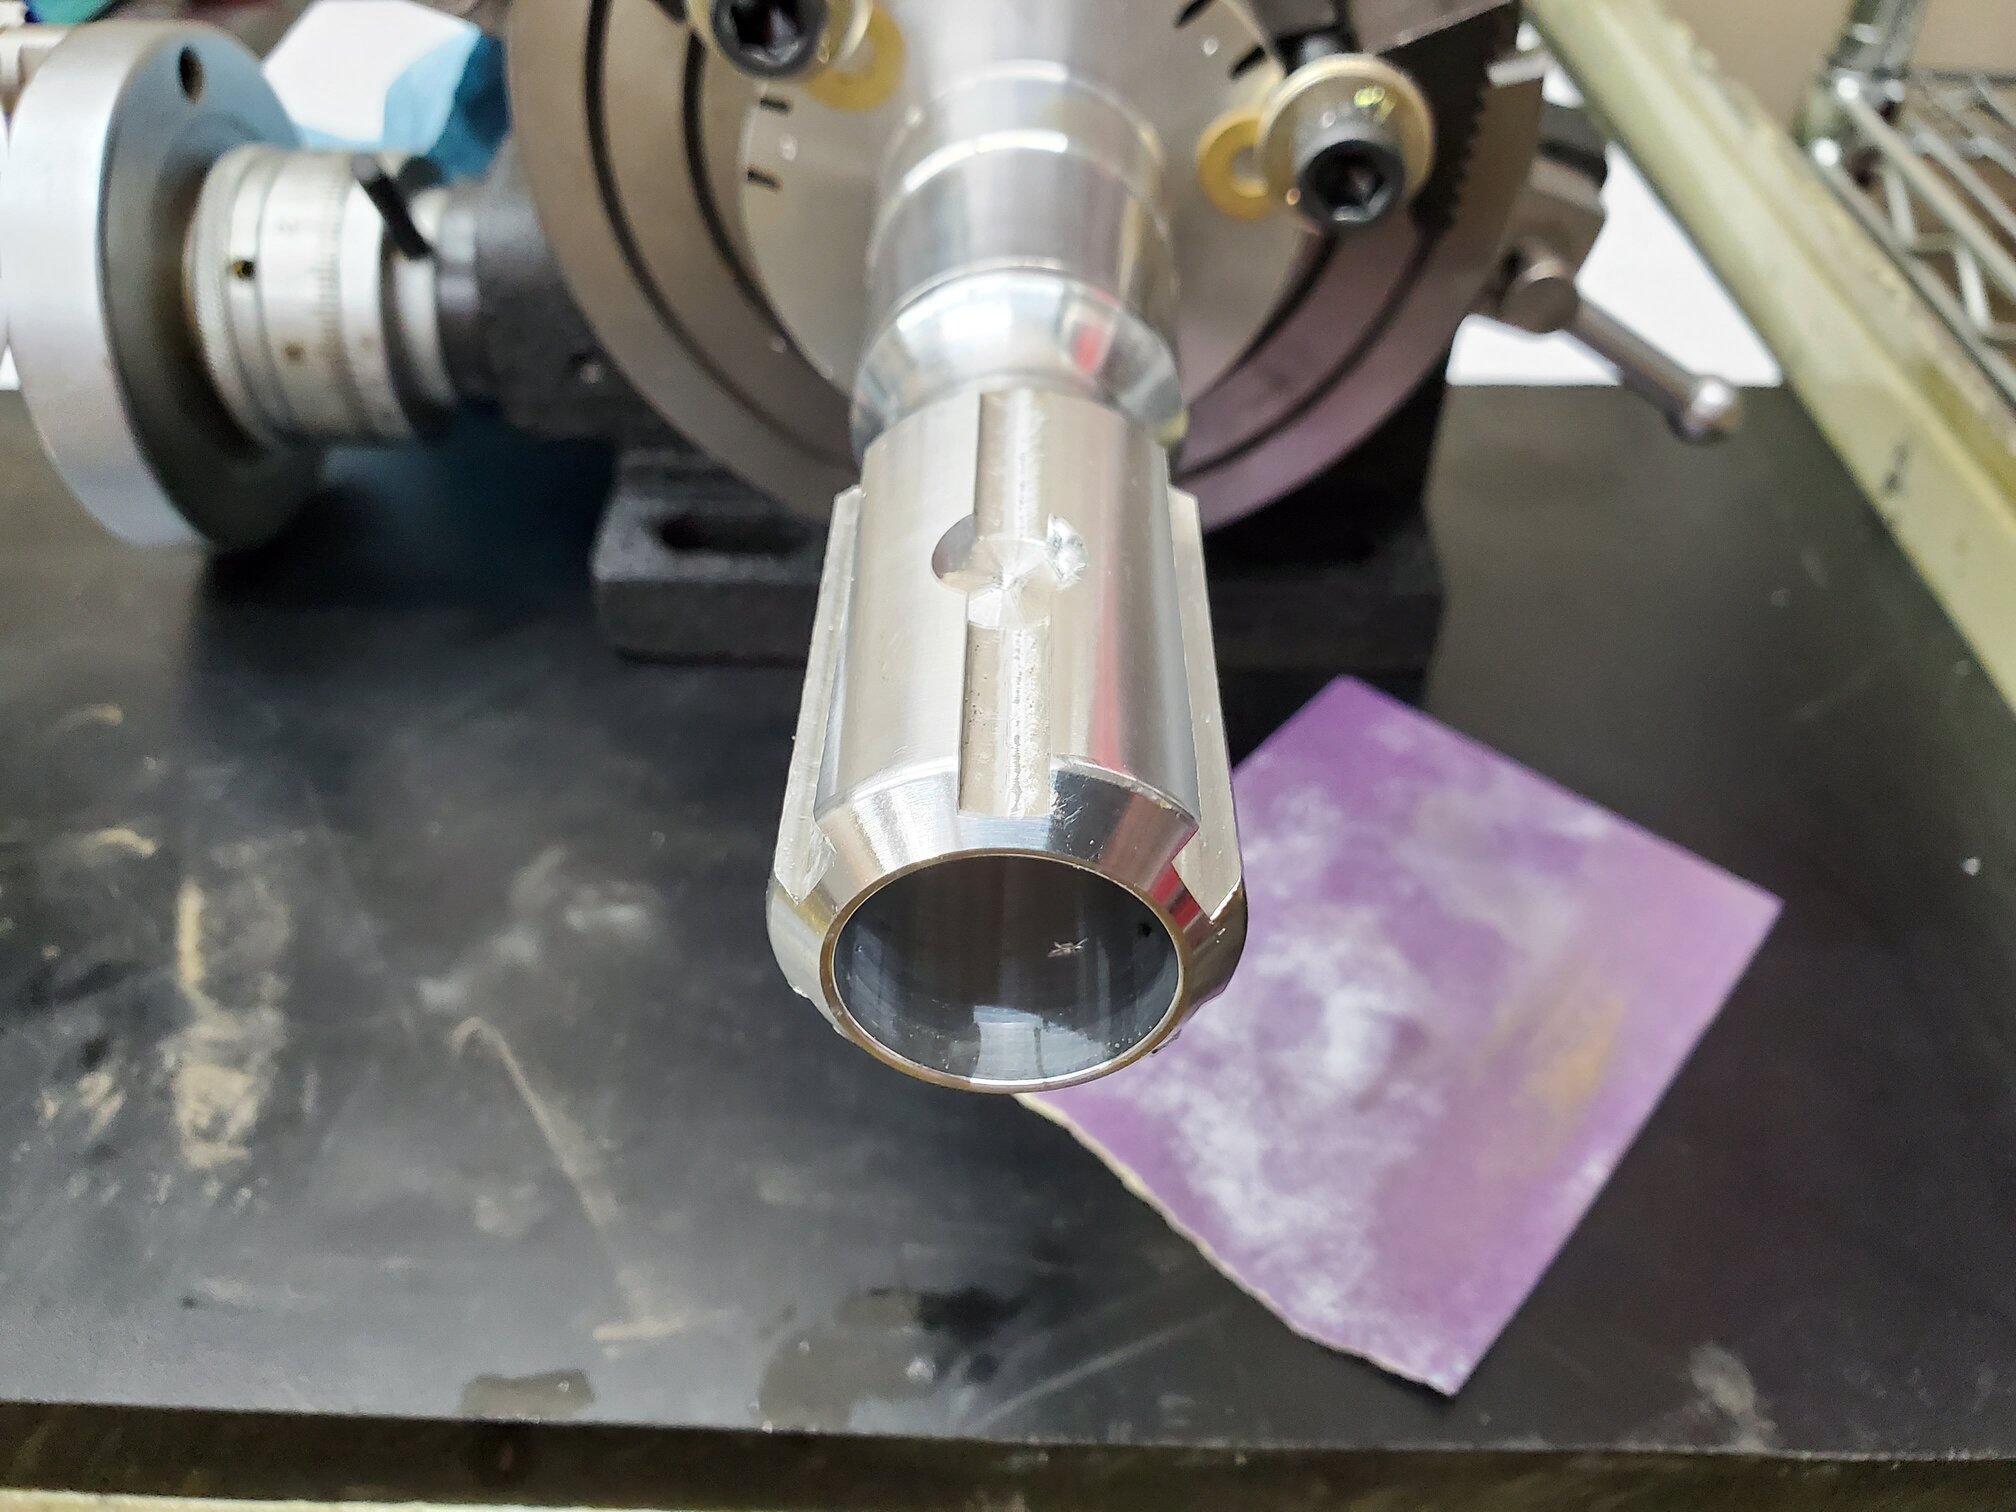
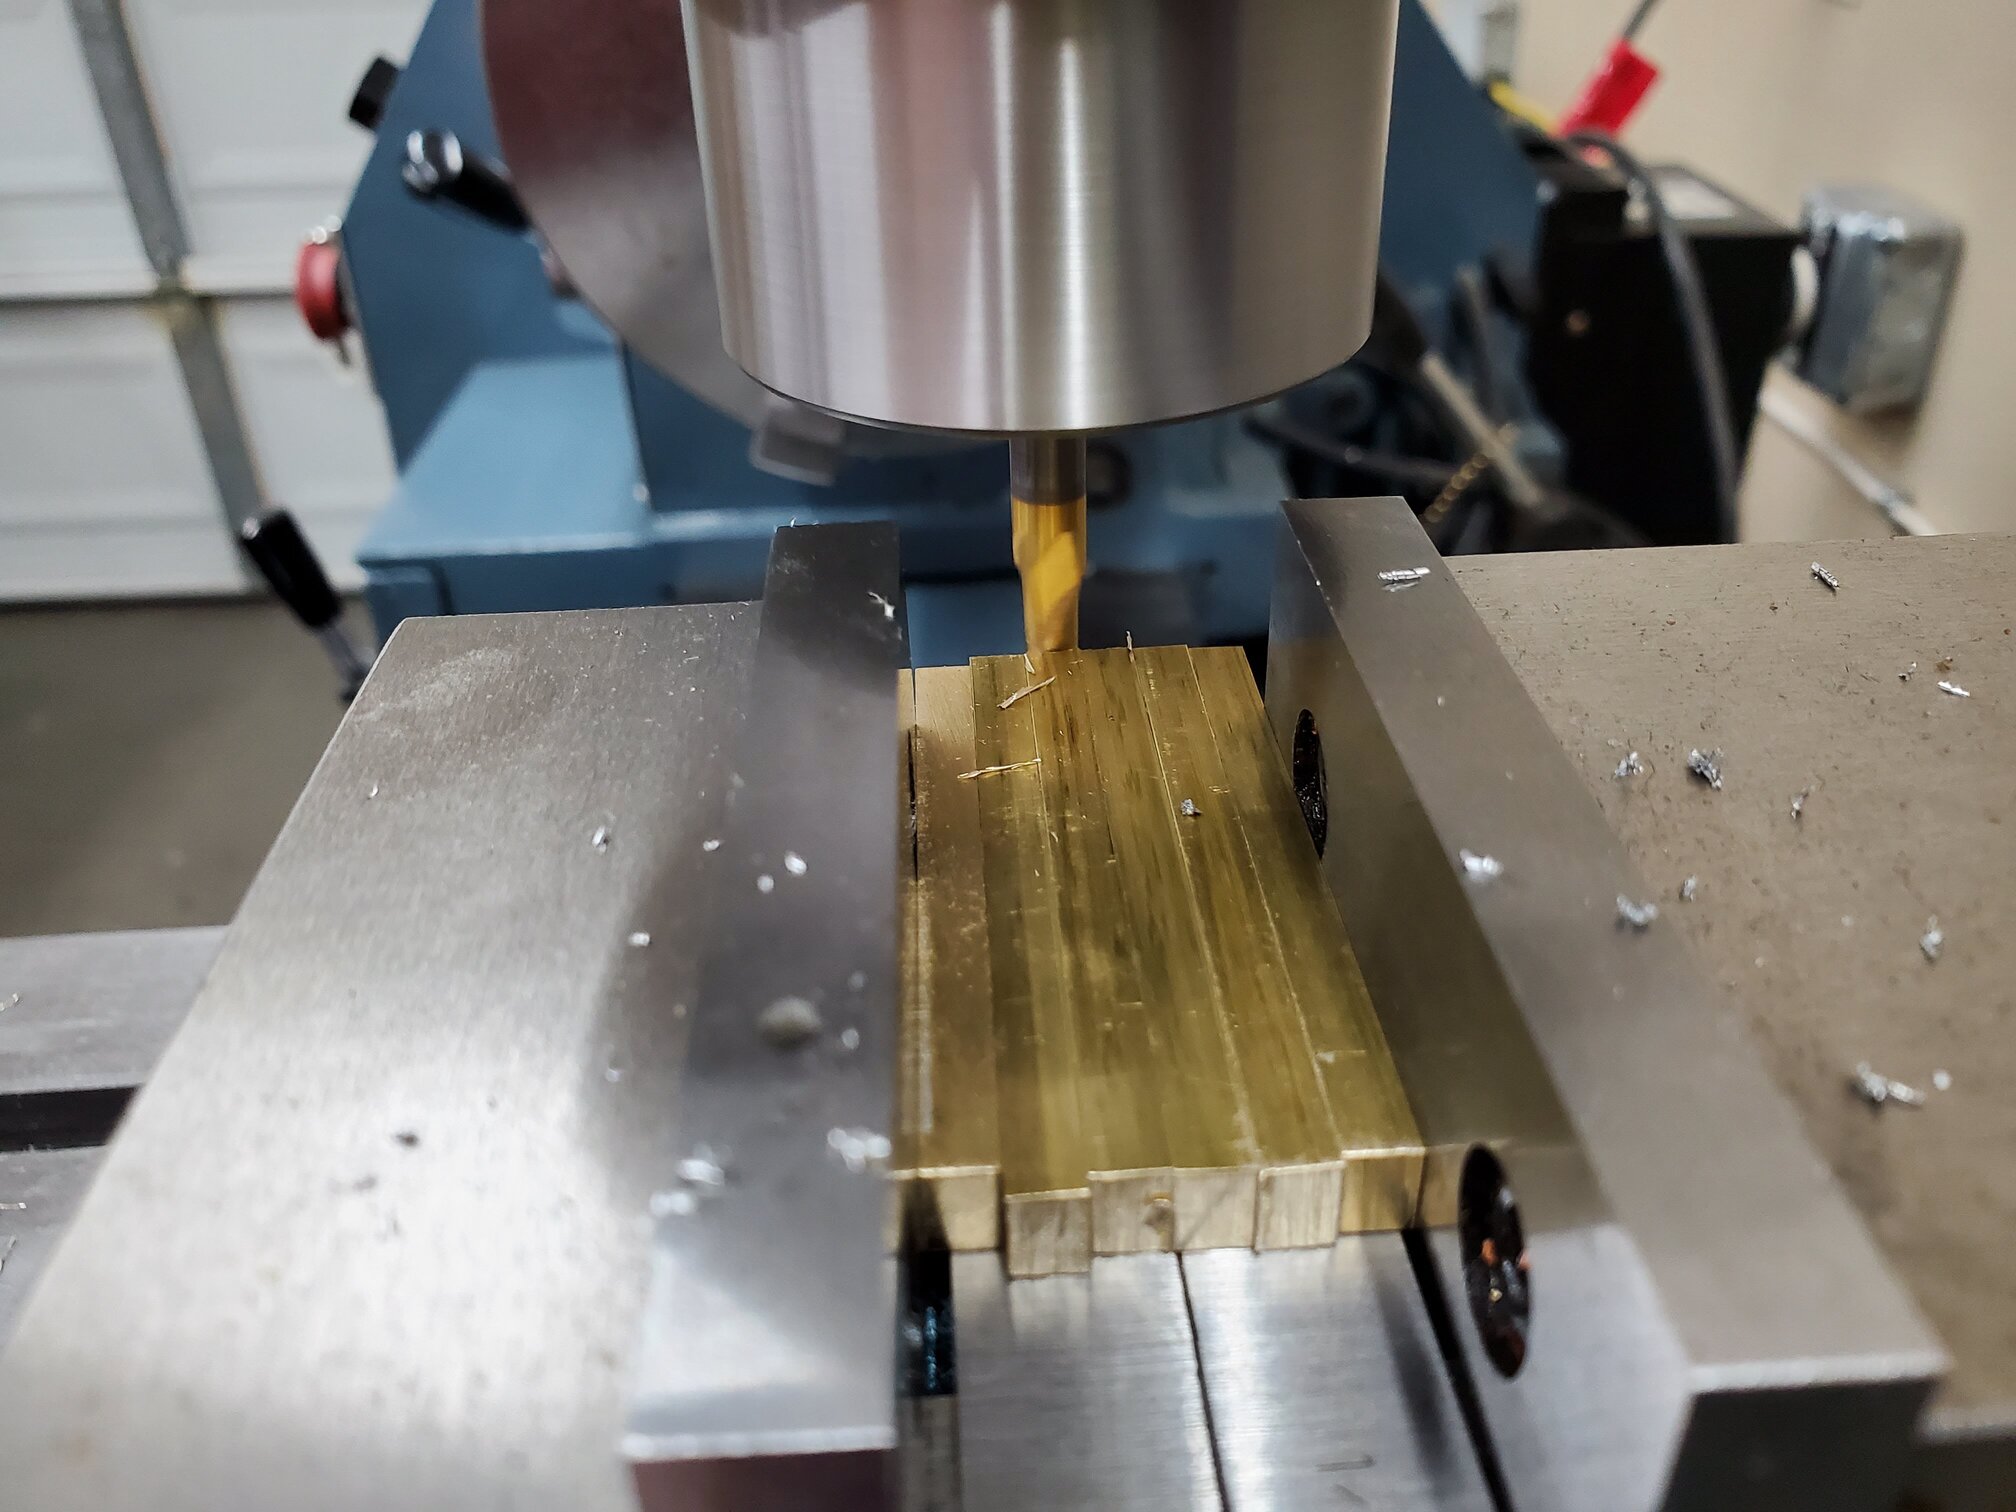
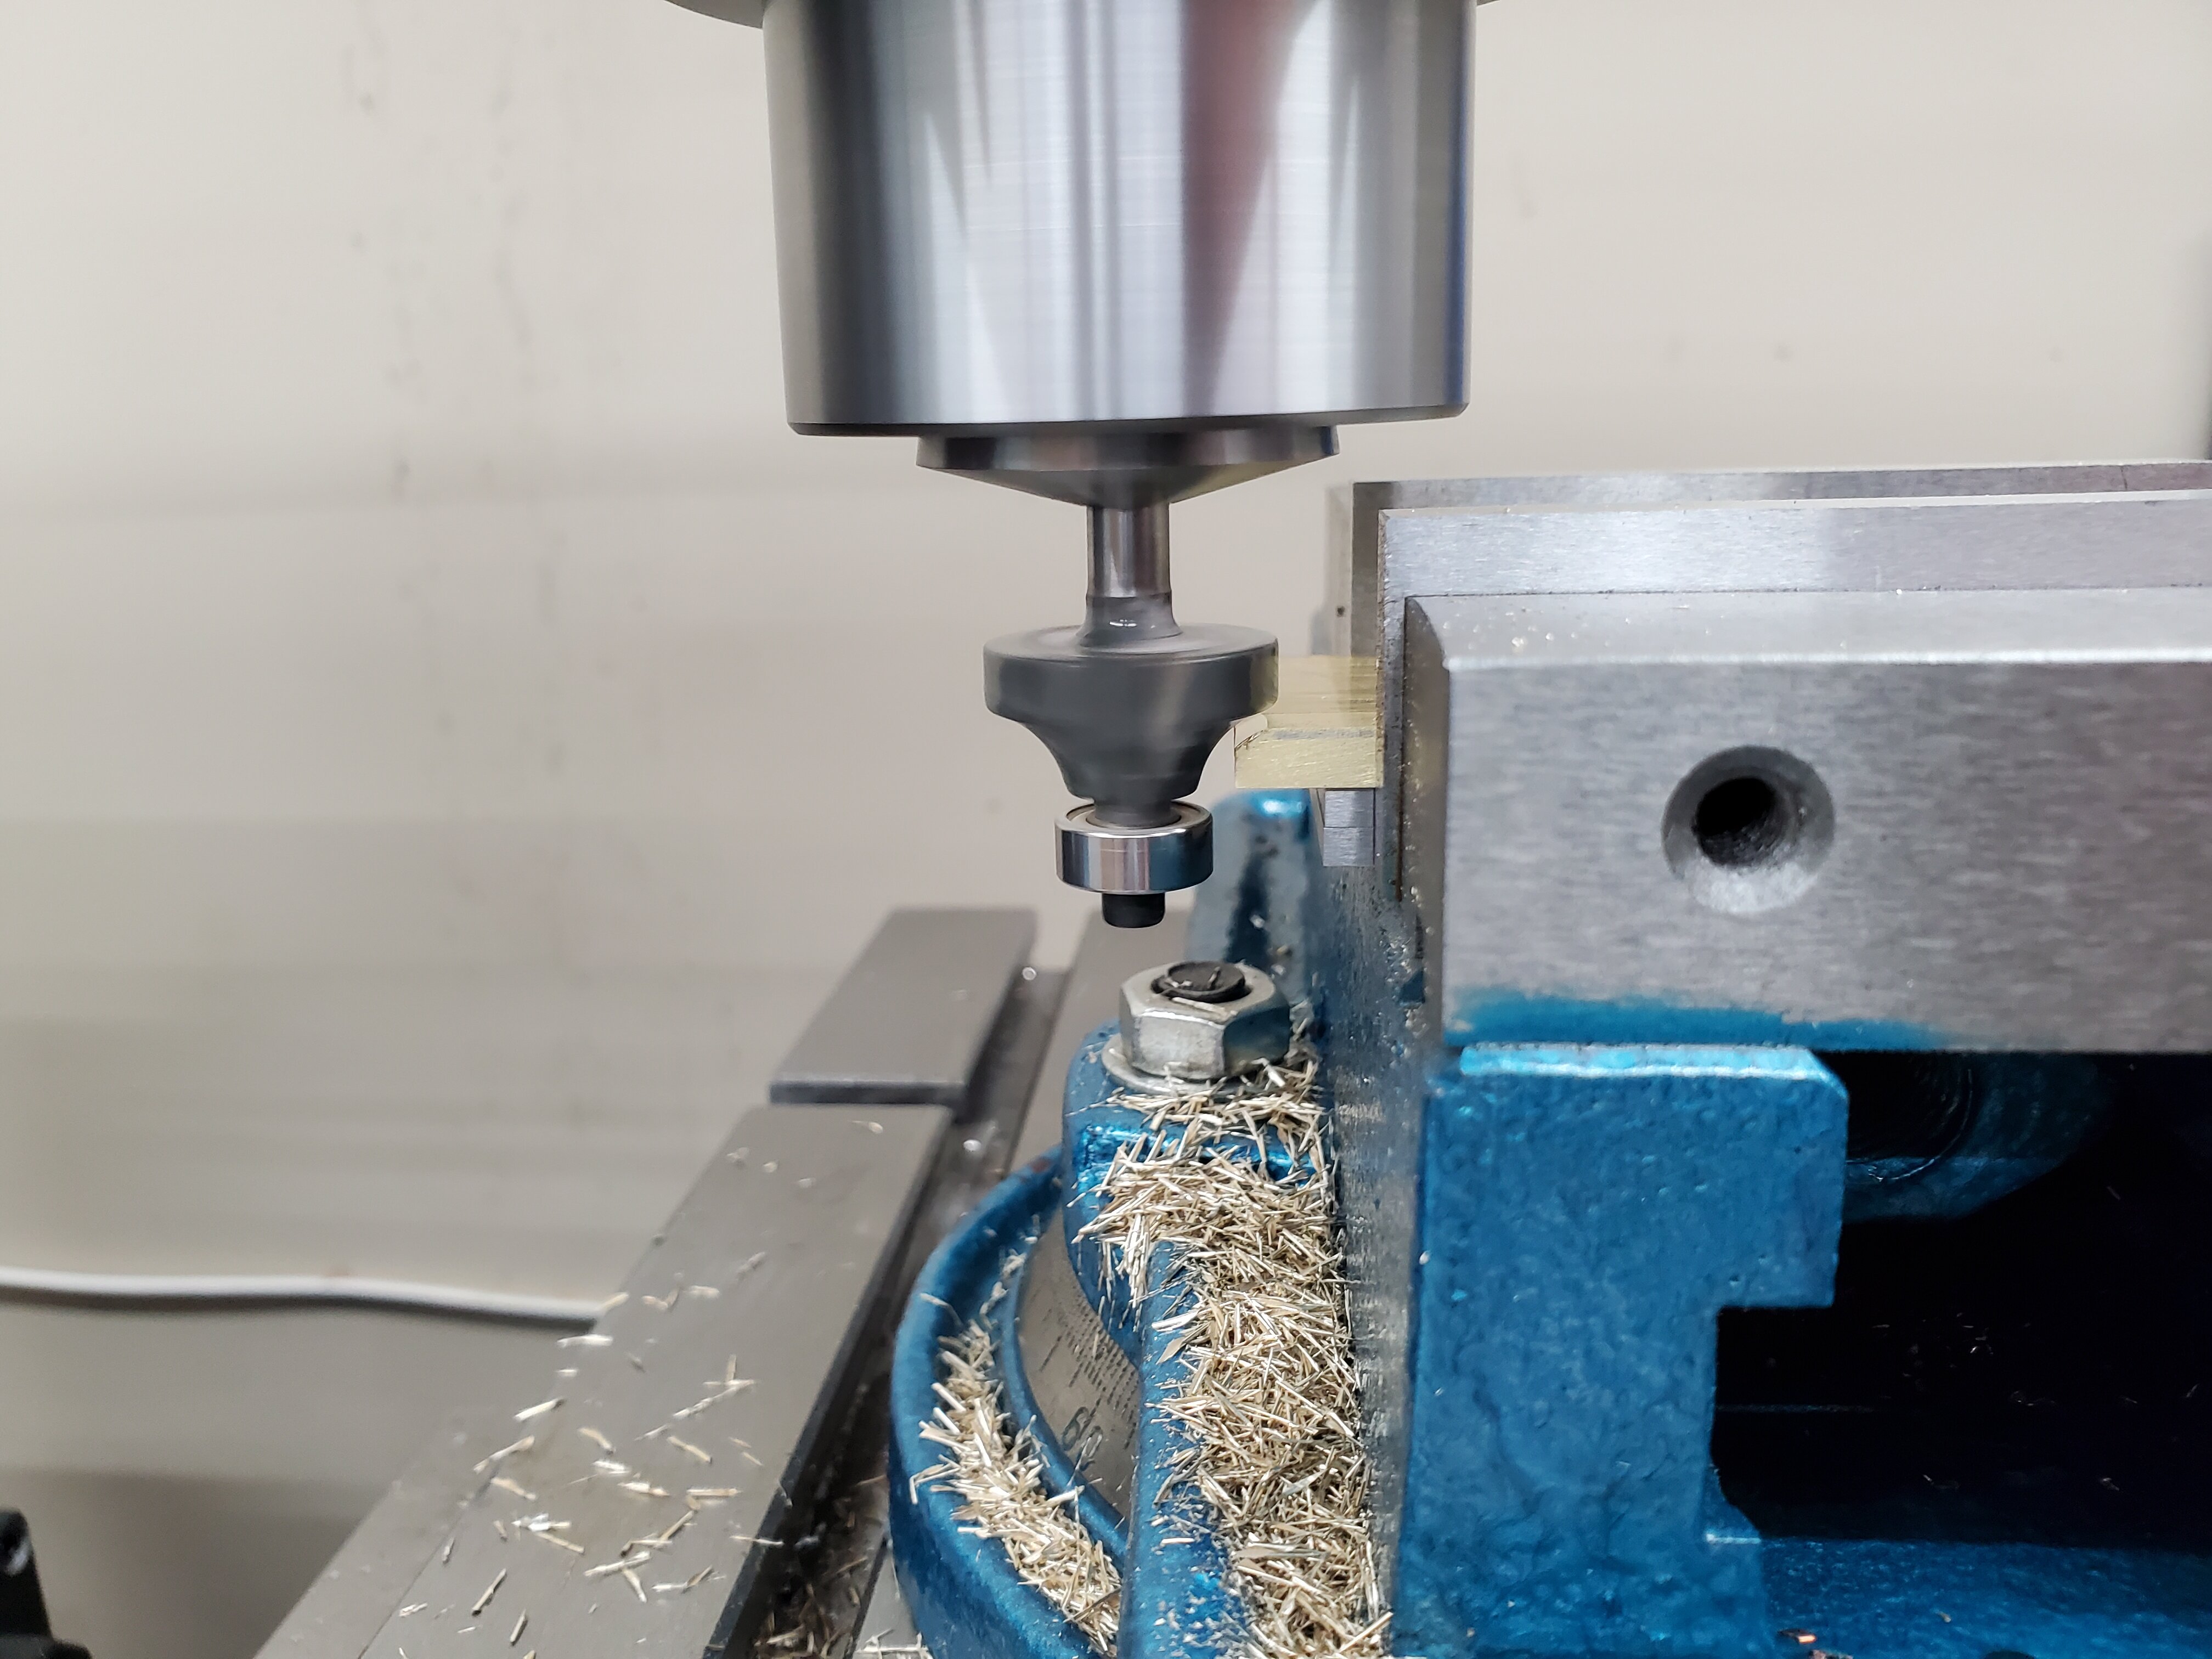
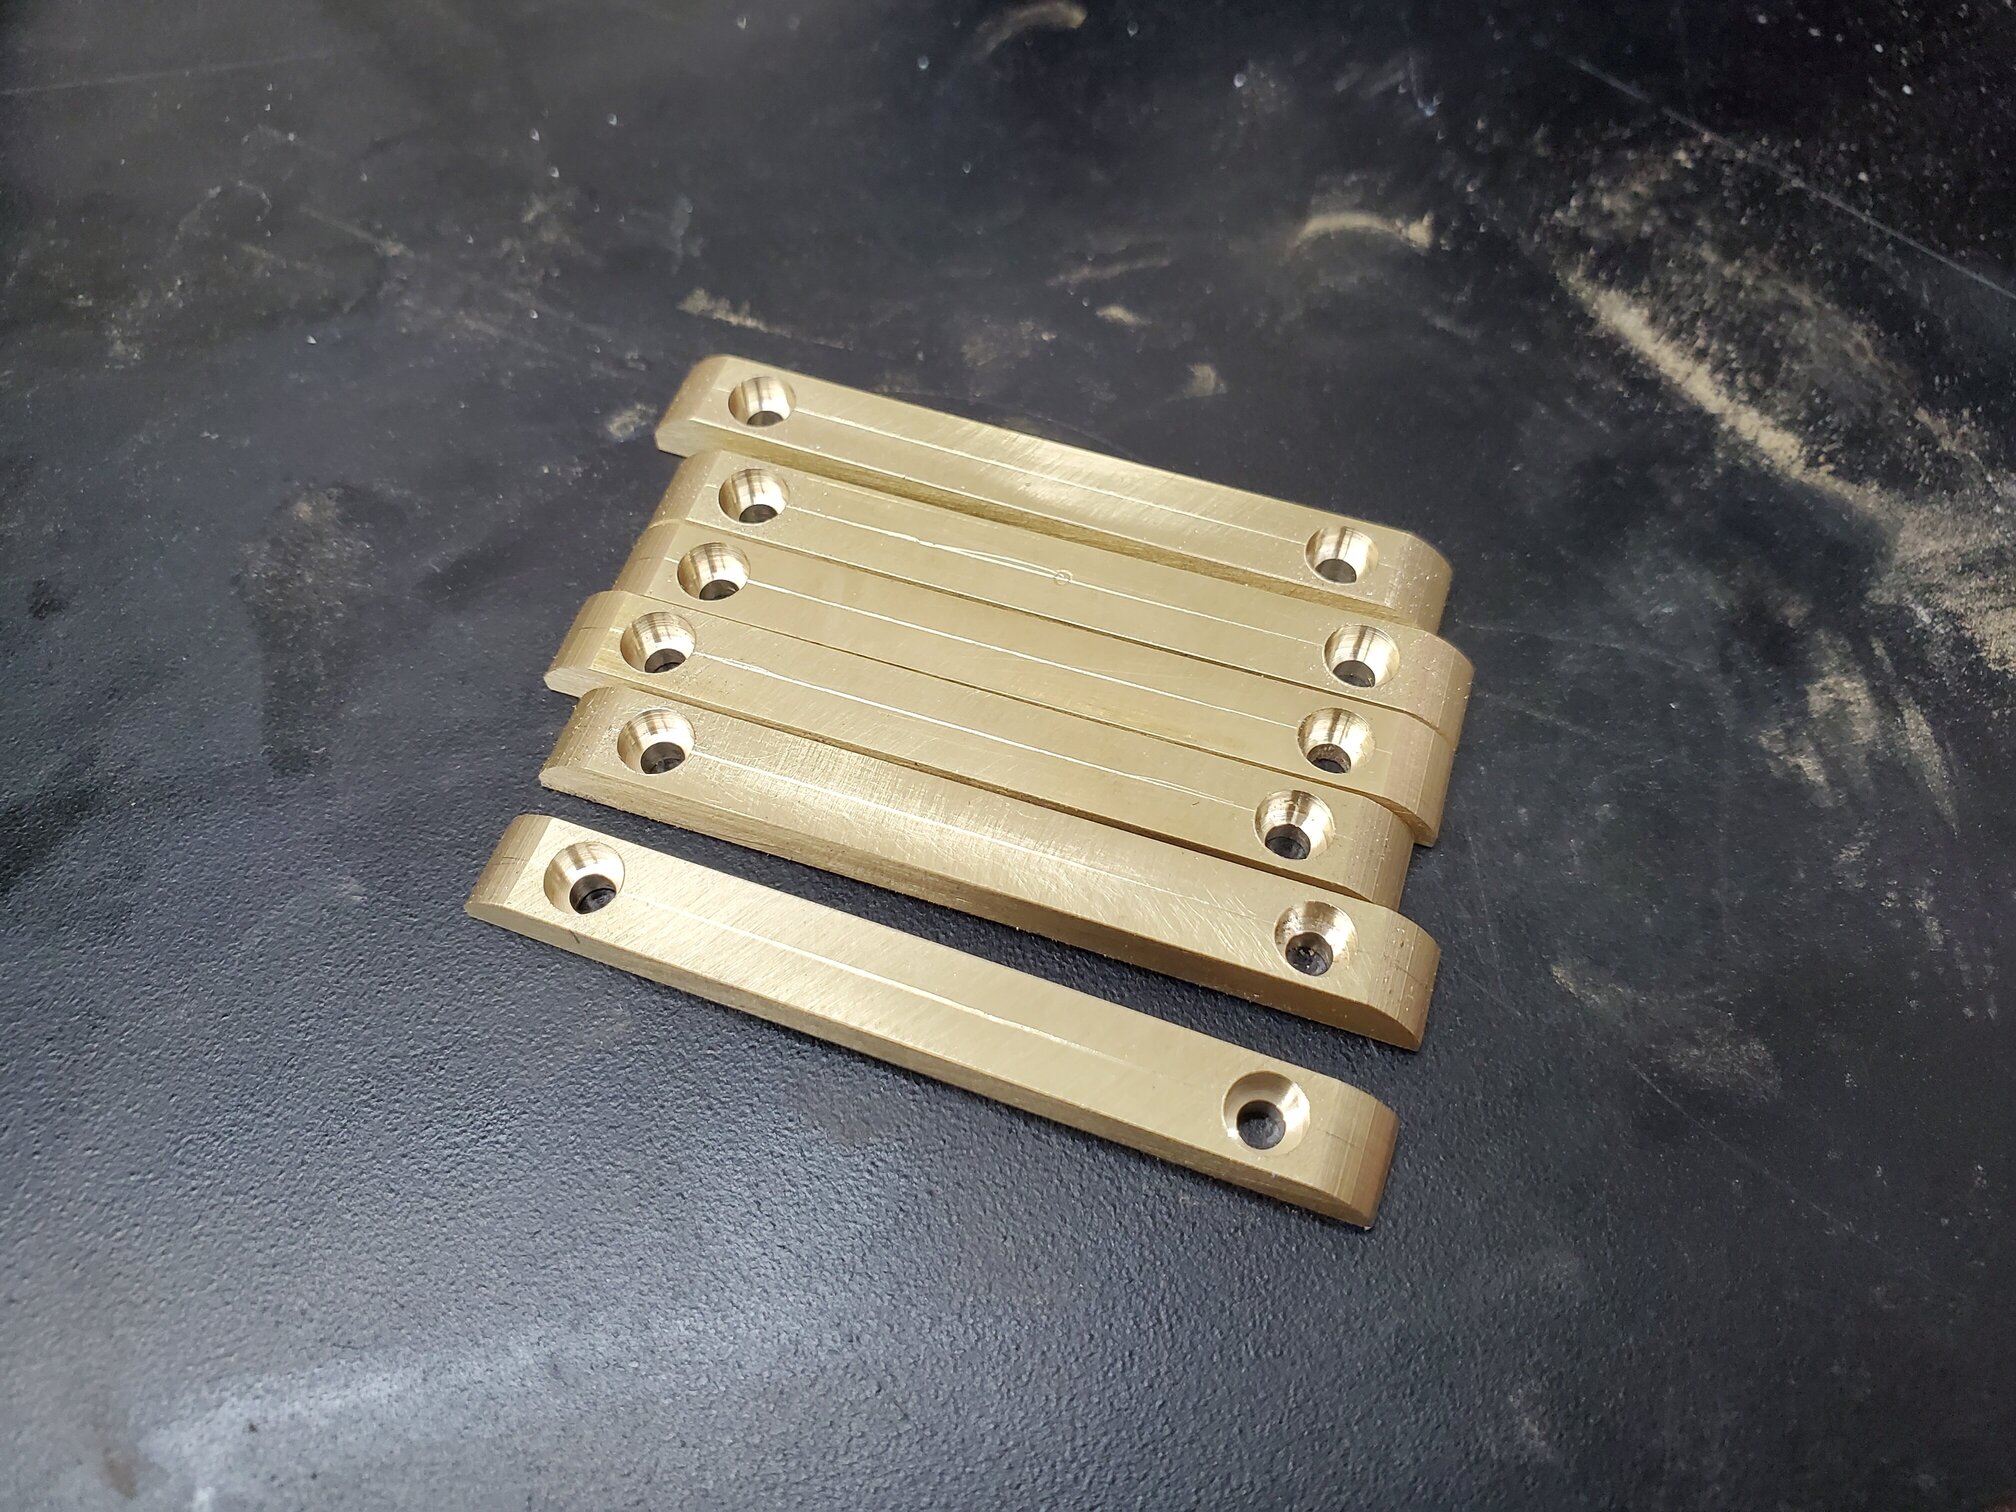
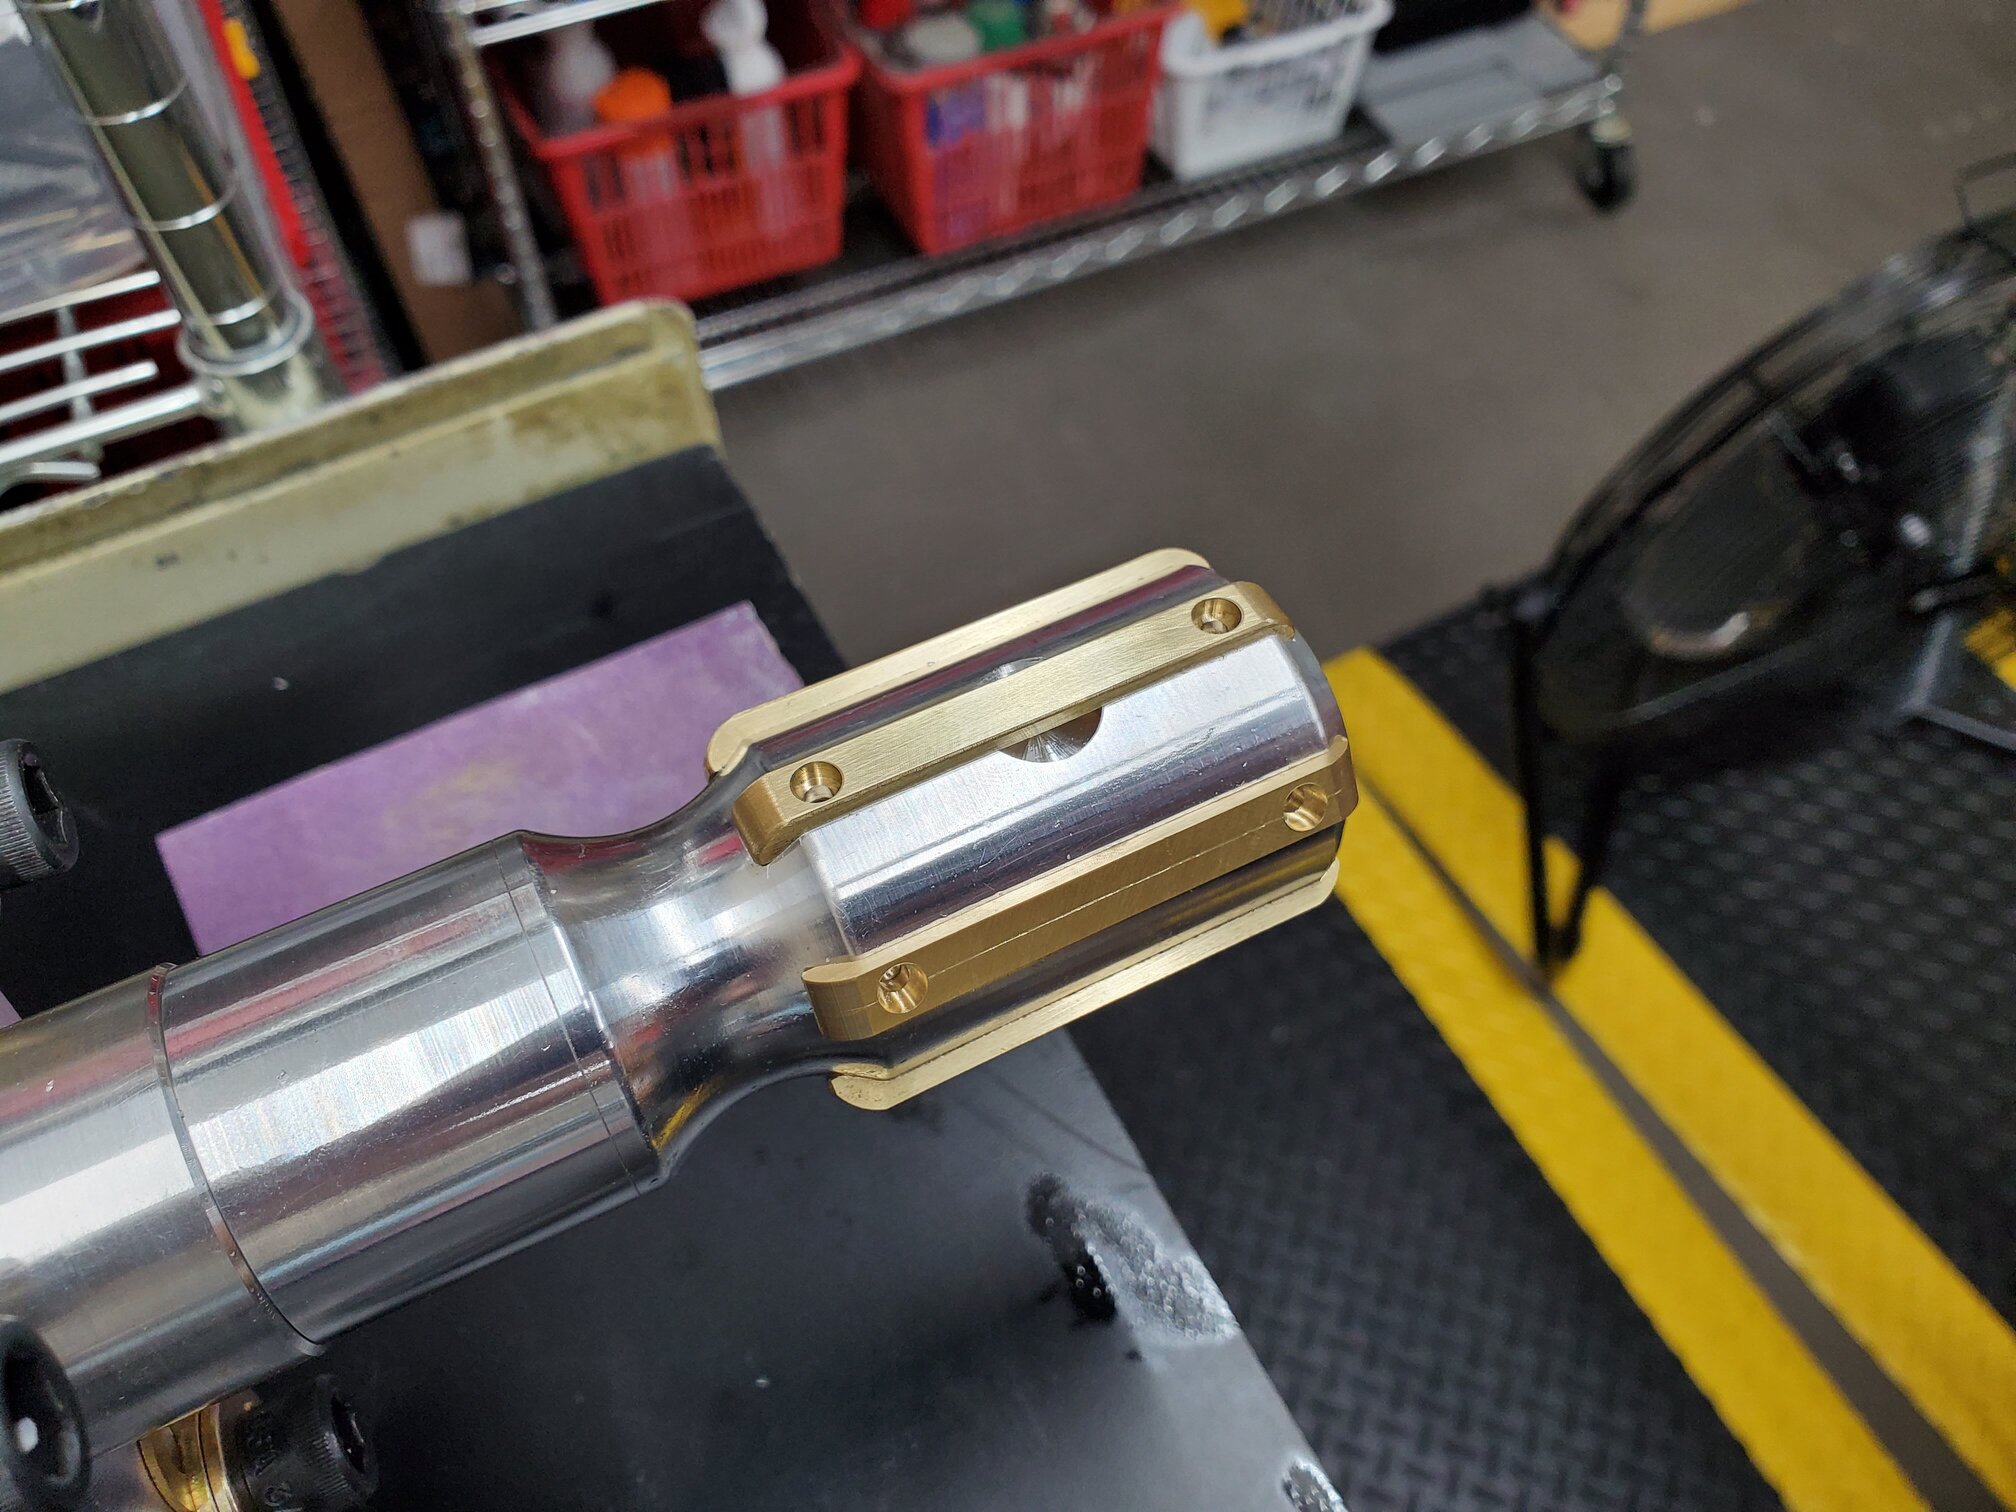
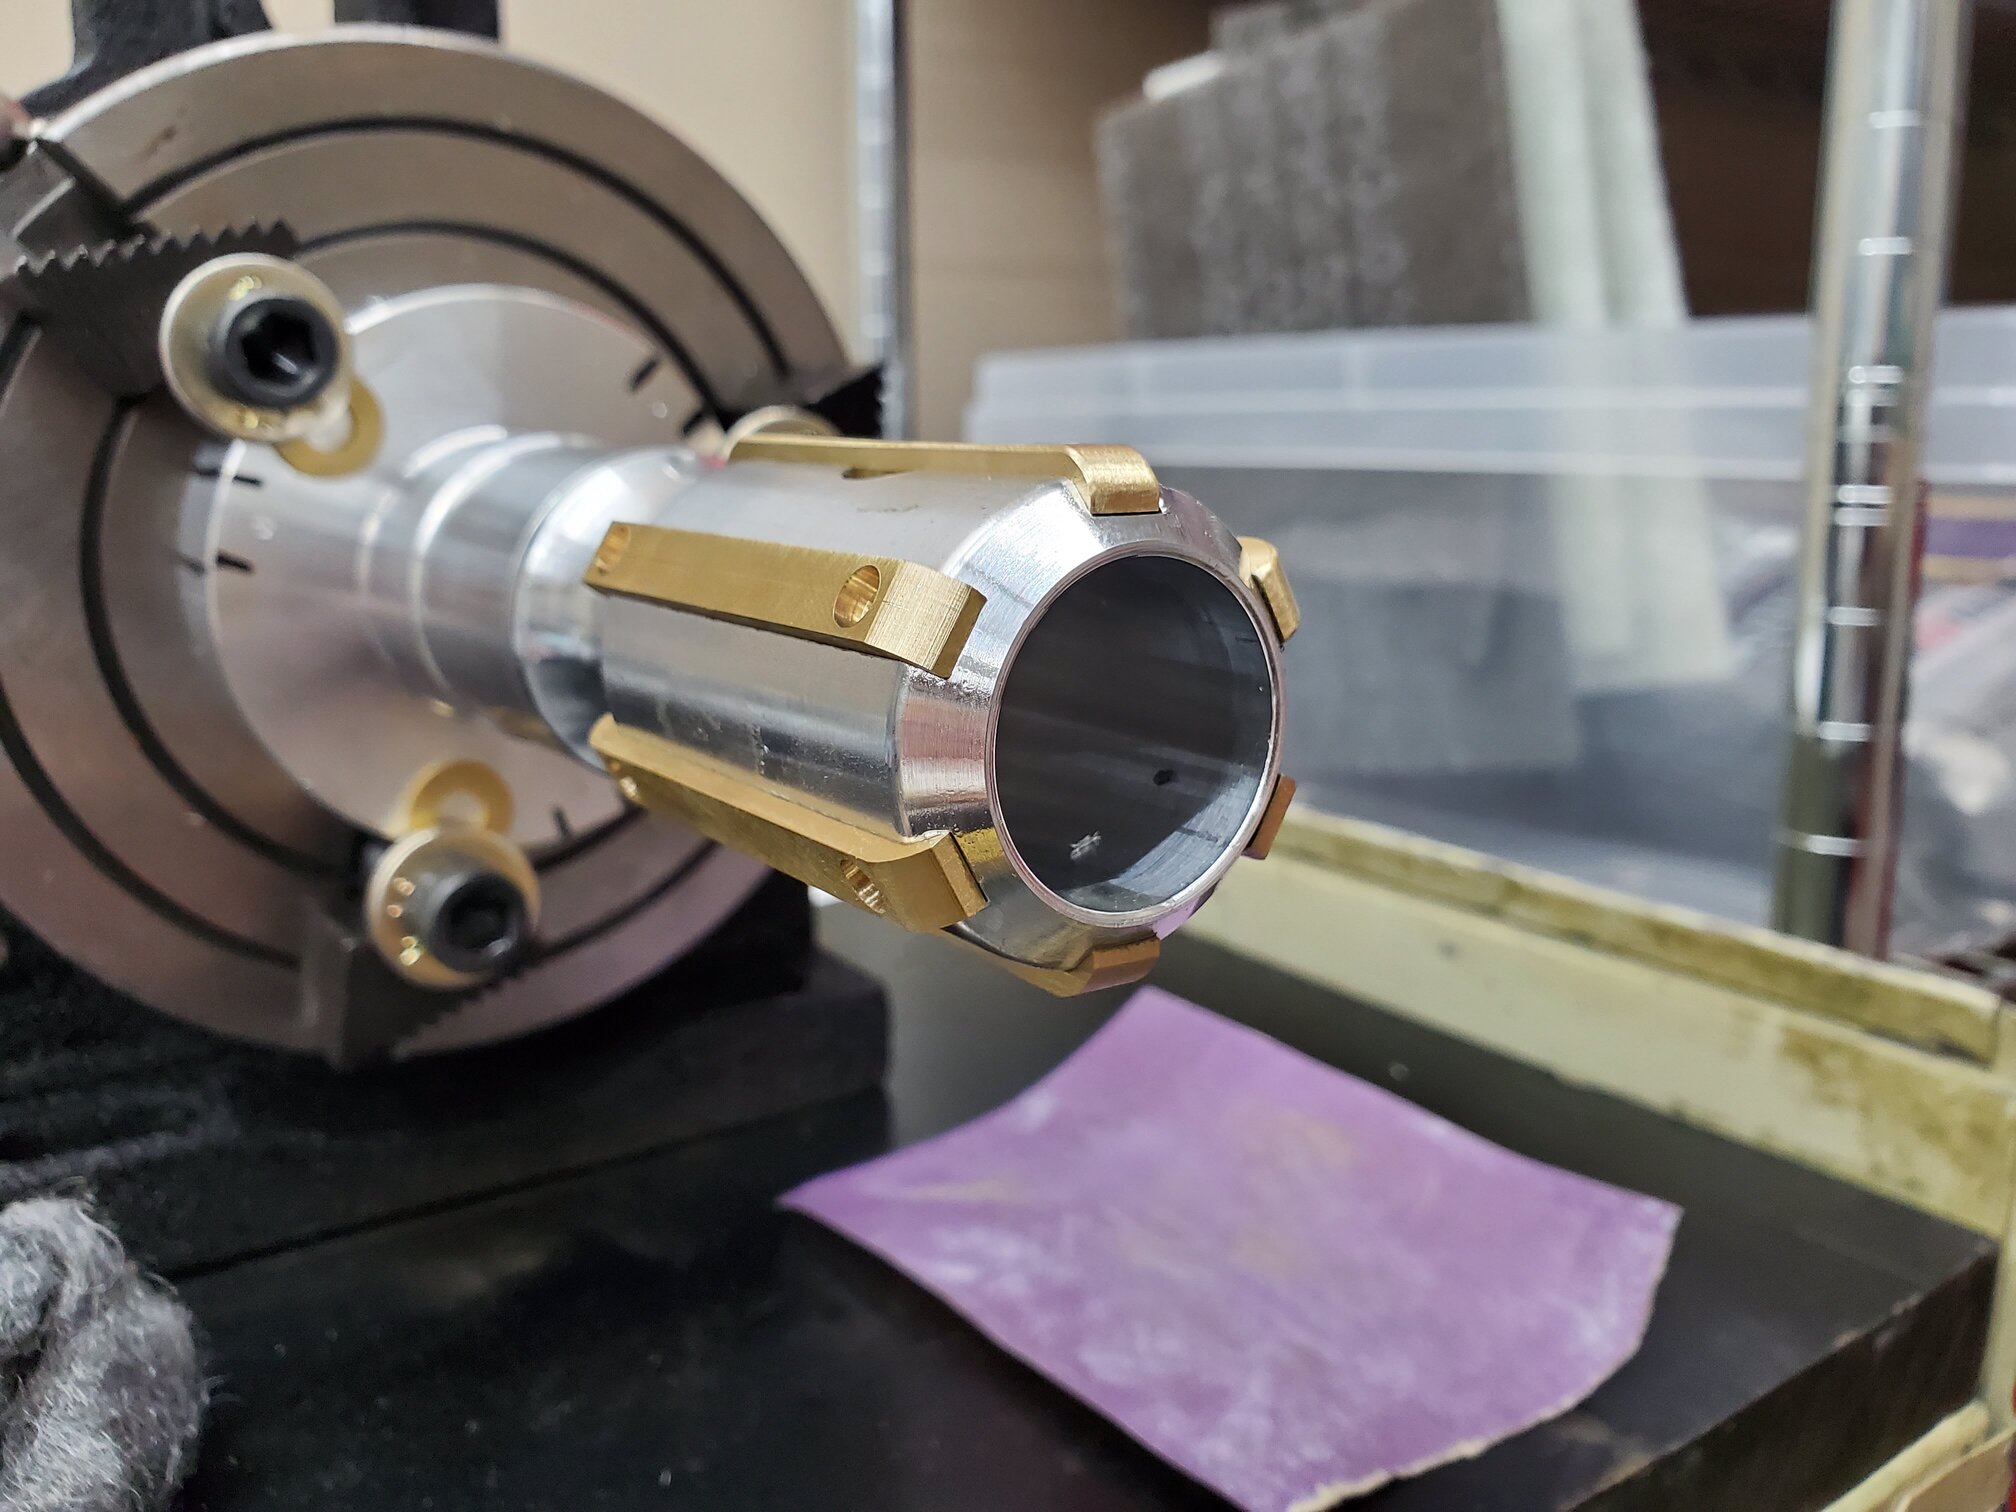
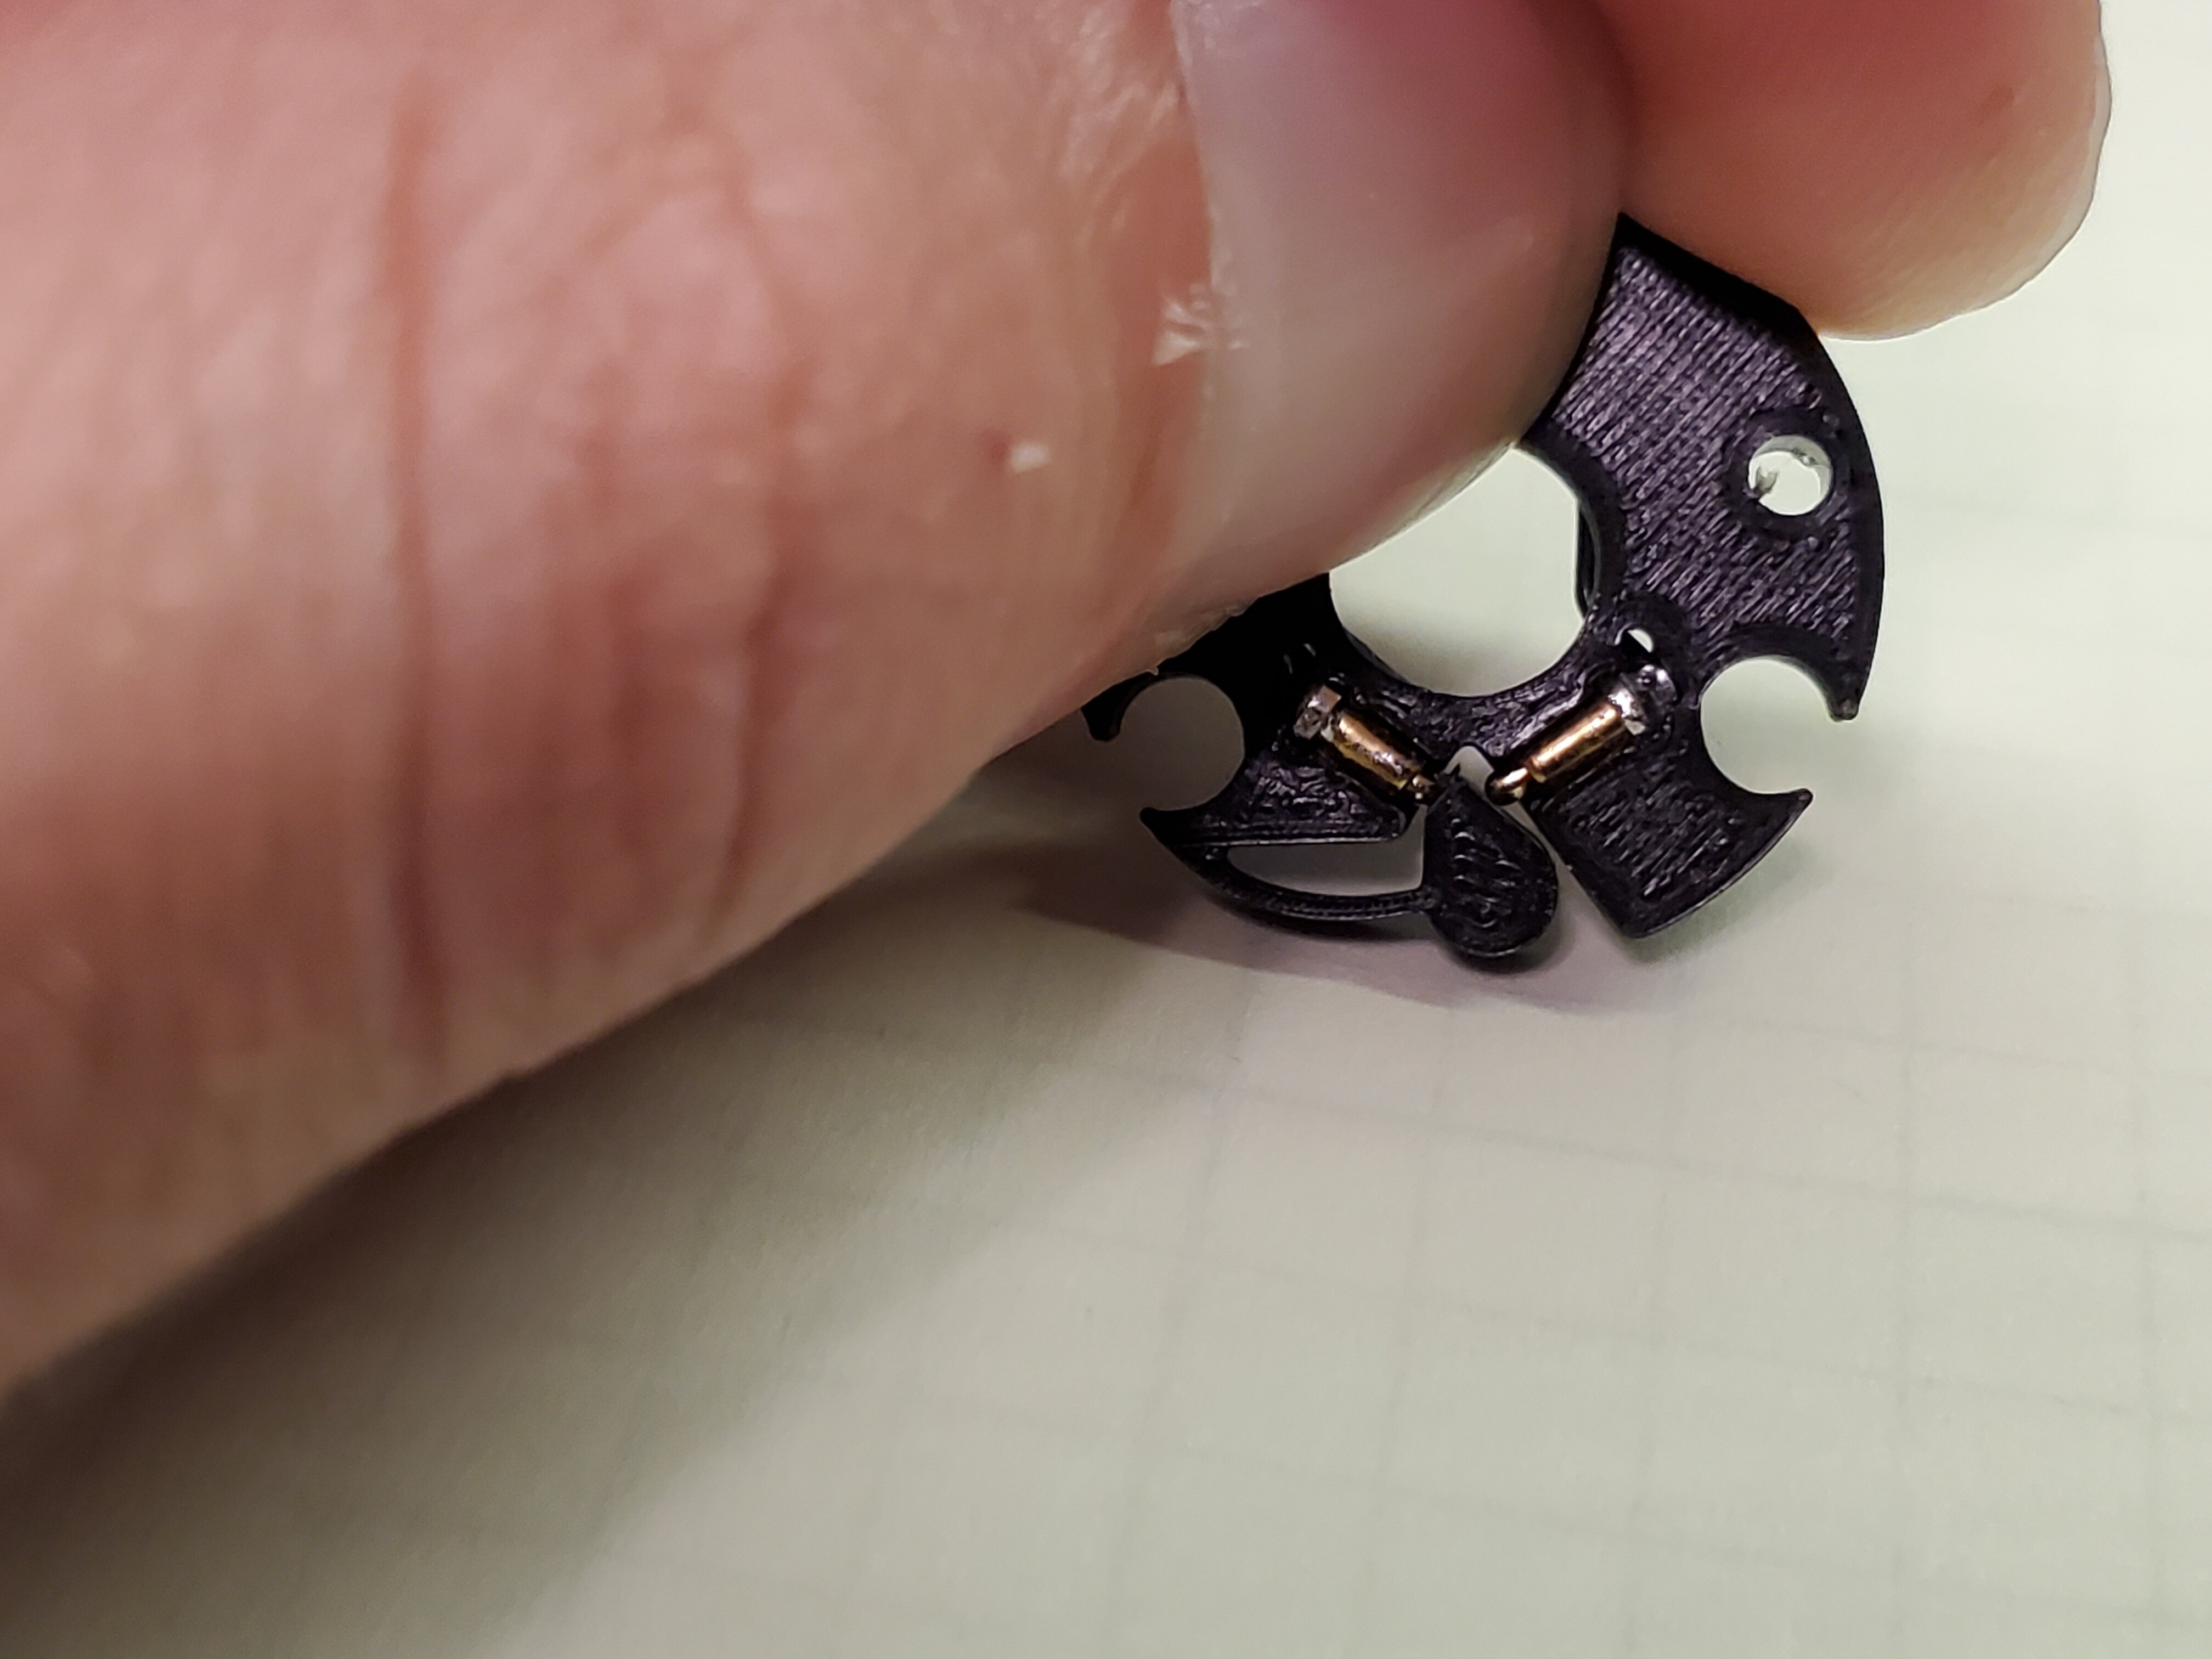
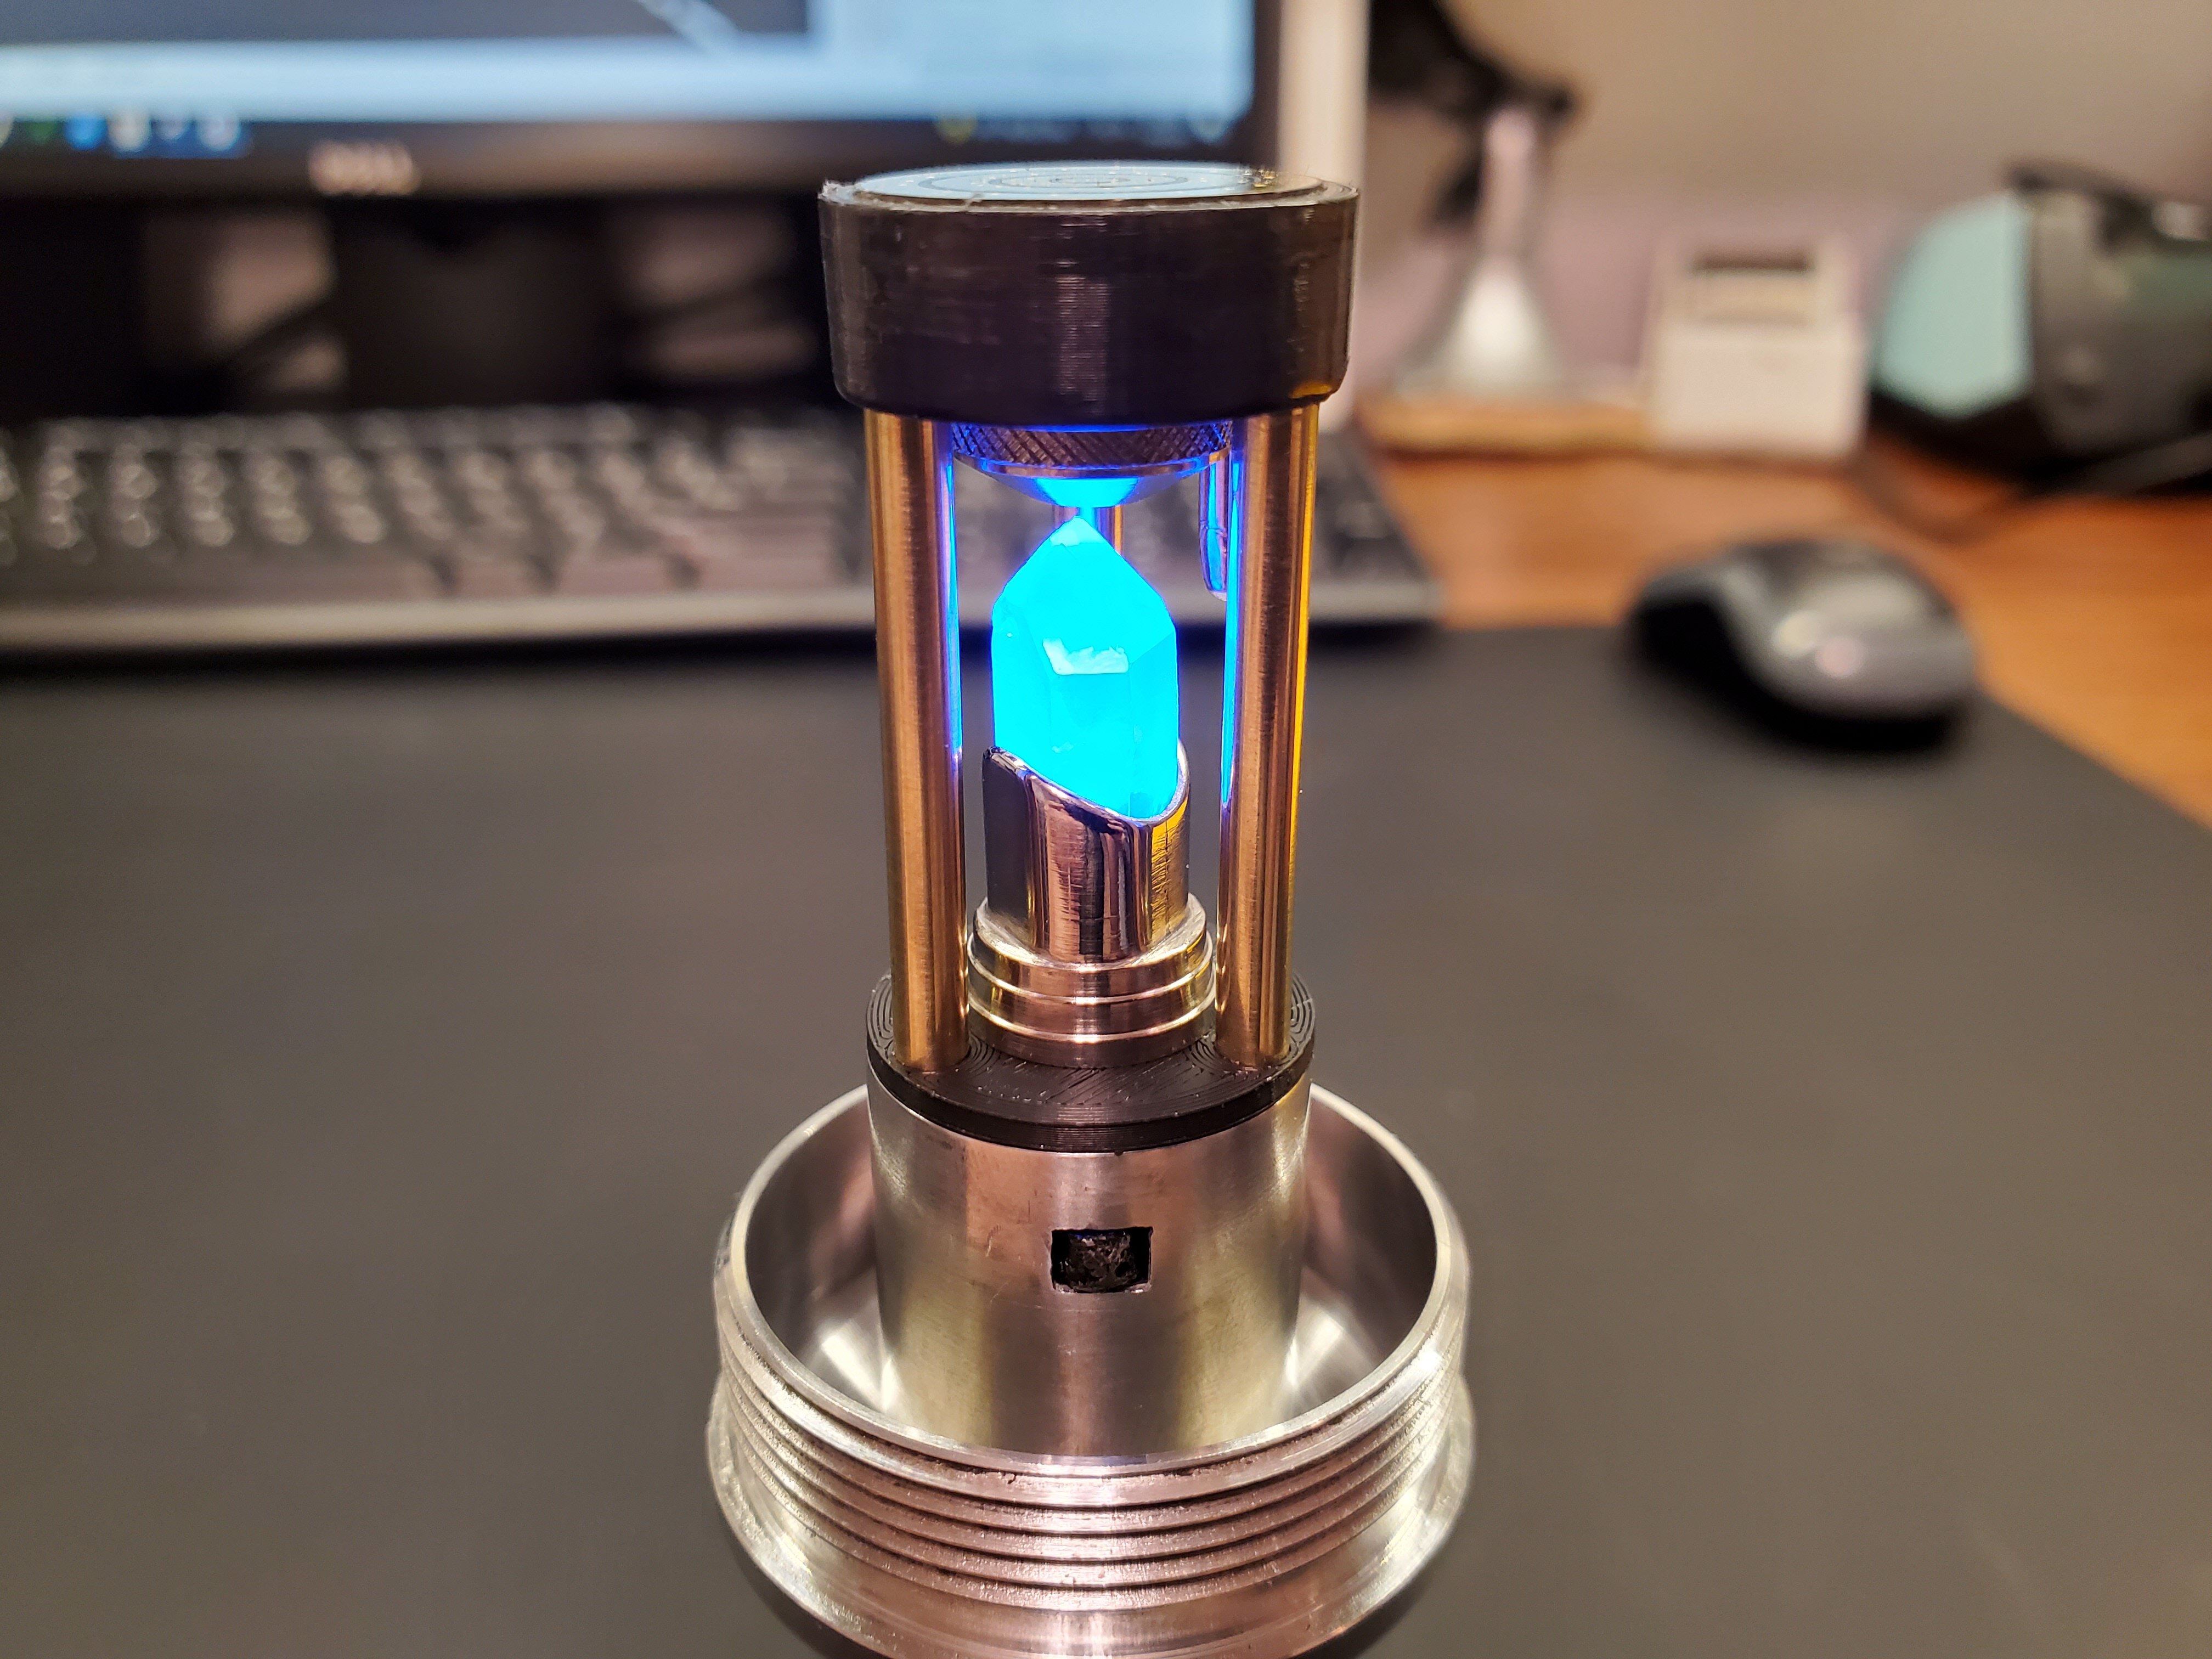
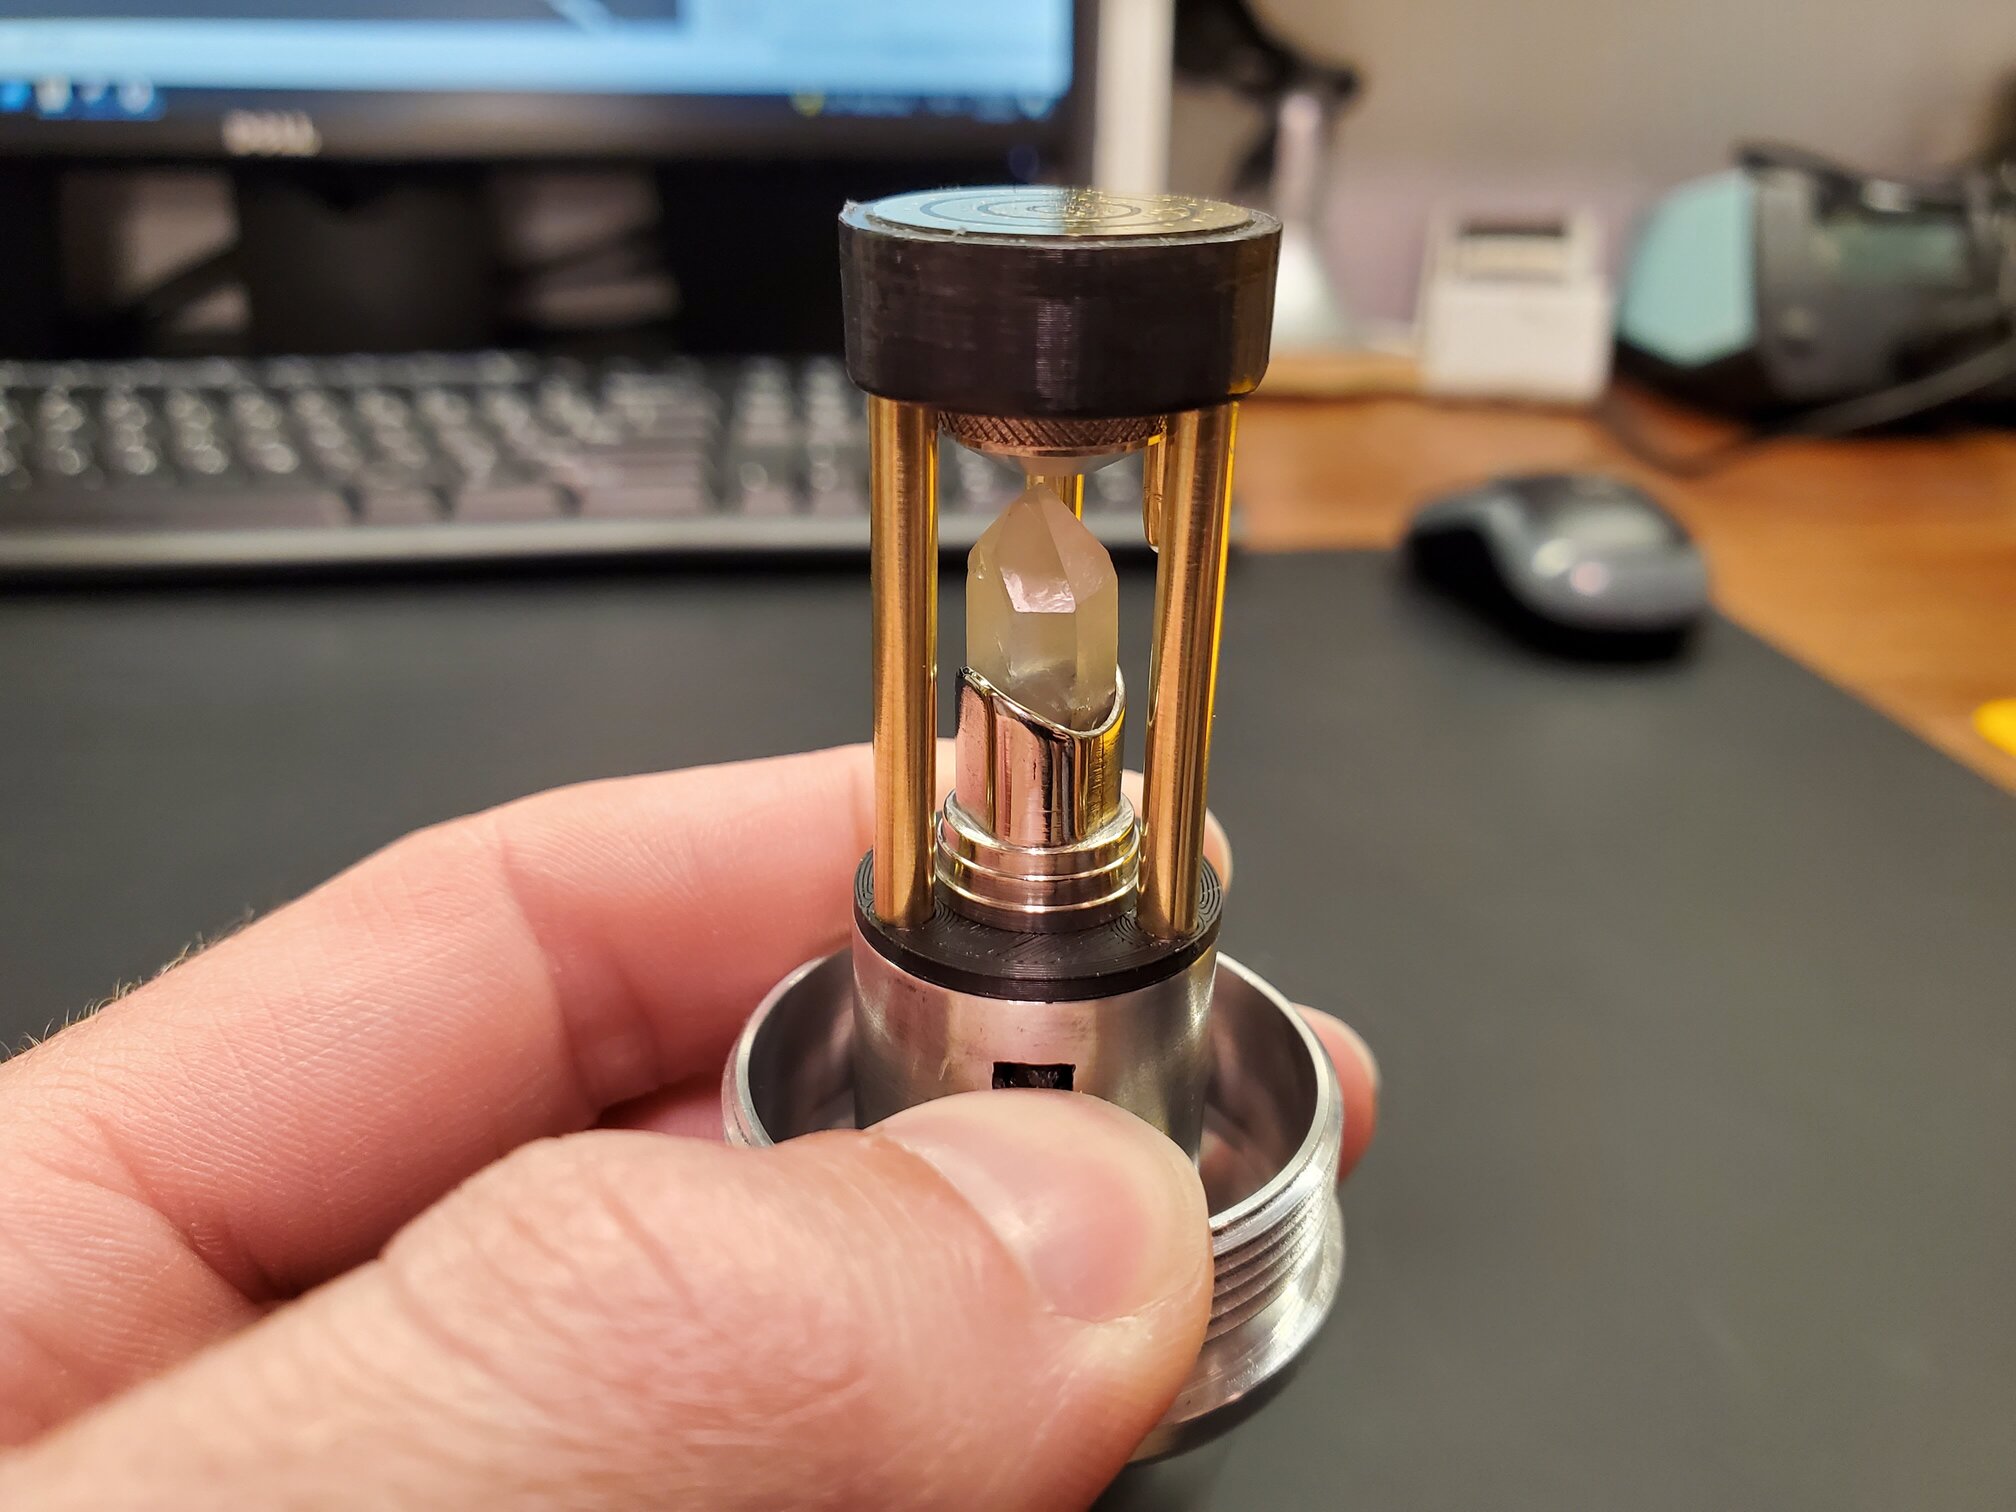
I wanted the crystal to be lit when the module is removed from the hilt, but unlit any other time (in the hilt). Apparently it is impossible to find NC tactile switches, so I ended up designing a switch that is built into the base of the crystal chamber:

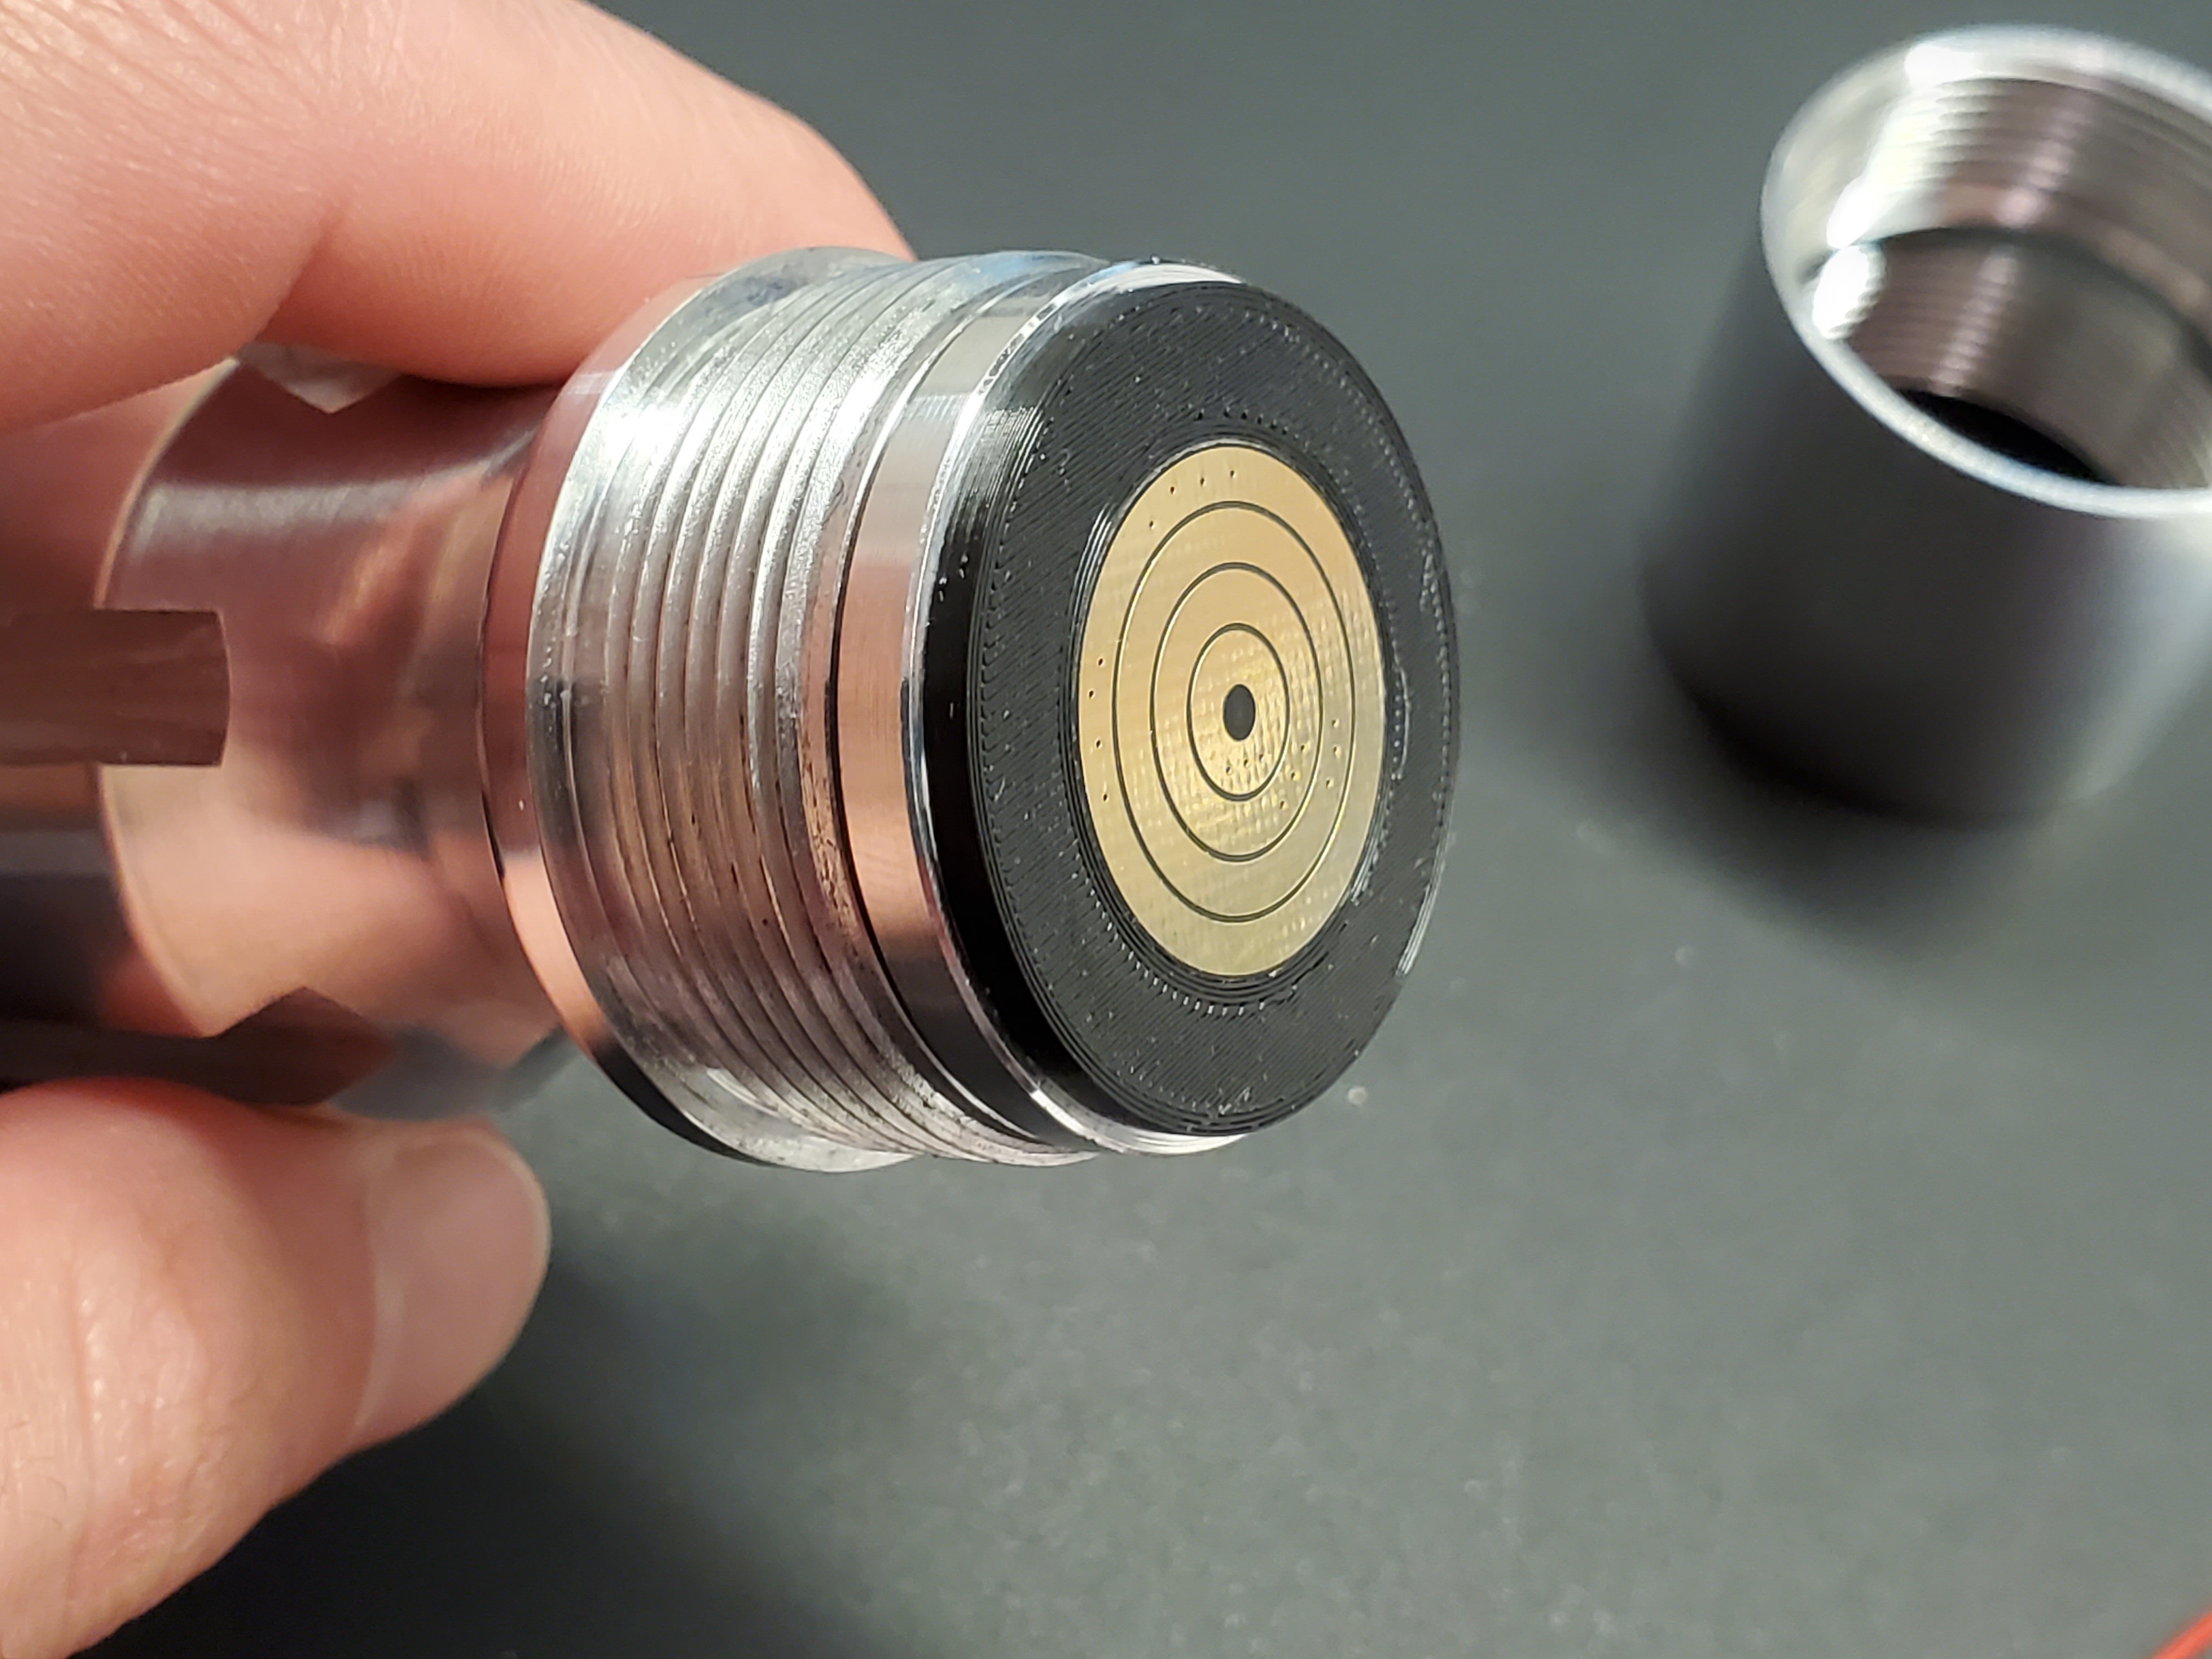
The crystal holder is made from two pieces of brass: a 0.015" thick strip that wraps around the crystal, soldered to a small puck I turned on the lathe. They are nickel-plated to look like one piece:

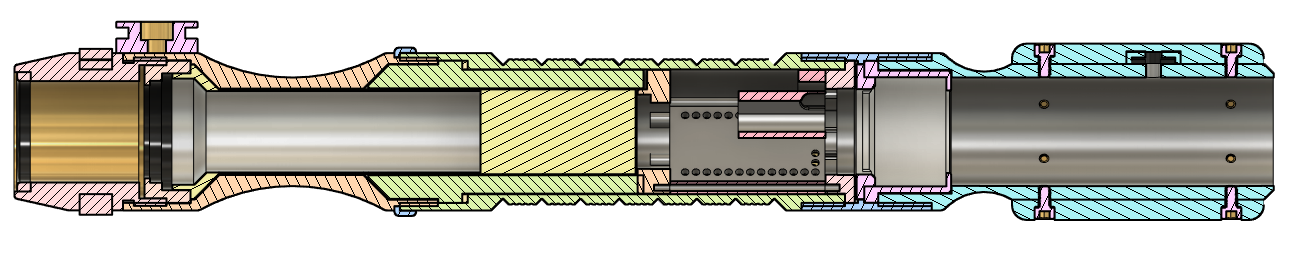
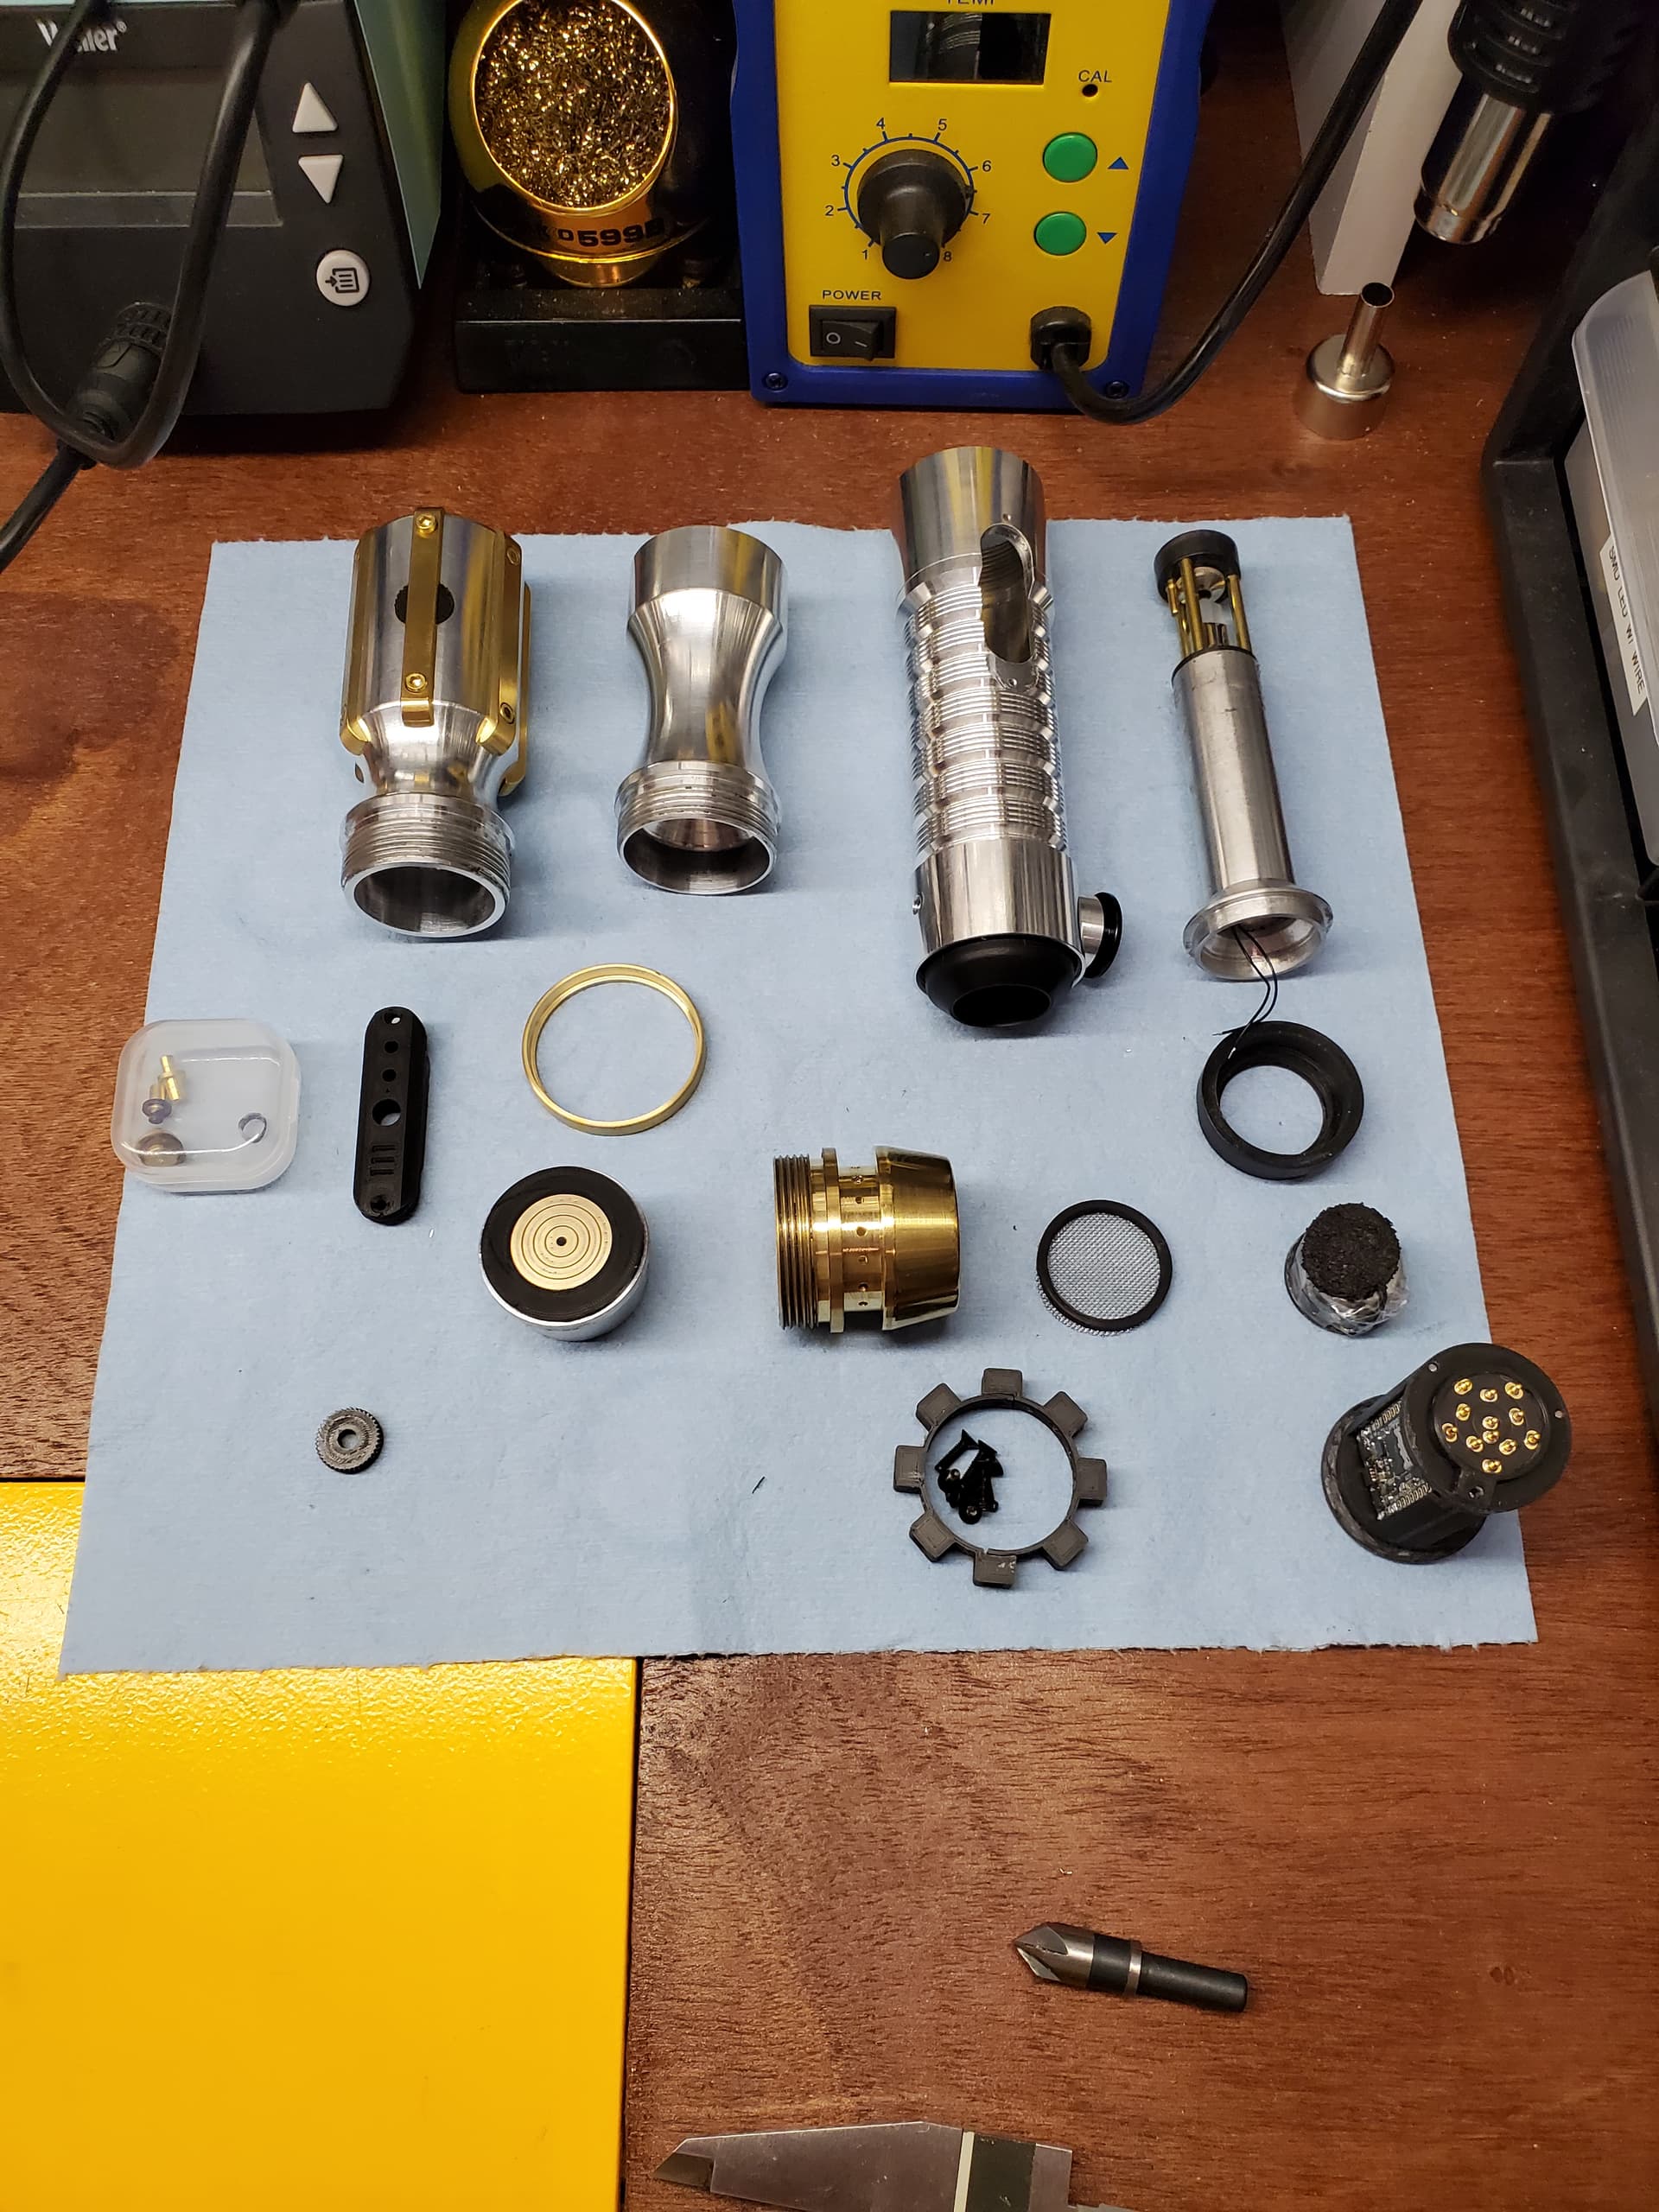
Everything stacks up in the hilt like this:

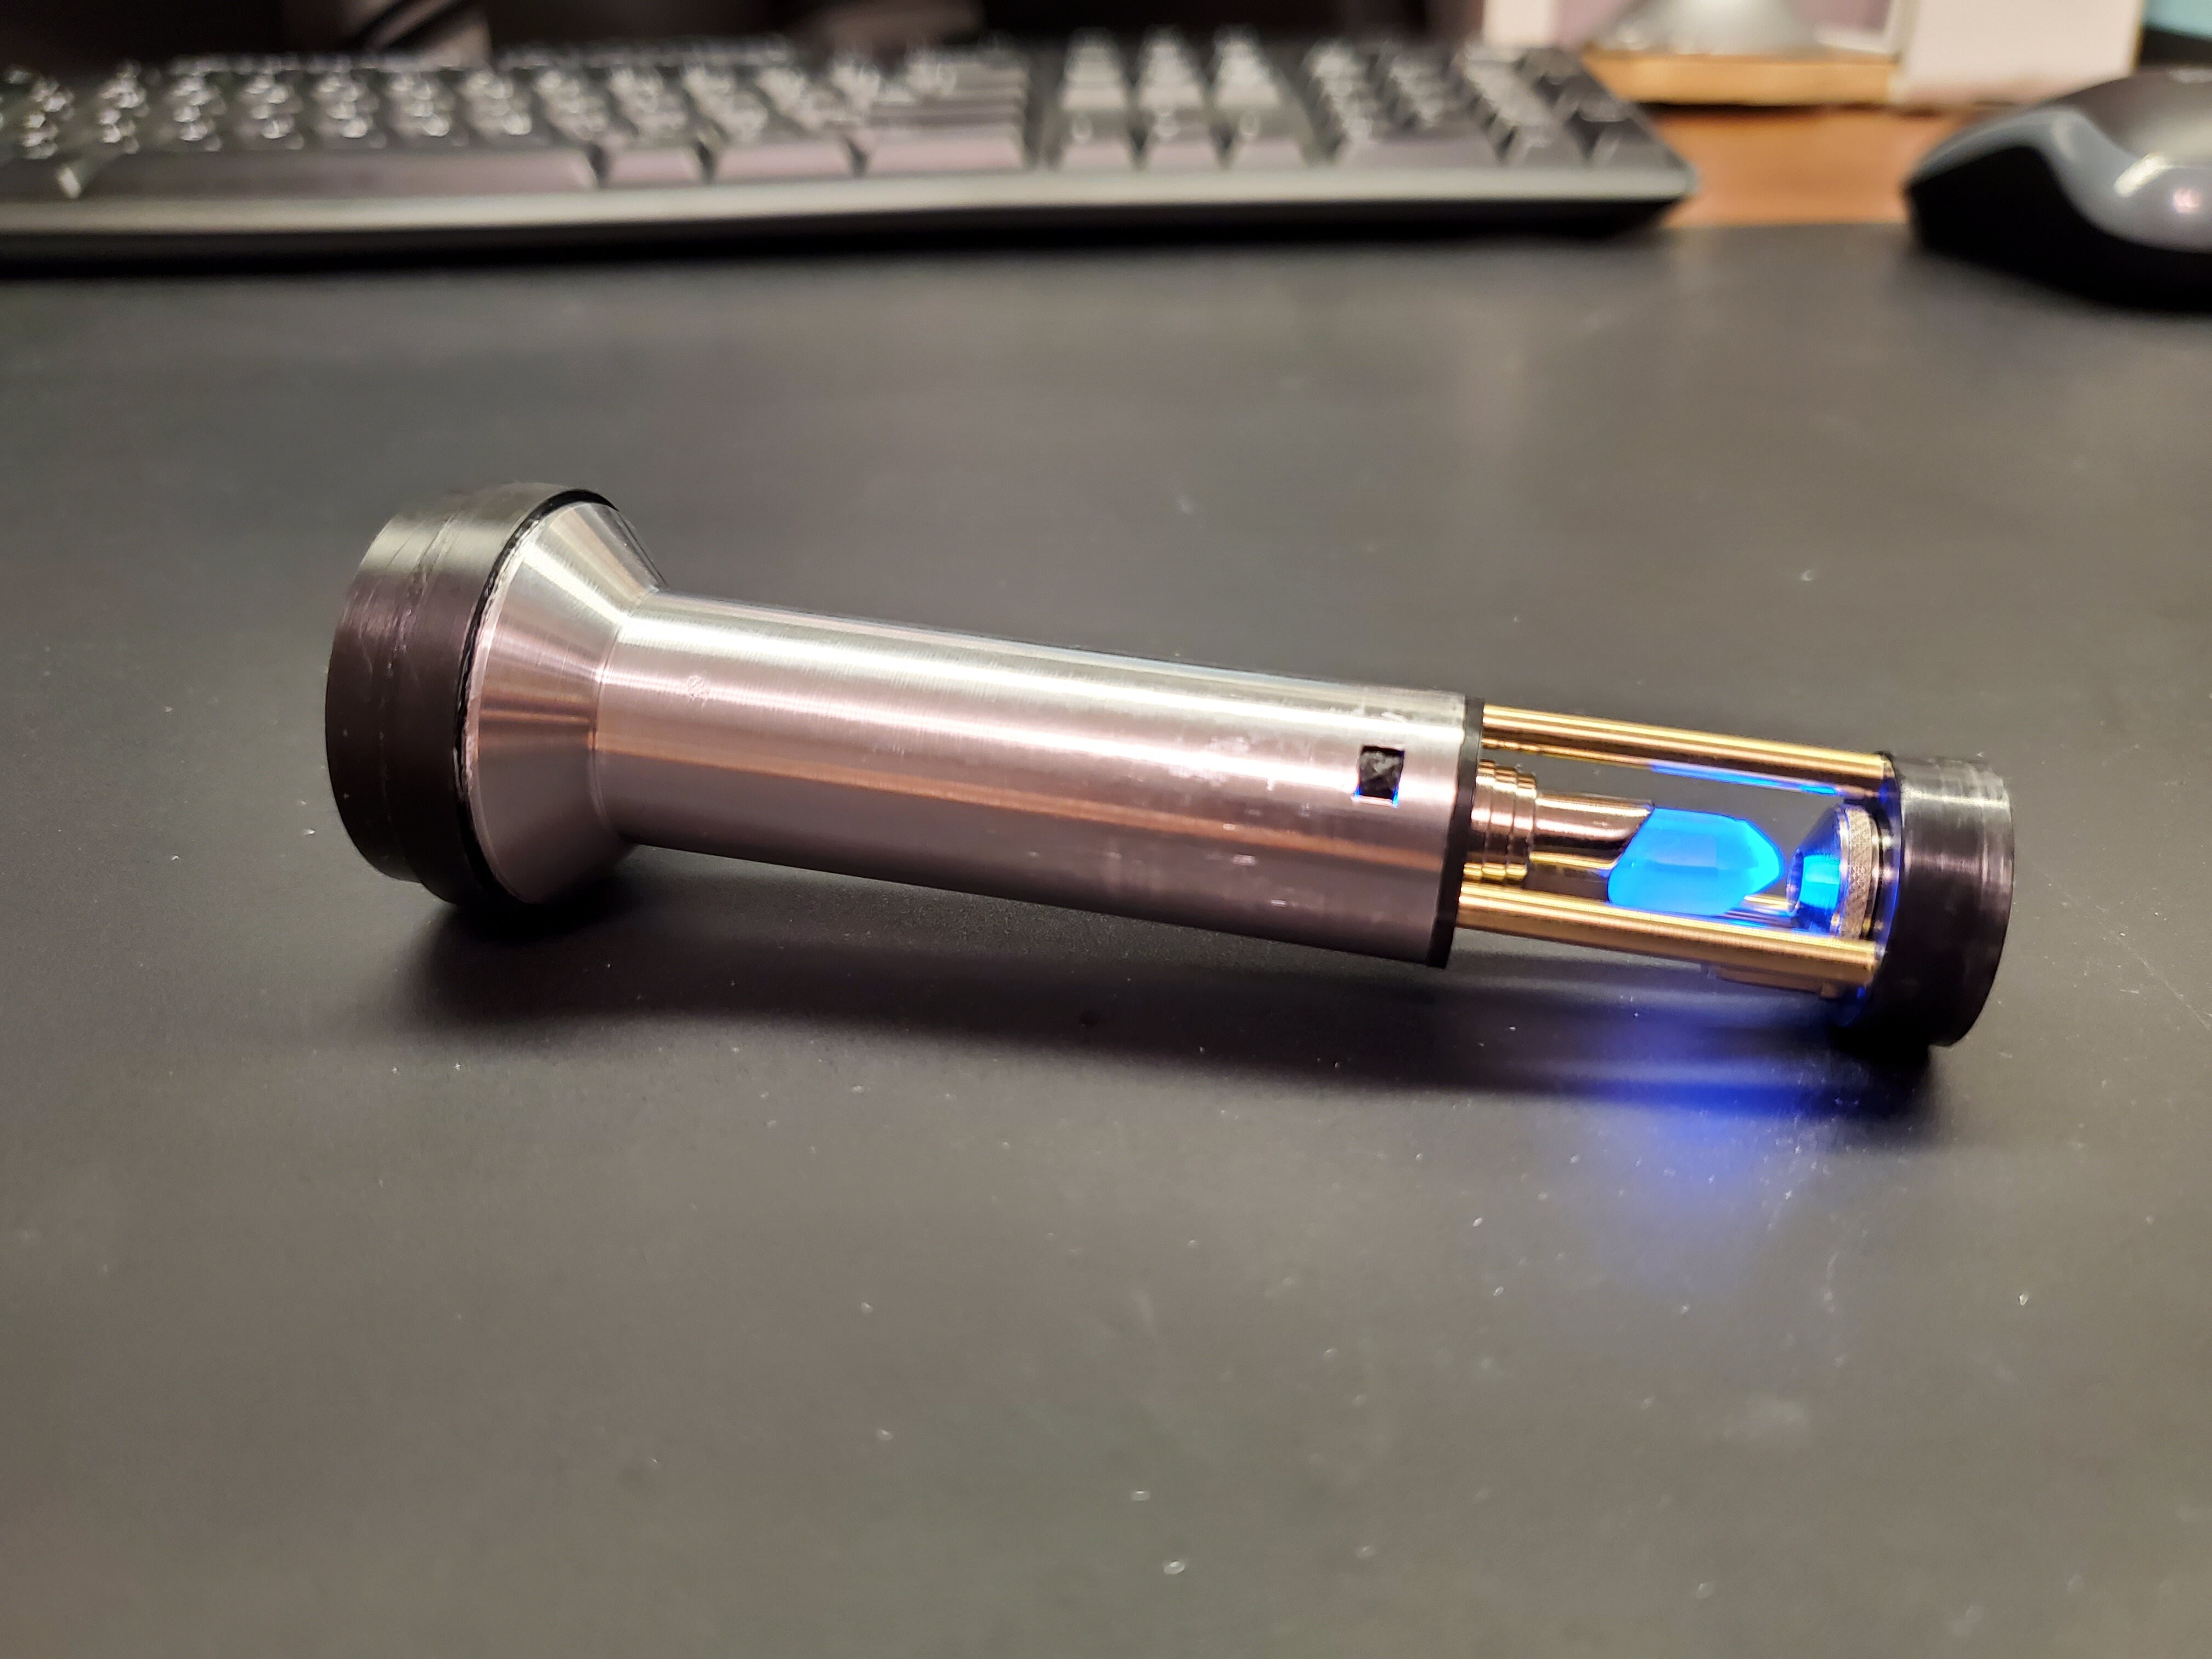
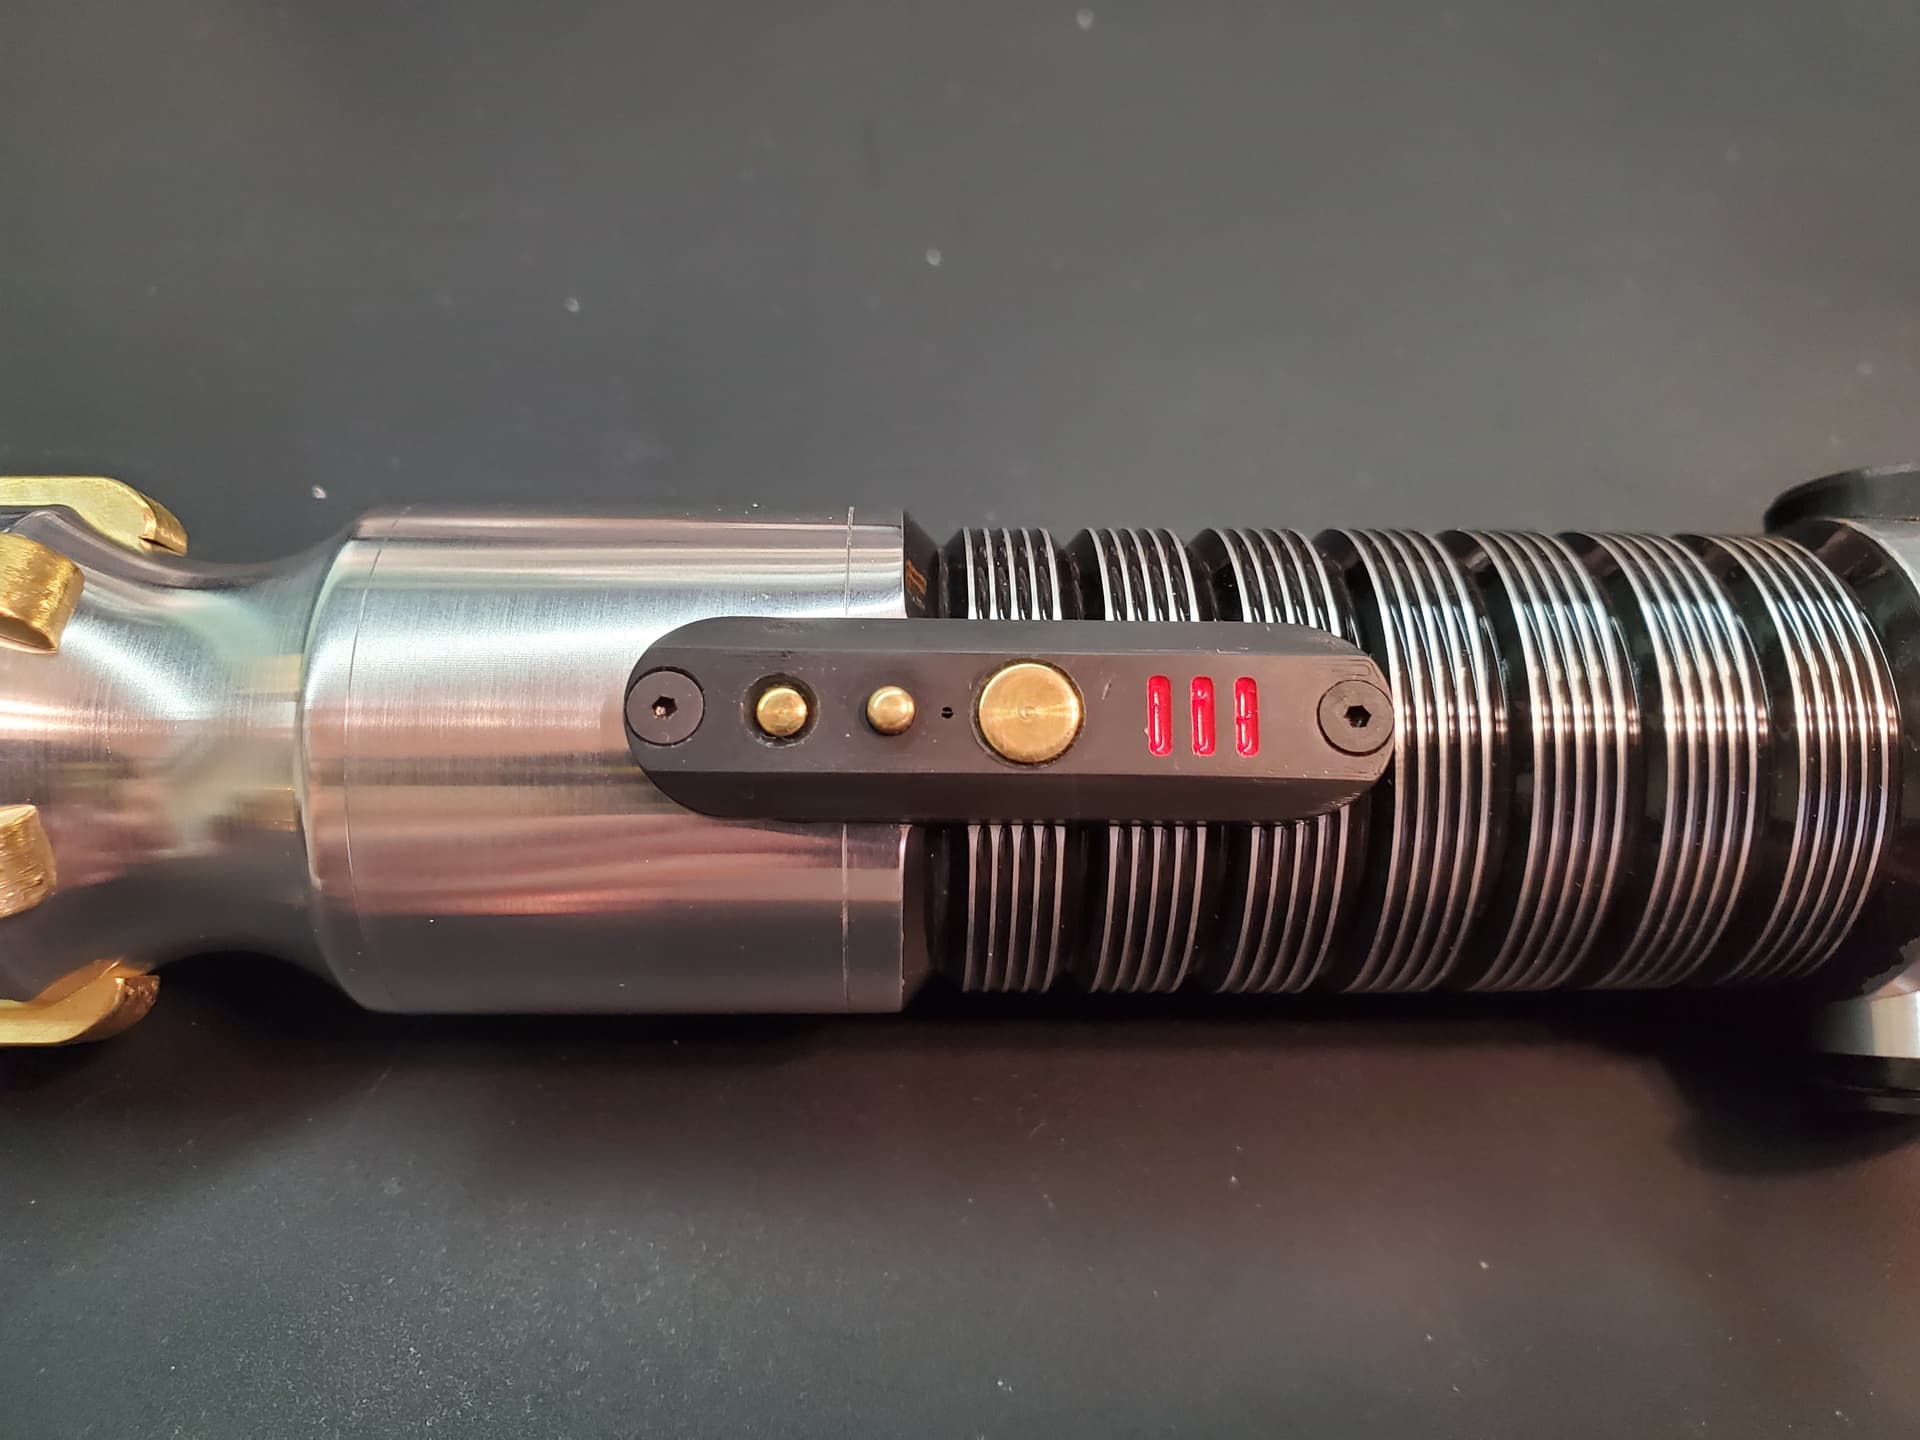
Pressing the button on the side of the battery tube disconnects the crystal:

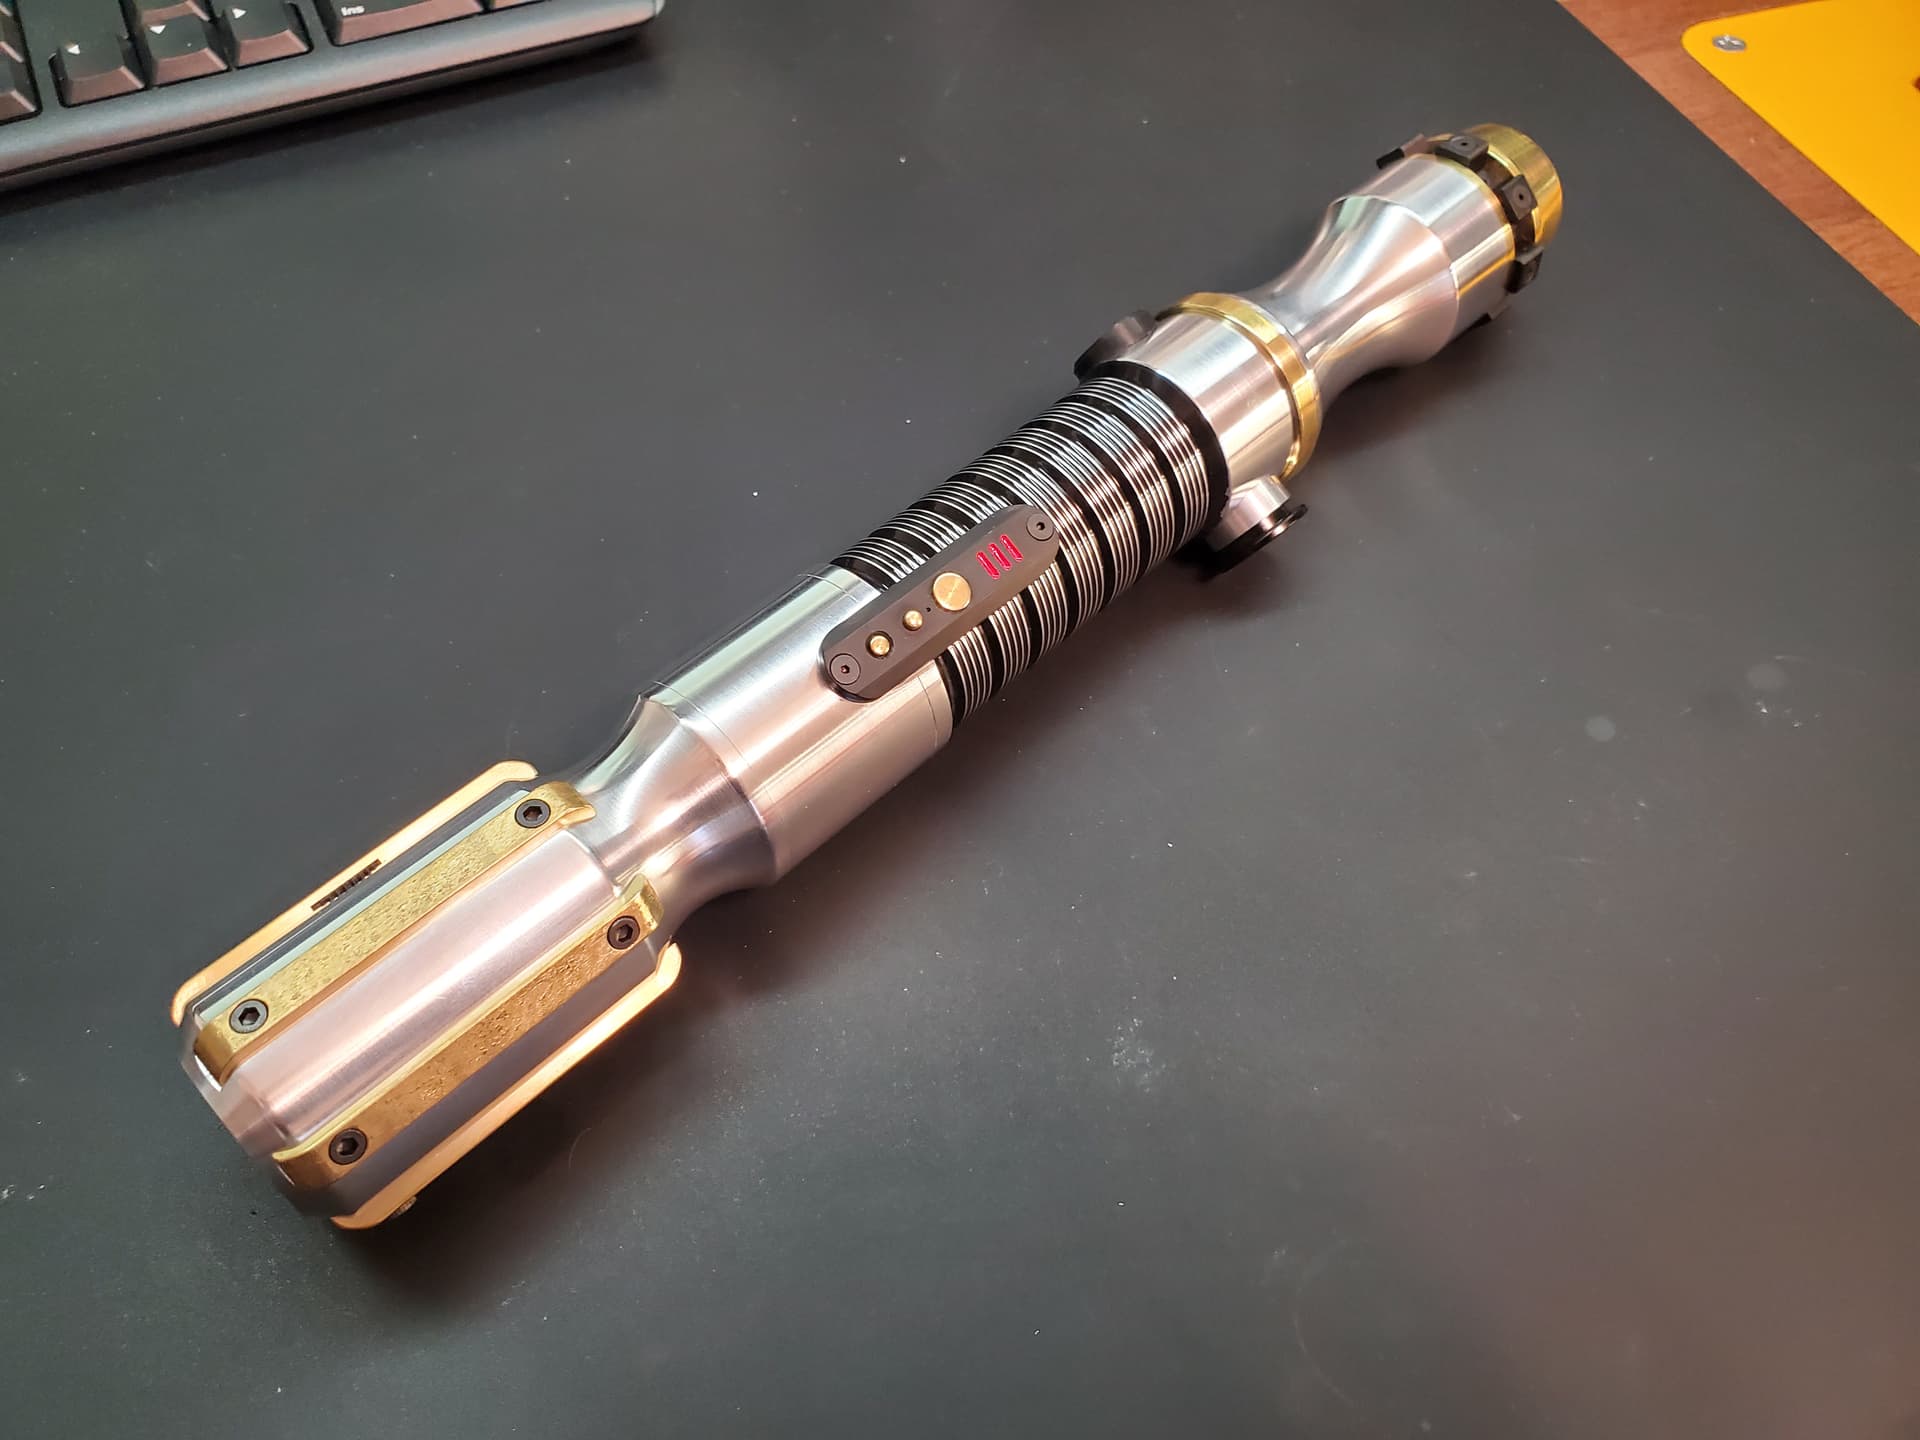
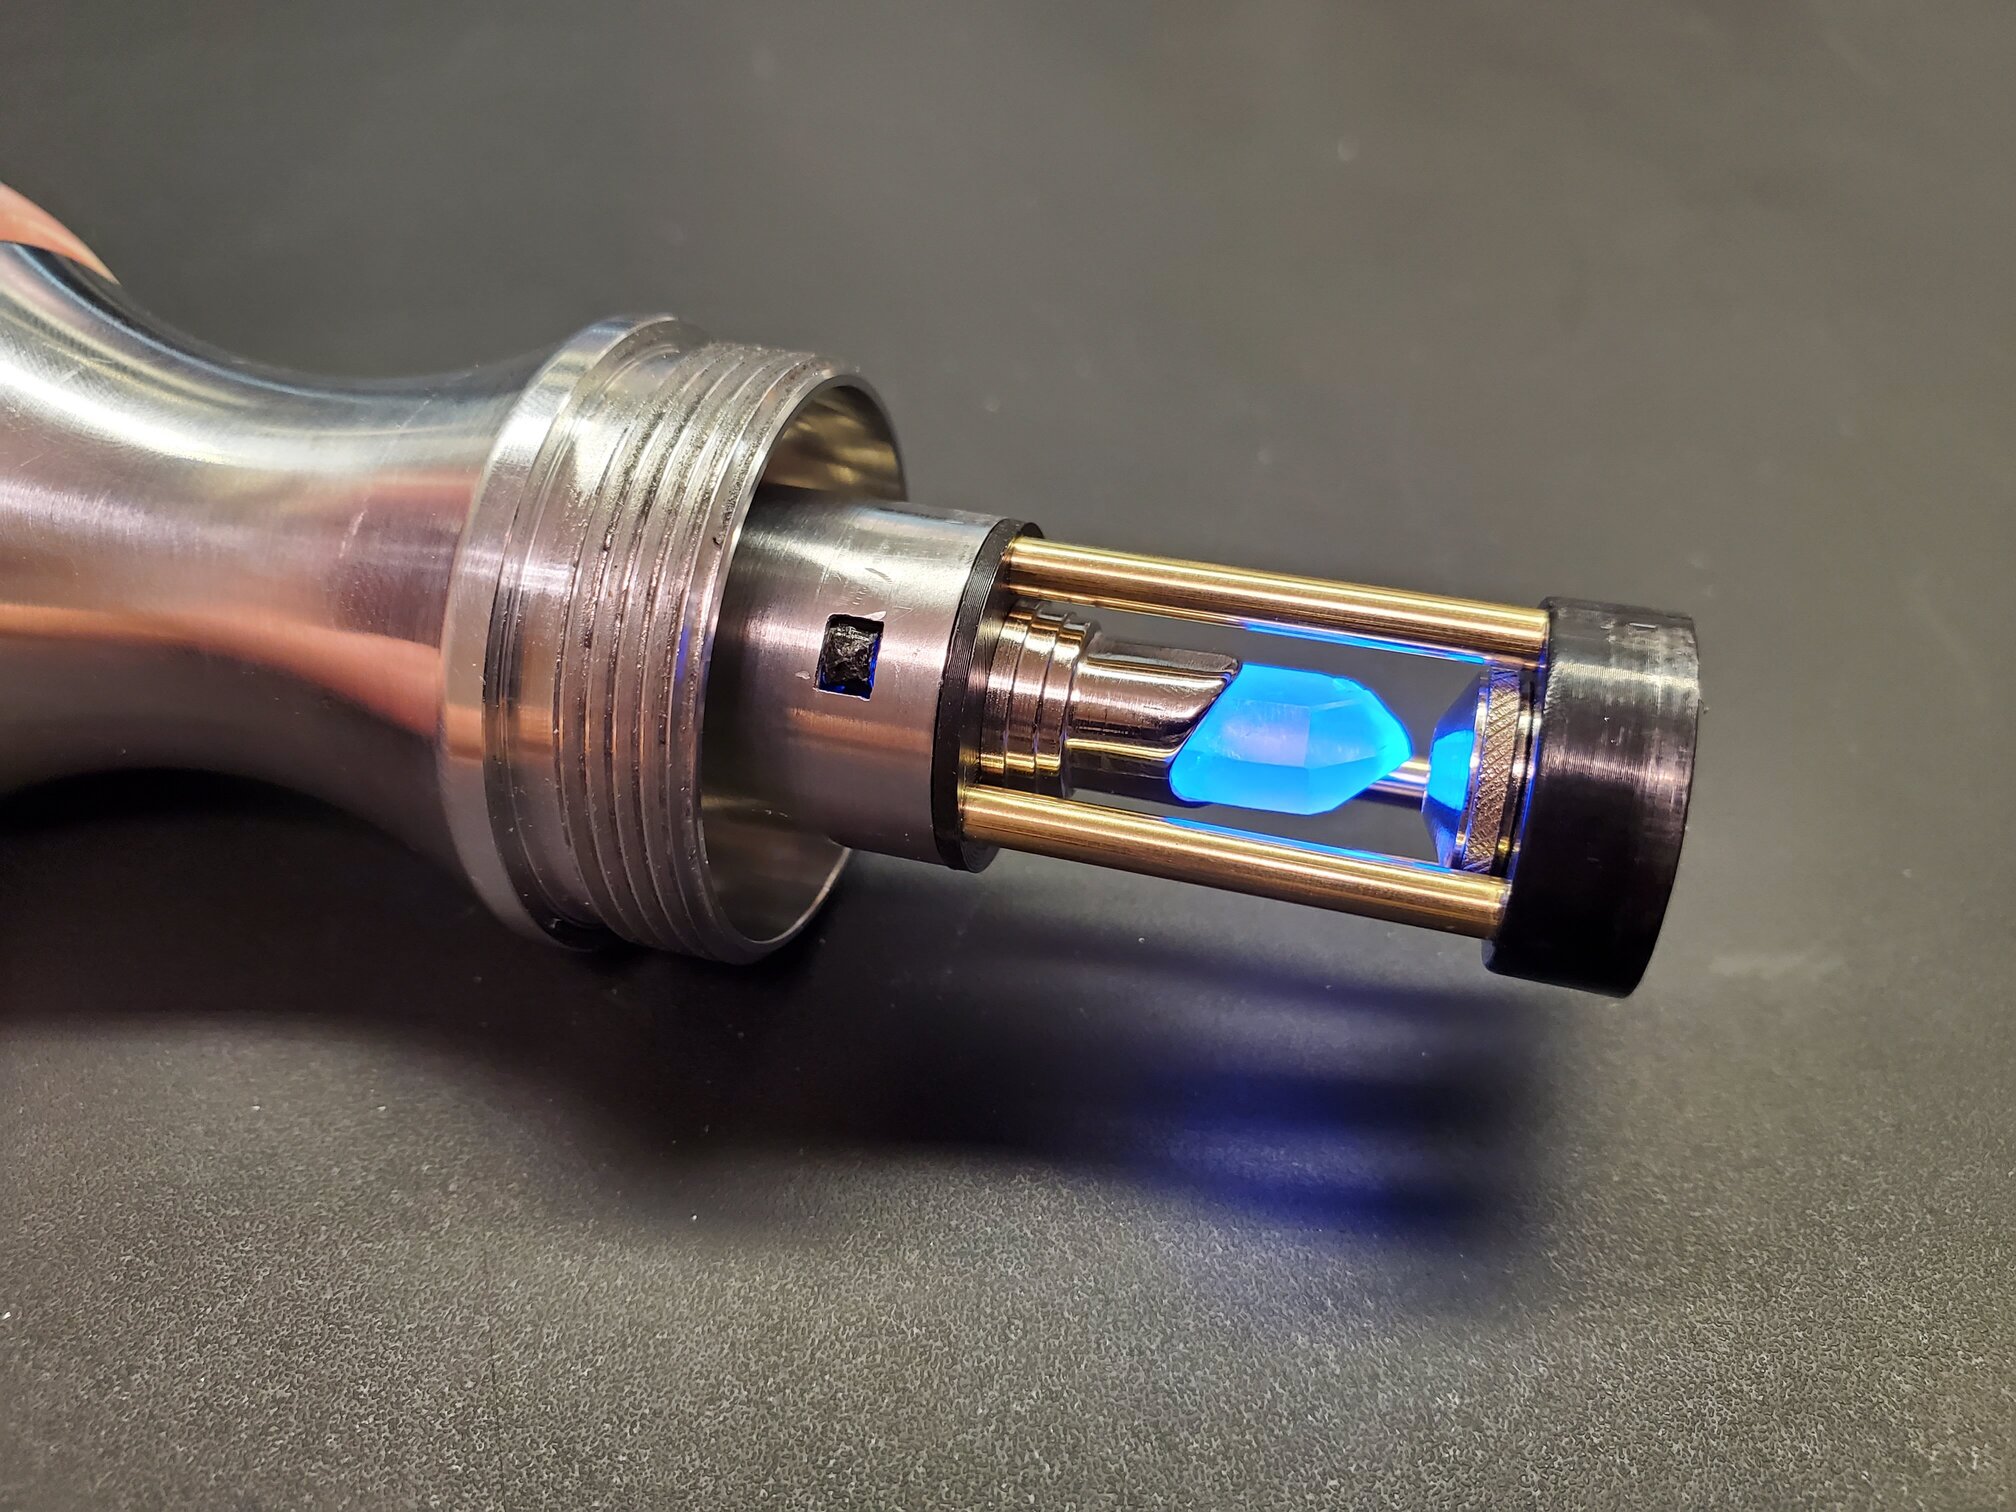
Finally, here it is installed in the lower section of the hilt:

Hopefully over the next few weeks I’ll be able to start on the machining of the emitter, but this is all I’ve gotten done so far. Thanks for reading!

3 Likes

Love the DIY switch. Of course I had to look for myself though :wink:
https://www.digikey.com/en/products/filter/tactile-switches/197?s=N4IgjCBcpgzADFUBjKAzAhgGwM4FMAaEAeygG0QAWeANgFYAOAThAF0iAHAFyhAGUuAJwCWAOwDmIAL5EwTZkhCpImXIRLkQidiG68BIidJkgATJtHIABFwzIuwrHjZE6ijlDCcPkMPHhSUkA

Why does it need to be an NC switch?
Anything that is hooked up to the board can be programmed to work any way you want.

EVENT_LATCH_ON
vs
EVENT_LATCH_OFF

Exactly, those are super easy to switch around, either in the button code or in the prop.

The module has the battery and speaker in it, and uses a shtok 4-pole PCB at the top to connect to the rest of the hilt. The crystal chamber is not visible from the outside of the hilt, so I only want the light to be on when the module is removed…which also means it is no longer connected to the board anyway.

I do like that NC switch NoSloppy found on DK…I should use that next time.

nice work!
love the idea that the crystal chamber is only lit when on display out of the hilt!
keep us posted on your progress :+1:

I used a MHS choke for the middle of my handle as well but it was cram-fu for me!

I love the chassis design so far, keep us updated!

Alrighty, time for an update. Thanks everyone for your kind words!

I’m typing slowly because my left pointer finger got sucked into a counterbore…long story short, never hold small parts while drilling.

My initial design of the blade holder is a modification of the Style 30 MHS to have brass bars running along it. They’re not modeled, but the bars will be held in place by tiny brass 4-40 socket head screws:

I made a jig to connect MHS threads to therotary table…I figure it will come in handy in the future:

Everything is then set-up on the mill table:

First step is to mill the 0.25" W X 0.1" D slots. I went really slow and held a vacuum to the end mill the whole time to clear chips. They turned out really good (I think). While everything was still set up I went ahead and milled the recess for the blade-retention thumbscrew.

Next step was to make the brass bars. I started by rough-cutting the bars with a hack-saw, then milling the ends flat and to the final dimension:

I saw a Clickspring video where he put a router bit in his mill, and in the comments he said it works fine for soft materials…so here we go:

This is the part where my finger got caught. Needless to say the small clamping block was not there when I started drilling (excuse the portrait picture, and my apparent laziness in not fixing it). First pass was with a 0.110" (#35) drill to make a clearance hole for 4-40 threads. After that, I counterbored to 0.113" deep for the screws to sit flush:

Finally, I milled a matching recess in the bottom of one bar to go over the thumb-screw. Hopefully you can start to see where I am going with the blade retention method.

Here’s what the screws look like:

Semi-final assembly. I still haven’t cleaned up the slots, so the bars don’t all sit perfectly flush yet. I am not sure what kind of surface treatment to give the brass…or the emitter for that matter. We’ll see. I want to get the whole hilt together before making any decisions.

Thanks for reading!

3 Likes

This is so impressive. The clean accuracy is mind boggling. Great looking work! Jealous!

3 Likes

Just a small update. I decided to go with a brass pommel…here is the updated CAD model:

Here is an inside view for anyone who is interested to see how everything stacks up. I did not model everything from the crystal chamber, but it is all dimensionally accurate, which is all that really matters.

Finally, here are a couple photos from some of the progress over the last few weeks.
First, the brass pommel after rough machining. It sill needs some work on the end.

Here are a couple shots of the LED module PCB and install:

That’s it…thanks for reading.

4 Likes

Okay, so I realized I never came back and showed the final product! It turned out pretty good…if I do say so myself. I probably will not build another in-hilt LED saber moving forward (just too many cool effects to miss out on) but it was a really fun saber to put together.

First, some overall shots of the completed saber:

I ended up going with black-oxide screws for the emitter bars, as the brass screws were just too bland for my taste, and the black provides some nice contrast.

Here is a shot of everything right before assembly:

This is the first saber I have built using my Saber Shield board (V1)…so it does have charging capability…however since the soundboard module is connected to the battery module only when the saber is assembled, there is no way to connect to the charging header. So, I printed a small cap to clip onto the top of the crystal chamber (battery underneath) that allows charging the battery directly with an external charger.

Thanks for reading!
MC

4 Likes

fantastic work, looks wonderfully clean.
you should be very proud of what you have done!

2 Likes

Great design. My only critique would be that the control box looks a bit weird straddling two sections. I’d have just used tactile switches on the hilt itself?

1 Like

Thanks! Yeah, I would probably do something else if I had to go back. It doesn’t look as bad from the side.

2 Likes

@mcarcher great saber man, this is very cool. i love the lines and design queue to the old republic feel.

1 Like

Thank you!

1 Like