It’s probably just poor naming.
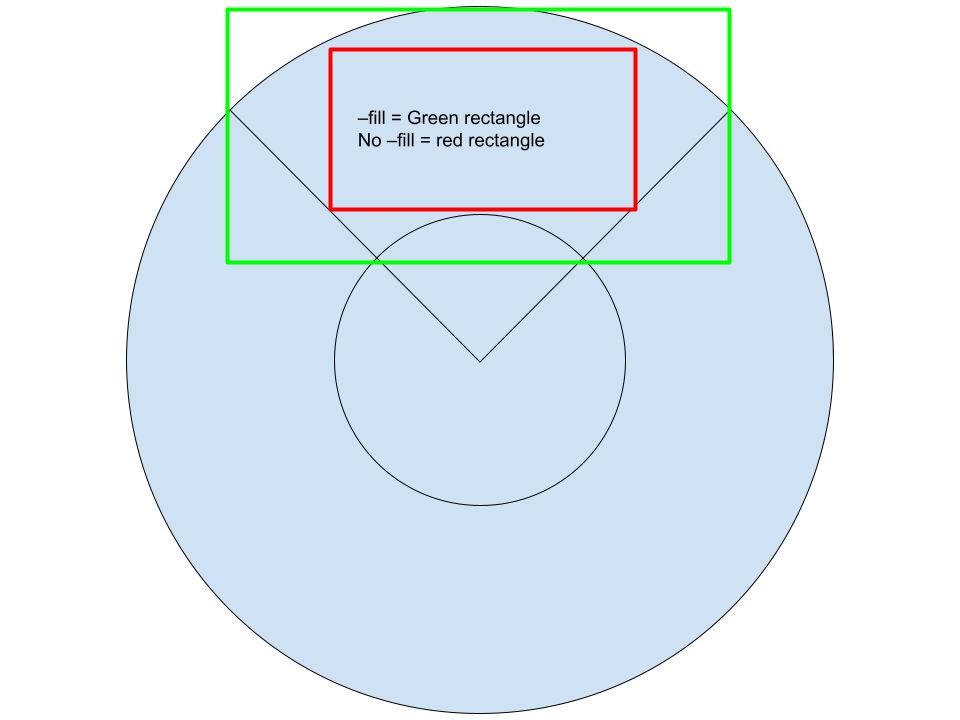
The default is to scale it until the content (not the black part) just fits. In my head, this is called “scale to fit”.
With the “–fill” flag, it scales it to just cover the entire wipe. Some of the content may end up outside of the wipe, but every pixel of the wipe will have content in it. In my head, this is called “fill the wipe with content”.
You could compare this to regular image scaling. Let’s say you have a 16:9 screen and 4:3 image. You can either put black borders to the left and right. (also called “scale to fit”, or “pillarboxing”) or you can cut off some of the image until it is 16:9 and then make it cover your entire screen. (called fill screen, or “scale to cover”, or similar.)
Yes. a.k.a. “crop to fit”
But, the first option, “scale to fit” by NOT using --fill is detecting content and disregarding black. So is it possible to “shrink to fit” so that the full area of the source is scaled, including black?
And again, having the --fill flag or not is producing the same result… weird.
I don’t see how that’s possible.
Without --fill, it’s fitting the image inside the wipe.
With --fill it’s fitting the wipe inside the image.
I don’t see how those two could possibly yield the same result.
(Unless I have a bug somewhere.)
You would need to change the code.
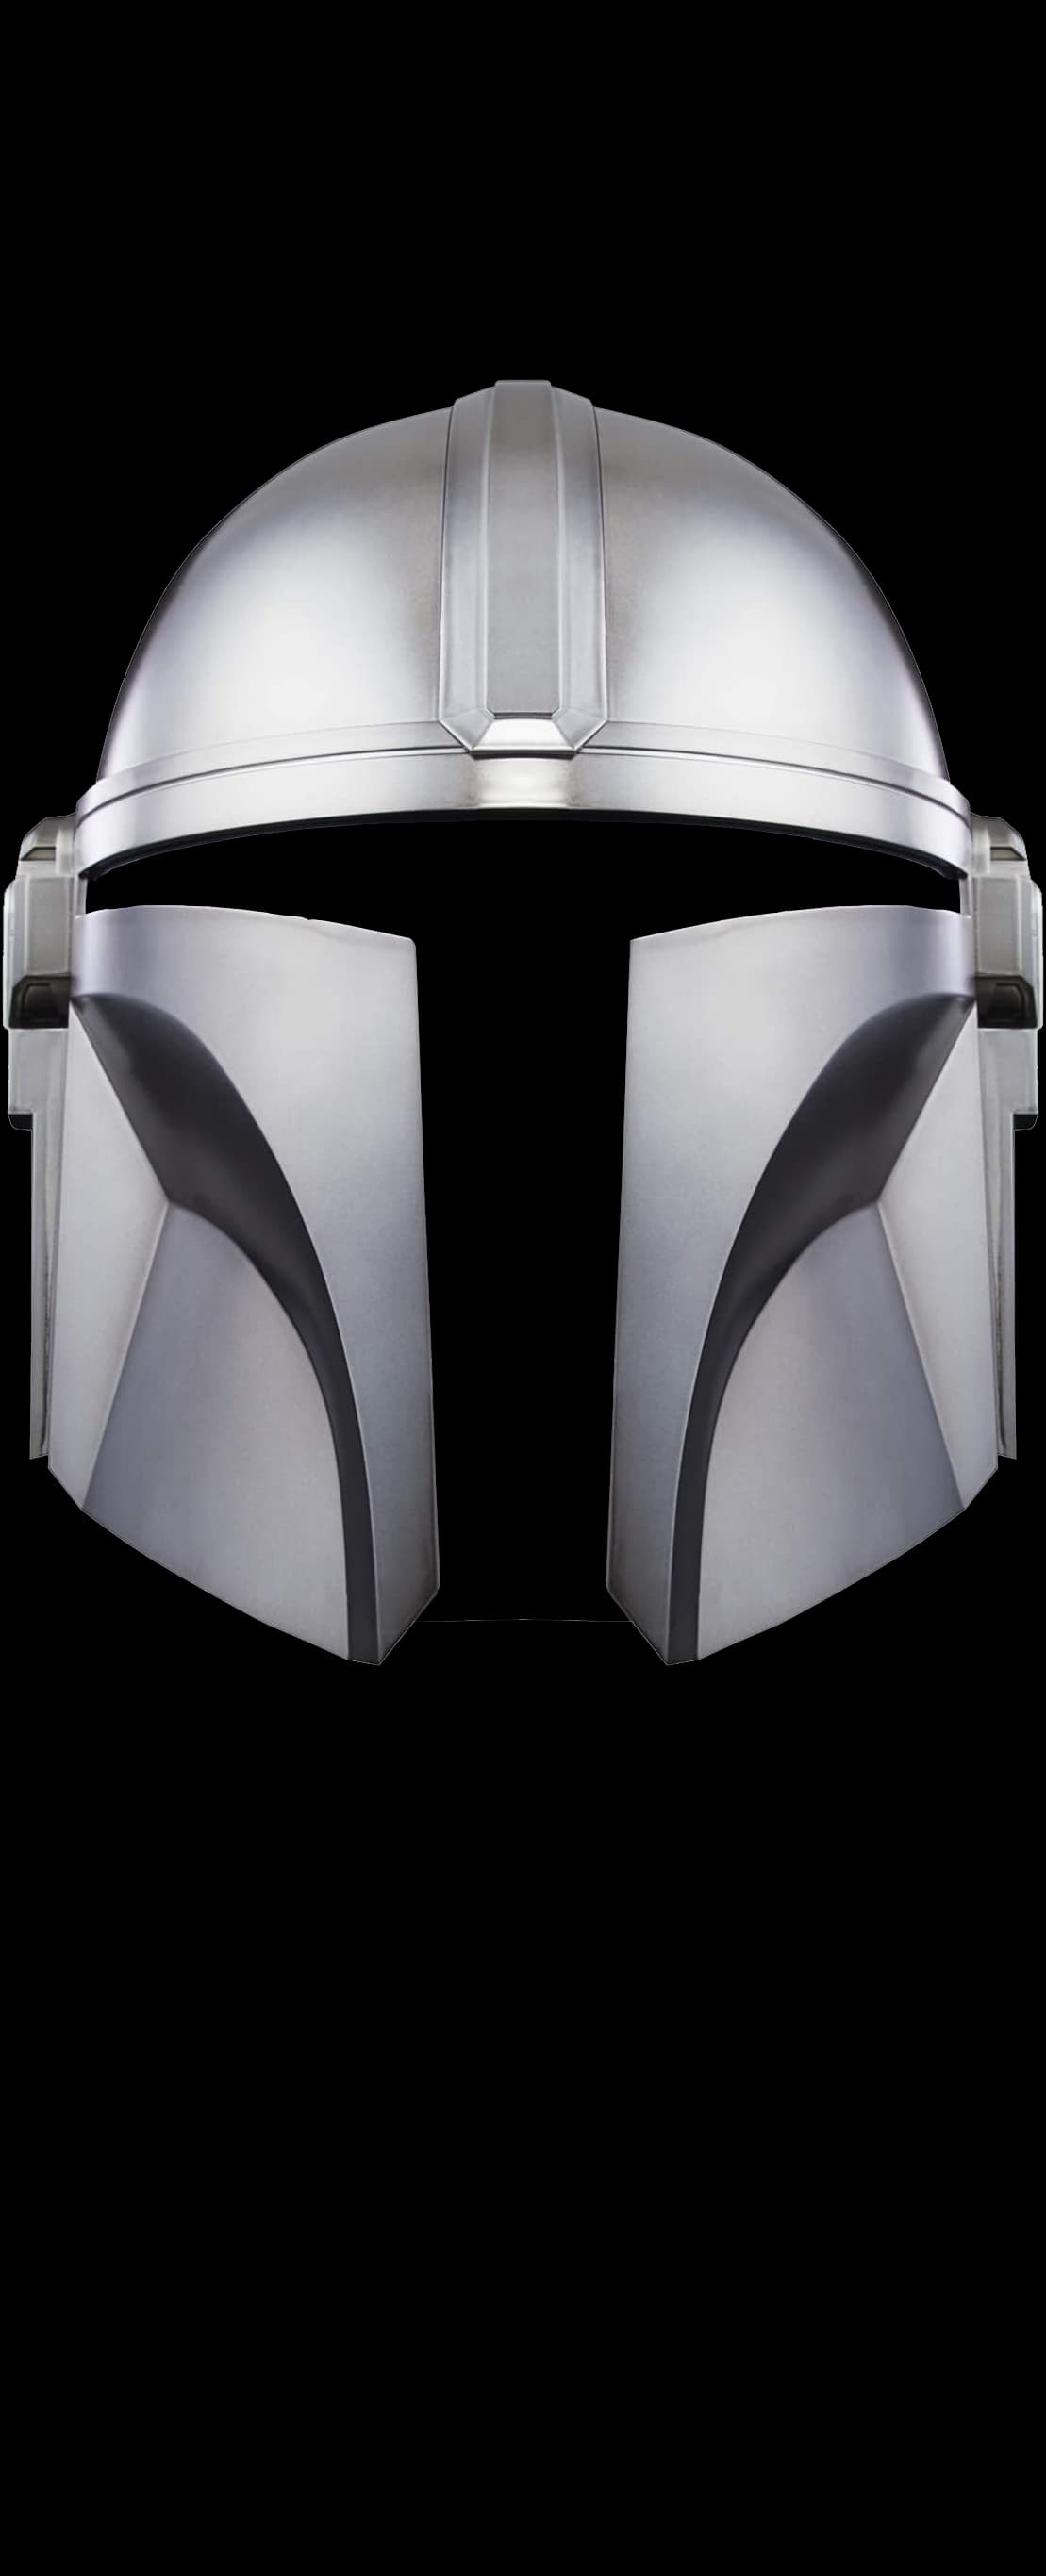
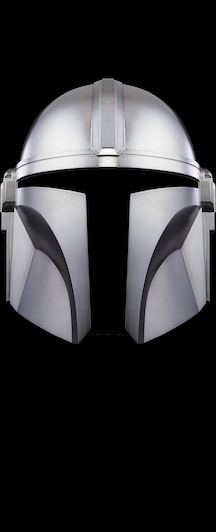
For the use case we talked about earlier: (Shrinking the helmet) I would just use --fill.
I had the same thing going, but was doing opposite answers, since the default is no --fill and it does “size content to fit”:
		echo "Do you want to auto-scale the content to fill the entire wipe ? (y/n)"
		echo "(Default = Yes) "
		read fit
		if [[ $fit == "n" ]]; then fill="--fill" validinput=1;
		elif [[ $fit == "y" ]]; then validinput=1;
...............

    make IMAGE=./maketmp.png OPTIONS="--height=$height --length=$length --offset=$offset $fill"
Thanks, and yes that’s what i’m imagining.
It’s just I think the key there is the source image needs to be landscape.
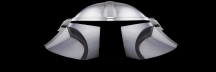
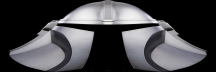
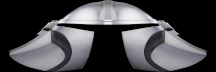
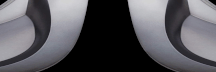
This is what I get with and without --fill enabled with a portrait image 831x2048.
Yeah, a portrait picture will be scaled until the edges cover everything out to the left and right side, which is probably not what you want. A landscape picture will be easier because the top of the picture will line up with the top of the wipe, which makes it easy to put the helmet in the right place. From there it’s just a matter of scaling the helmet to the right size.
Ok, since POV is now working, it’s time to break it again.
I just made StylePOV<> a proper style template that can be used in combination with other styles. In addition, I made it so that you can select the min and max angle where the POV shows up, AND I made it so you can make the pattern repeat all the way around if you like…
It compiles, but I haven’t tested it properly yet.
To summarize and offer a “solution” post on this thread:
It is possible to enable Windows (10) to run the POV tools provided in ProffieOS.
(Details on how to later on in that post).
During that journey that was this thread @NoSloppy enhanced his script (which enables users to utilize those POV tools in an easy way by answering a questionnaire regarding their blade settings), @profezzorn squashed some bugs and optimized said tools further, with the end result being the script and all optimizations to the POV tools being integrated into ProffieOS’ master branch.
The majority of those files - including the readme on how to set up your Windows 10 machine - can be found here:
You will also need to update pov.h found here:
The last step - after successfully creating POV color data - would be to add a define with the filename to your config:
#ifdef CONFIG_TOP
// all those other defines and includes ...
#define POV_INCLUDE_FILE "*data.h" // "*" being the rest of your filename inside the styles folder
#endif
Please refer to the readme in the pov_tools folder for additional intel about utilizing the tools provided.
If you are confident enough, you can even configure your own presets specific to your blades inside the create_POV_data_files file. Do so with care and creating a backup of the file to be able to restore it in case of error.